What's new

Non spread cookie recipe (1 Viewer)

Tintagel

Member
Hi Angie,

I am looking to bake some Halloween cookies using moulds (and if they work do some Christmas ones later) but need a recipe that doesn’t spread as I want to decorate them.
Do you have a fail safe recipe that keeps its shape but isn’t too hard (I.e. when you eat it not to make 😂)

Thanks Jennie
 
Hi Jennie

I have two shortbread recipes that don't spread and may go into your mould. If they aren't what you are looking for, check out the Karen Davies Website, she does the moulds for cookies and will probably have the recipe for moulds.

This shortbread recipe without Apricots may be okay, but I've never tried it with a mould, so you'd have to check.


This one might be a little crumbly.


This is the recipe for Karen's


Hope these help; if you need anything else, just let me know. :wink:
 
Hi Angie,

thanks for this. Yes I looked at Karen Davies recipe as it’s her moulds I plan to use.

some comments were that the cookies were a little hard and I wanted a softer cookie but I’ll see what they are like and if they are too hard will try a different recipe for the Christmas ones.

thanks
 
Hi Jennie - @Tintagel

I do have an old Vanilla cookie recipe that's made with icing sugar. It's been quite a while since I made them, but I know they were delicious and held their shape.

It's taken me a while just to find the pics. I cut out shapes and put them on lolly sticks. The thing is, I can't remember how long I did them for, but biscuits only take about 10 mins, so if you want, you could try the recipe and see if it works. It might do well in the moulds. I used cutters for mine.

Vanilla cookies by Help Me Bake-001 (Medium).jpg

Vanilla Cookies by Help Me Bake (2) (Medium).jpg

If I can, I'll try and find the full recipe/ instructions, I have it in one of my old books somewhere, but I can't find it on my desk.

1665511753304.jpeg

1665511771242.jpeg

This might be an alternative for you.
 
Hi Jennie - @Tintagel

I've found my book! Whoop whoop! :lmao:

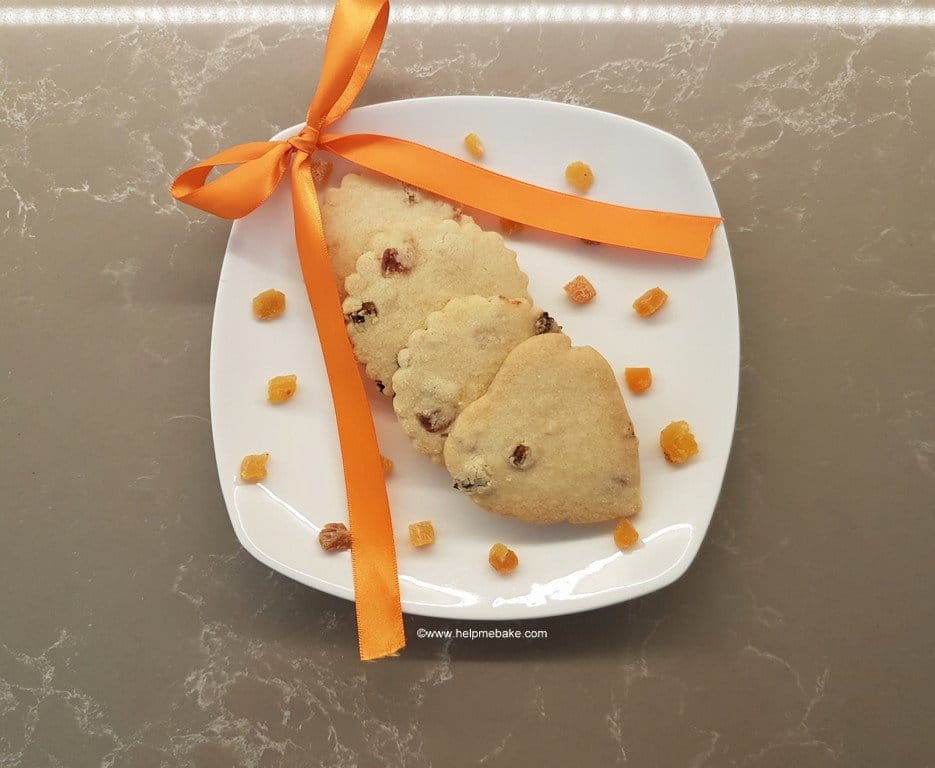
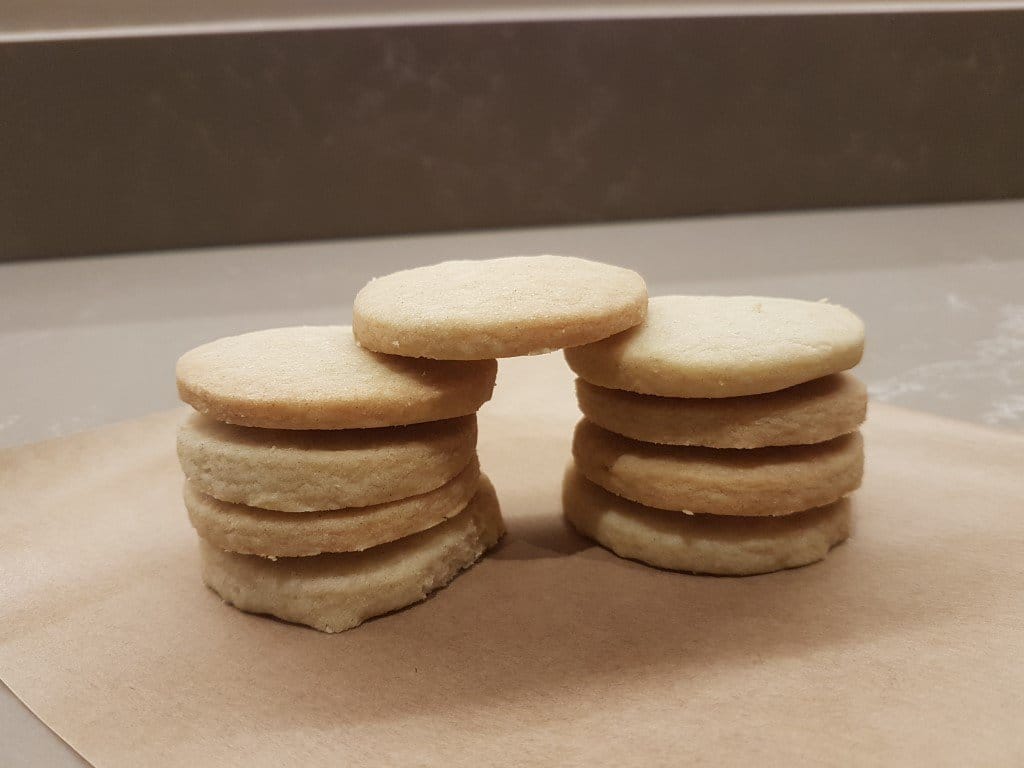
Instructions for the vanilla cookie recipe are as follows: I'll put some of my pics in too. I made these probably over eight years ago now, so I'm not too sure how many I made; however, as you're only testing the recipe and you are using them in moulds, you'll be able to gauge whether you need more or you have enough dough to work with.

Note: Make sure the butter is at room temp first.

Ingredients:
  • Icing Sugar - 50 grams
    Caster Sugar - 100 Grams
    1 Large Egg
    Half Teaspoon Vanilla Extract
    150 Grams - Unsalted Butter
    225 Grams Plain Flour Sieved - Extra For Dusting
Tip: You can add extra yolks to cookie dough to make them more tender if you prefer. However, as we use large eggs in this recipe, the tenderness is fine.

Bake 170°C - Fan Assisted - Middle Shelf for approx 10 - 15 Mins - Check after 10 mins.
Ensure golden or light brown.
Place on a wire rack to cool.


Method:​

Sieve the icing sugar and caster sugar into a mixing bowl. Add the egg and vanilla. Then mix it all together with a spoon until it turns into a liquid.

Vanilla cookies mini tutorial by help me bake 2.jpg

Add the flour in stages. I didn't put quantities on my notes, so as a rough guess, put in half the flour

Vanilla cookies mini tutorial by help me bake 3.jpg

Mix in, you might be better with a fork rather than a spoon, but the choice is yours.

Vanilla cookies mini tutorial by help me bake 4.jpg

Then cut the softened butter into chunks and add the butter in stages with the flour.

Vanilla cookies mini tutorial by help me bake 5.jpg

Mix with your hand to form a partial dough.

Vanilla cookies mini tutorial by help me bake 6.jpg

Then sieve the remaining flour.

Vanilla cookies mini tutorial by help me bake 7.jpg

Mix with hands to form a dough.

Vanilla cookies mini tutorial by help me bake 8.jpg

Lightly pat and smooth with your hands on a floured work surface.

Vanilla cookies mini tutorial by help me bake 9.jpg

Make a circle.

Vanilla cookies mini tutorial by help me bake 10.jpg

Double Wrap in Clingfilm and put in the fridge for about 2 hrs.

Vanilla cookies mini tutorial by help me bake 11 (Medium).jpg

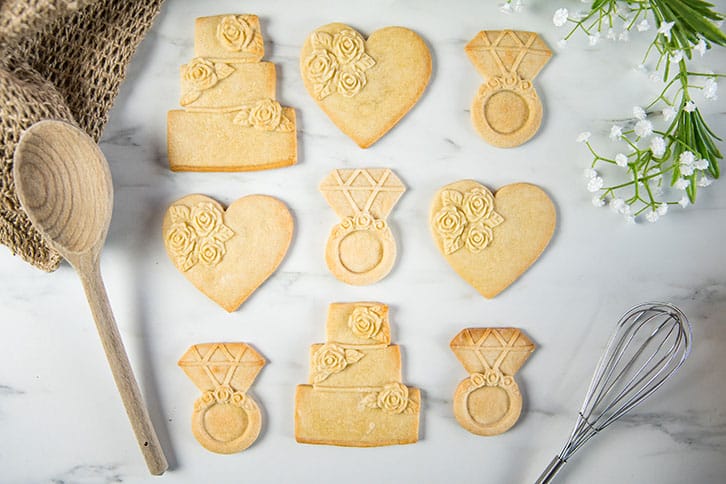
Once the dough has rested, pull off a chunk, keep the rest covered and then knead and roll out, or take some of the chunk and put it in your dusted moulds.

If you want to add skewers or lollipop sticks, rotate and twist them into the dough also, add an extra chunk on the back to hold/support the stick in place if you wish.

Vanilla cookies mini tutorial by help me bake 12 (Medium).jpg

Place the cookies on baking paper on the tray and ensure you leave enough room between the cookies on your baking tray so they can expand/bake.

I think that's everything. It'd be nice if these worked for you but let me know how you get on. 😊
 
Hi Jennie @Tintagel

Right so after putting this on here with my old pics, I've now made a batch of vanilla cookie dough today using the following ingredients.

Recipe Used:-
  • Icing Sugar - 50 grams
  • Caster Sugar - 100 Grams
  • 1 Large Egg
  • ½ Teaspoon Vanilla Extract
  • 150 Grams - Unsalted Butter
  • 225 Grams Plain Flour Sieved - Extra For Dusting
After following most of my instructions above, I did the following:
  • I used a fork to mix the egg and sugar combo together; it also helped squish some of the butter in which I found useful.
  • I decided to add the butter and flour in stages because the mix got a little bit wet when trying to knead and incorporate it all together in the bowl.
  • I also used food-safe gloves when kneading in the bowl.

Vanilla Cookies 22 by Help Me Bake 0 (Medium).jpg

Vanilla Cookies 22 by Help Me Bake 1 (Medium).jpg

Vanilla Cookies 22 by Help Me Bake 2 (Medium).jpg

Vanilla Cookies 22 by Help Me Bake 3 (Medium).jpg

Vanilla Cookies 22 by Help Me Bake 4 (Medium).jpg

Vanilla Cookies 22 by Help Me Bake 5 (Medium).jpg

This is how the dough was when I patted it around on the dusted surface.

Vanilla Cookies 22 by Help Me Bake 6 (Medium).jpg

The dough is currently resting in the fridge, and I will bake it later to see how it properly turns out. My dough is very orange looking because the yolk of my egg is very bright.
 
So, I removed the dough after just under 2 hrs, I took a chunk and rolled it out on a dusted surface. I then indented the words 'boo' into a few of them, used an embossing mould for a few of them and then did one in an intricate mould.

The word boo was very light and pretty much disappeared after they baked in the oven. The embossed ones were fine, as was the one in the mould.

The one in the mould slightly stuck on the edges, so I think I didn't use enough flour to release it, and the dough was a touch sticky so if using moulds, dust properly, put the dough in, then sit them in the freezer for about five mins and they should be easy to remove before baking

The one with the patterned mould embosser held its shape and most of the intricate detail, even though I didn't put it in the freezer.

I will post the pics tomorrow, but all in all, they taste good, are firm but tender when you bite into them and taste yummy. I only used a chunk of the dough, and I made six cookies, so I think the half recipe I used above would definitely be the one to use.
 
This was the mould I used for the patterned one.

Vanilla Cookies by Help Me Bake 10A (Medium).jpg

This was the others with the 'Boo' indents and the patterned embossed on the dough.

Vanilla Cookies 22 by Help Me Bake 11 (Medium).jpg

This is how they came out baked. I baked these for about 12 and a half minutes. I leave them on the paper and transfer them to a wire rack. That way, they are less likely to break as they are still a bit soft and start to firm up when cooling.

Vanilla Cookies 22 by Help Me Bake 12 (Medium).jpg

Biscuits can continue to bake once leaving the oven, so you have to be careful not to overbake them. These were yummy. I didn't wait until they were fully cooled because the kitchen smelt delicious.

Vanilla Cookies 22 by Help Me Bake 13 (Medium).jpg

I store mine, once cooled, in a zip-lock bag.

Vanilla Cookies 22 by Help Me Bake Stored (Medium).jpg

This was another quick batch I made this morning after chilling the dough overnight. These were a touch thicker than the ones I made yesterday, so I did these for 13 and a half mins. (I still had some dough left after doing these). So the dough will probably make roughly about 20 cookies, depending on size.

Vanilla Cookies 22 by Help Me Bake 16 (Medium).jpg

This is one of yesterday's cookies eaten today. They are still tender but not soft and hold their shape. They taste just as good as they did yesterday after storing them in the zip-lock bag.

Vanilla Cookies by Help Me Bake 14 (Medium).jpg

Anyway, this is enough cookie for me, so I await to see how your cookies come out. 👩‍🍳
 
I made my dough as per your recipe and they turned out great.
I used the Karen Davies Halloween mould for some.

81C6853A-AE48-47F0-B4C5-0A7931185522.jpeg

pressing the dough in carefully and into all the small areas. I only used the cauldron, pumpkin and ghost mould.

I also made some round cookies using a cutter and embossing with a couple of Halloween stamps.

B8D0410D-D86A-41C9-A730-F7C5675BDF9F.jpeg

i then chilled in fridge on the trays for 30 mins before baking for 10 mins at 180C

2F006AD2-8354-43A4-91B6-84D8E480136B.jpeg

After baking they seem to hold there shape well, though a couple I hadn’t pressed the stamp in as hard so the lettering wasn’t as clear.

78D214BD-2C52-43C1-B8E4-193C4539753F.jpeg 97601957-680B-4706-AC9D-5361149FCB8A.jpeg

I then left them to cool whilst I got my colours ready and here are the finished cookies.

36C09B17-4FD0-42A4-887D-557251071070.jpeg 98A09024-6815-44DD-8BA7-555A3F1D9A32.jpeg 36DFD88A-6AF3-4E0E-AF8D-90C40B089D8C.jpeg

really pleased with my first attempt. My hands shook a little doing the lettering so that wasn’t as clean as I would have liked it to be but I will keep practicing.
 
Aww, Jennie, I'm so glad they turned out for you. They're fabulous! :loveit: I love them; they're so cute. I think the Ghost and Pumpkin ones are my favourite.

As for the shaky hand, I couldn't tell and think your letter painting looks really good.

Well done! 🧑‍🍳

Did you taste test any of them? 😊
 
My hubby Nigel taste tested and said they were scrummy, melted in the mouth, I had to stop him eating them as they are for the gang at work.
I am waiting for some more stamps to come so will do another batch next week along with a Halloween cake for us.
 
Just finished the cookies for work decided to add some bats and mummies.

AFABBCEA-99BD-464D-94D2-E6DB429FF8DF.jpeg 79338CB1-D757-4D8A-9121-CFB847FB2C0C.jpeg
have tast tested and they are scrummy really pleased.

the mummies are decorated with white fondant “dirtied” up and the bats have chocolate fondant on them.
 
Lol! You're well into these cookies! Your work buddies must love you.

The bats look really good. I like the eye detail and the fangs, they are a good size, and everything looks authentic.

(The only thing I will say is that I have had mixed reactions to chocolate fondant in the past when I have used it. There are quite a lot of people that don't like it, my daughter being one of them, which is surprising because she loves everything chocolate. You might be fine, and your work colleagues may love it, but it's just to give you a heads-up from past experience).

What did you use to make the pattern in the Mummy strips/bandages? They look cute. If you want to 'dirty' the strips up a little more, dust them with a little cocoa powder or black lustre dust. If you're using black lustre dust for anything, use an old paintbrush as it dyes the bristles. Either that or touch black icing fondant and then stick your fingers over the white fondant. The black fondant dyes your fingers and will transfer over to the white, leaving dirty marks.

Did you draw spiders on the mummies? The 6th one on your tray is giving me creepy crawly vibes. It looks like they are crawling all over the Mummy.

Thank you for sharing the pics. 😊 I'm always interested to see what members make and how they put their own spin on things.
 
Last edited:
I received my last Halloween stamps so thought I would see how they worked.
The patterns came out really well….wish my painting was as good 😂
C7B65193-339D-419A-B5FD-831FA516B08F.jpeg 80EBD8E8-8914-4614-A8CF-41E6677C6F67.jpeg 7E29DD76-1424-497B-9D36-F79A868EA5B7.jpeg 0A3EA80A-5026-4FC0-9CF7-585AE2FFADD7.jpeg

my next bake will be my cake haven’t quite decided on my decoration but I have some ideas.
 
What were the stamps you used? I like the patterns on them.

When you paint them, do you use dust or edible paint? I'm just wondering if, on some of them, you might be able to use an edible marker to get into some of the grooves.

I think the pumpkin and the mean ghost ones are my favourites, and I do like that you have taken the time to put the fangs on the bats again, as the smallest detail can make the biggest difference. As for the cat and moon one, I wonder if you had done the moon yellow, it might have been more prominent.

I like the fact that you have taken the time to paint and decorate each one individually, which says a lot about you. The attention to detail is obviously there, and every time you make something new, you stretch yourself that little bit further. I commend you for your efforts and look forward to the cake. 👩‍🍳

I take it these cookies are going down a treat with all your colleagues? 😁
 

Users who are viewing this thread

Back
Top