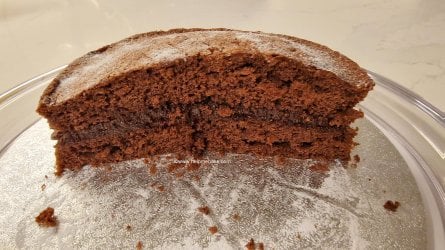
This chocolate cake is probably one of the nicest I've ever made. It's super moist, has an irresistible lightness and fluffiness to it, and has so much fibre-y goodness that it even persuaded my husband to indulge in a second slice!
In keeping with my half-and-half technique, I've again combined wholemeal and white flour in this recipe. This blend not only offers a delightful indulgence but also infuses a touch of wholesome goodness into every bite.
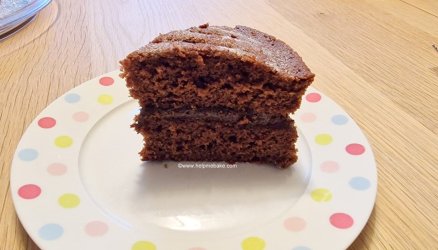
It doesn't take long to make either, and you can even use a pre-made filling, so why not give it a go?
Another healthier version of a lovely, sumptuous cake.
Enjoy!
Happy Baking!
In keeping with my half-and-half technique, I've again combined wholemeal and white flour in this recipe. This blend not only offers a delightful indulgence but also infuses a touch of wholesome goodness into every bite.

It doesn't take long to make either, and you can even use a pre-made filling, so why not give it a go?
To make this wholemeal chocolate cake, you will need to do the following:
Preheat your oven to:
- Fan assisted: 170ºC - (I baked mine on 175°C)
- Regular oven: 180º/190ºC (Approx)
- Fahrenheit: 338F
- Gas Mark: 3
Note: These cakes should be baked in the centre of the oven or whichever shelf your oven manual specifies. I have a large-capacity oven and bake on shelf 2, as advised.
Cake Ingredients:
- 150 Grams Ocado Granulated Sugar
- 150 Grams Country Life Spreadable Butter
- 3 Medium Ocado Eggs
- 65 Grams Allinson's Wholemeal Self-Raising Flour
- 65 Grams McDougall's Self-Raising Flour
- 20 Grams M&S Cocoa Powder
- 1.5 Tablespoons Cravendale Milk
- Cake Release Spray (Optional)
Cake Filling:
- Betty Crocker Indulgent Chocolate Fudge Filling (Optional)
- Alternatively - Chocolate Buttercream Recipe
I didn't make a filling for the cake simply because my daughter loves the Betty Crocker Chocolate Fudge Filling. Note that just because you make a cake, it doesn't mean to say that you always have to make a filling too.
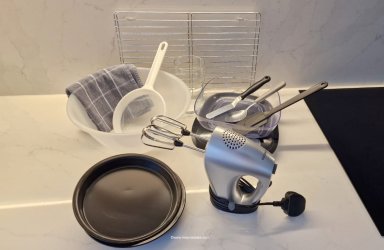
Equipment:
- Large Mixing Bowl
- Electric Hand Whisk
- Scales
- Large Spoon
- Large Glass (Optional)
- Sieve
- Spatula
- 8-inch Sandwich Tins
- Wire Racks
- Tea Towel (Optional)
Method
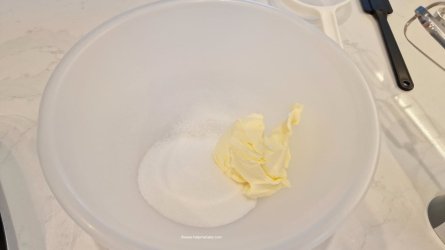
1 Weigh out the butter and sugar. Place them into a large mixing bowl.
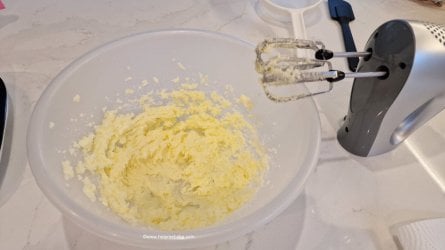
2 Mix them together using the electric hand whisk until they are combined.
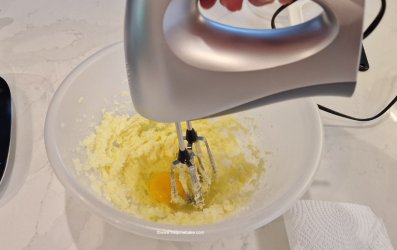
3 Add one egg at a time and mix in with the electric whisk.
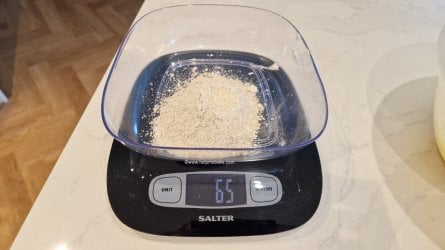
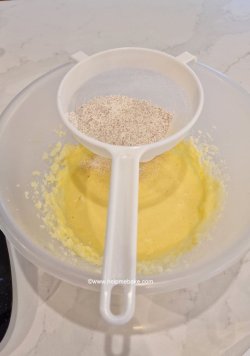
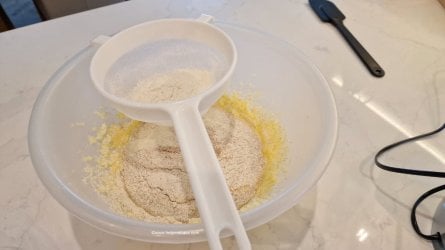
4 Weigh out the 65 Grams of Wholemeal flour and then sieve into the mixing bowl.
Some of the larger wholemeal pieces in the flour will remain in the sieve; tip these into the batter.
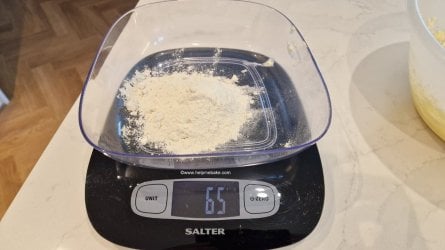
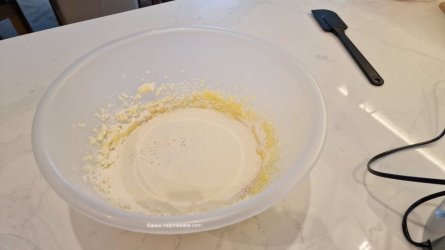
5 Now weigh out 65 Grams of the Mcdougall's Flour.
Sieve that into the batter.
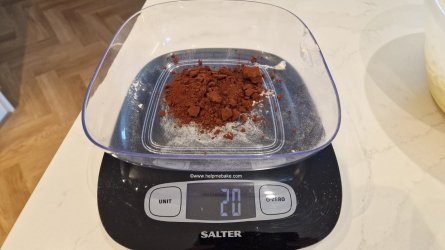
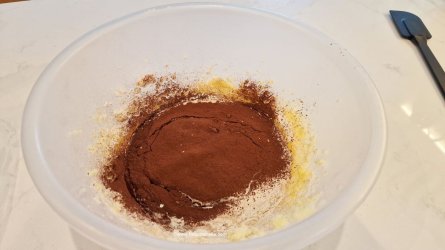
6 Now weigh out 20 Grams of the Cocoa Powder.
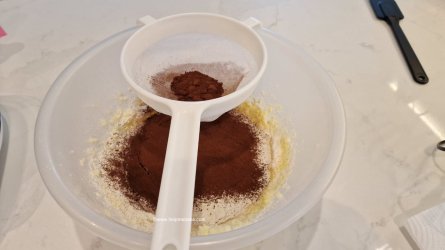
Sieve that into the bowl also.
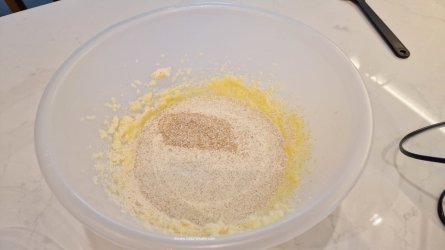
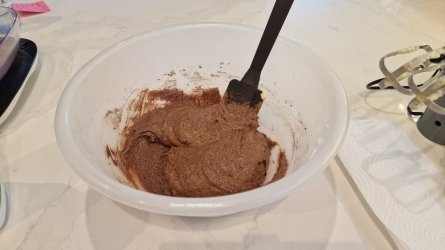
7 Stir the flours and the cocoa powder into the batter using a spatula.
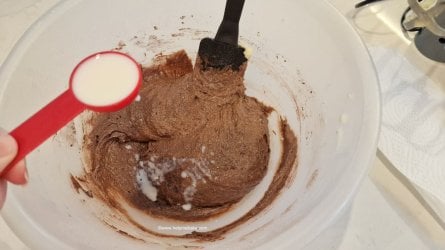
8 The batter will feel a bit thick/heavy, so this is where we add the milk.
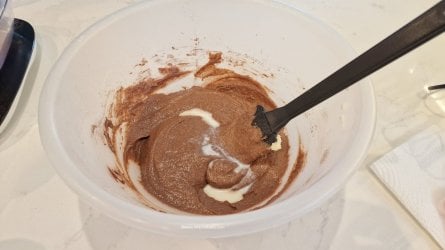
9 Stir the milk in using the spatula.
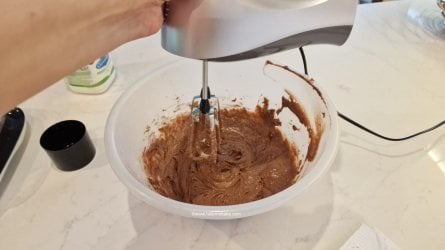
10 Then mix the batter together with an electric whisk for about 5-10 seconds.
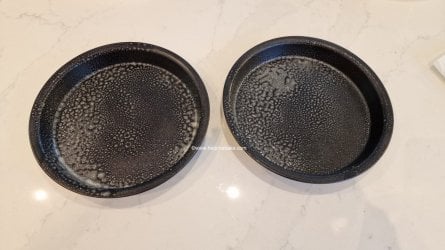
11 Now take the pre-greased tins.
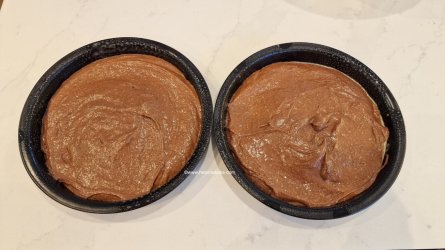
12 Split the mix between the two of them.
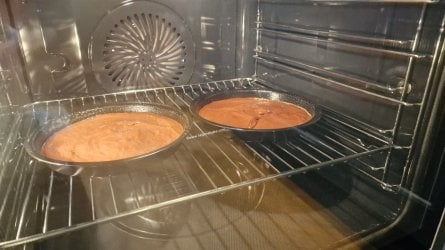
Place in the centre of the oven or the recommended shelf specified in your oven manual. I have a large capacity oven, so I baked them on shelf 2.
8 Bake for approximately 17 - 20 Minutes (depending on what temperature you baked it on), and they spring back to the touch. I baked mine for 17 minutes at 175 °C in a fan-assisted oven.
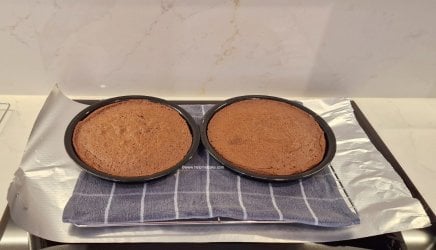
Once baked, I placed mine onto a wire rack with a damp tea towel on it. This allows the cakes to contract in the tin and shrink back, enabling the tins to come off easier. Leave the tins to cool for about 5 minutes.
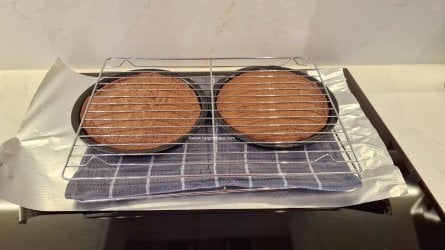
10 Then take another wire rack and place it across the top of the cakes.
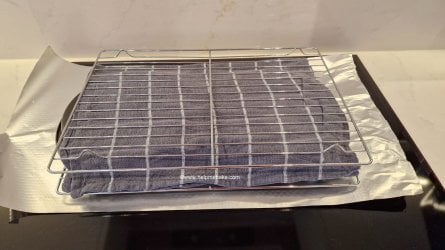
11 Then stick your fingers under the bottom wire rack, and your thumbs across the top wire rack, squeeze together softly and then flip the cakes/racks over.
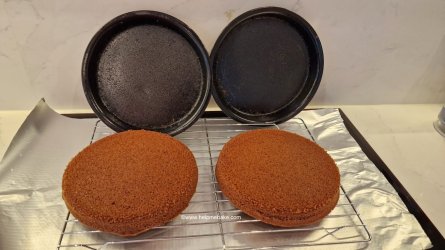
12 Remove the wire rack, remove the tea towel and then carefully lift the cake tins away from the cakes. Slowly!
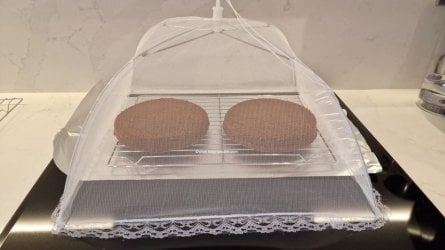
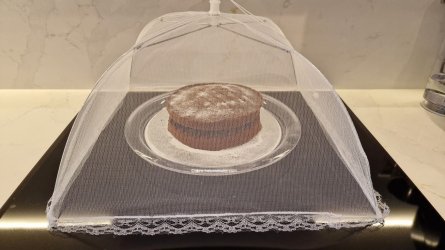
13 Leave the cake to cool. I left mine under a food tent until they were still slightly warm to the touch.
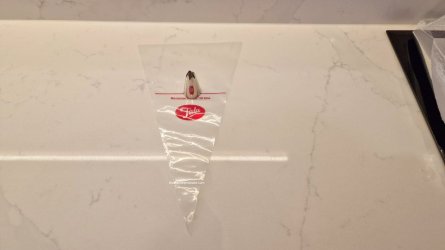
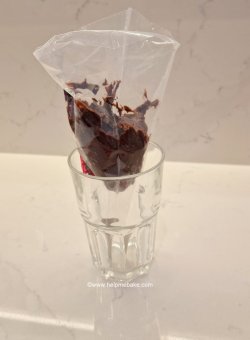
14 For the filling, you will need a piping bag and nozzle. I used a Tala piping bag and a 1M nozzle.
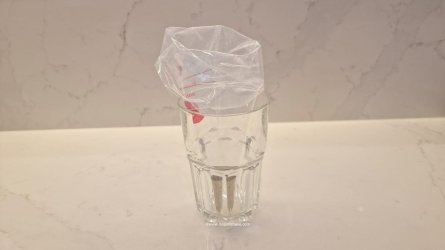
15 Place the nozzle into the piping bag and then snip off the tip of the piping bag with some scissors. Allow the nozzle to drop into the gap and sit firmly in the end of the piping bag. I then placed this in a glass so that I was hands-free when I put the filling in.
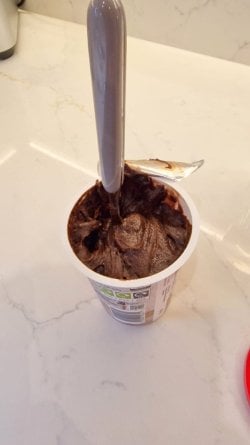
16 Stir the Betty Crocker filling with a spoon.
17 Then scoop some into the piping bag.
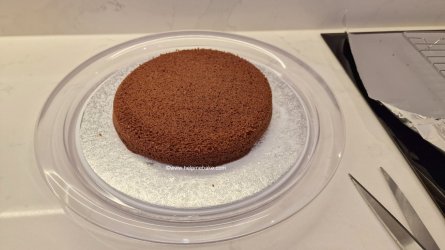
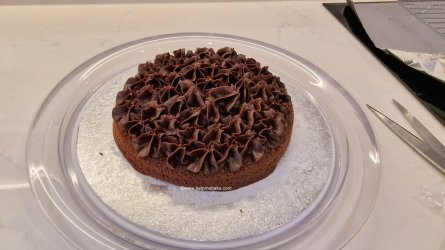
18 Place one of the cake layers onto a lightly dusted cake board. I used icing sugar to dust the board, and I did this so that the cake didn't stick to the board.
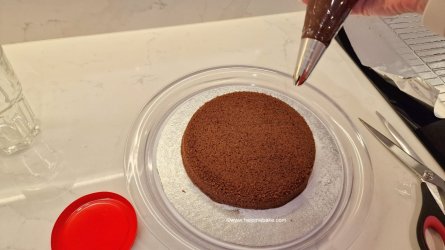
19 Then take the piping bag, squeeze the filling down to the nozzle, and then twist the top of the bag; this will allow you to pipe.
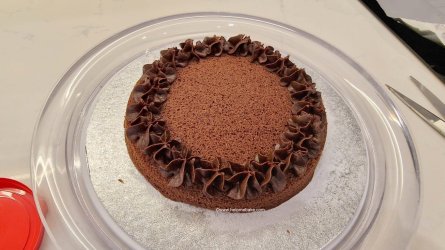
20 Pipe some chocolate filling around the outer edge first; this allows the filling to go all the way to the edge, and then you can work inwards.
21 Fill the cake with the filling; if you don't have a piping bag and nozzle, you can just use a knife and spread the filling instead.
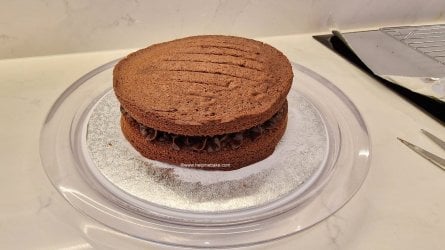
22 Once covered, put the top layer of the cake over the filling.
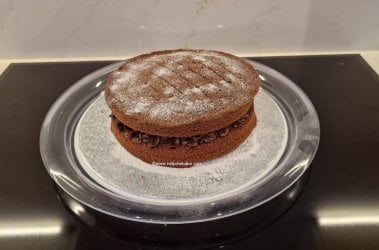
23 Lightly dust with icing sugar.
24 I then covered with the food tent until fully cooled.
25 This is what the inside of the cake looks like.
26 It can be served hot or cold; we tried it both ways, and it was equally delicious. When making the slice hot, we placed it in a bowl in the microwave and cooked for approximately 30 seconds. The filling melted, the cake was warm, and it was then served with a dollop of vanilla ice cream.
On the whole, I love the taste and texture of this cake. It's light and airy, and the half-and-half technique seems to complement the cake perfectly, adding that fibre-rich goodness we were looking for and enhancing the flavour and texture of the overall cake.Another healthier version of a lovely, sumptuous cake.
Enjoy!
Happy Baking!
Last edited:

