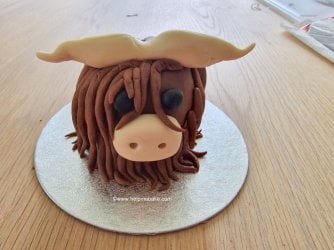
To get into the festive spirit, I have created another Terry's chocolate orange character, albeit this time a festive Highland Cow. 
Now I know that cows aren't typically Christmas related but having recently seen lots of things in stores and on the internet relating to Highland cows, I thought I would put my own twist on things and came up with the following. (Thanks Julie, for the inspiration!)
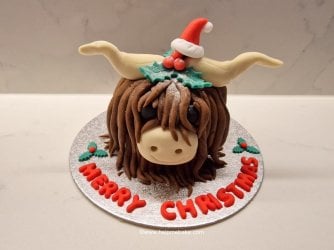
I will add bits of a tutorial to this, but at the minute, I just wanted to share her with you. I did umm and ahh about putting 'Moo' ry Christmas or Merry Christmoos but decided on the standard Merry Christmas instead.
I also gave Henrietta a light sprinkling of icing sugar on the top of her head to keep in with the Christmas/Snowy theme. I will add more to this post when I sort through my photos, but for now, you can just admire her as is.
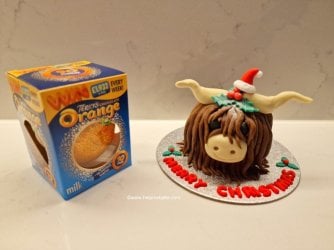
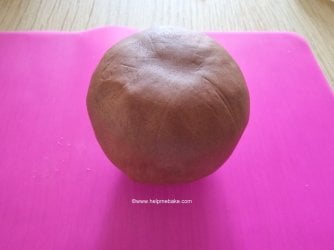
I pre-dyed some Saracino White Modelling Paste with Sugarflair Ivory/Caramel Dye to create the ivory colour for the horns and nose. I then rolled some of the paste into a sausage so that I could shape it into some horns.
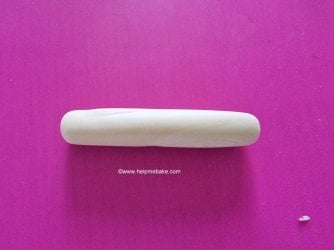
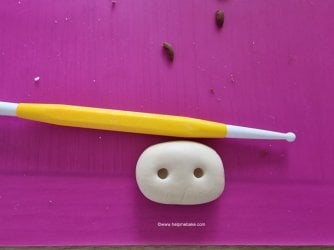
I used the rest to make the nose shape and indented it with the small end of a ball tool to create the nostrils. If you wish to create a mouth, use the end of a large piping nozzle to create the indent. (I did this later on when the cow was finished). (I think it looks better with a smiling mouth as it brings the whole thing to life).
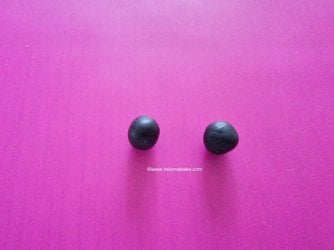
I then made the eyes using Renshaw Jet Black Icing and rolling them into small balls. To make the balls the same size, roll one ball and then cut it in half. Each side will be equal giving you the same-sized eyes.
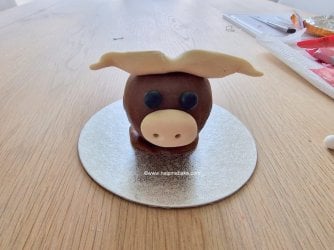
Once I'd shaped the horns by twisting the ends and using the side of my little finger to make the centre indent. I stuck them onto the chocolate orange, along with the eyes and the nose. Warning! Do not stick the nose on here; I will show you why further down. For this bit, just work out where your eyes need to be but don't stick the nose on yet!
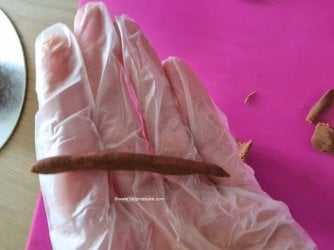
You then need to start rolling strands of hair using the Dark Brown Icing, you want to slightly taper the edges. This will add movement to your cow when you stick the strands on, and it will look like the hair is flowing.
I started at the back and layered the pieces.
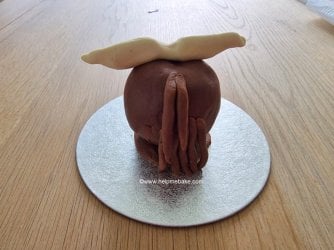
I did this all the way around the back until I reached the front. This is when I realised I had a problem with the nose.
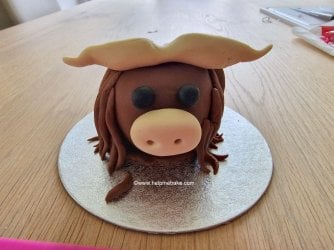
Because the strands have to cover the face, the nose is now in the way of where they need to be placed. So I then had to carefully peel the nose off so that I could continue the flow of the strands.
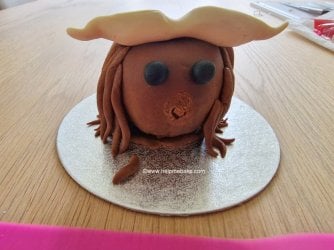
I then continued to stick some strands on the front of the face.
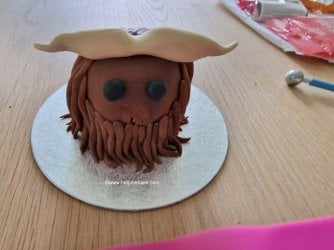
When you are happy with the amount of strands and the chin area is covered, stick the nose back on and then start adding strands from where the horns are down the face.
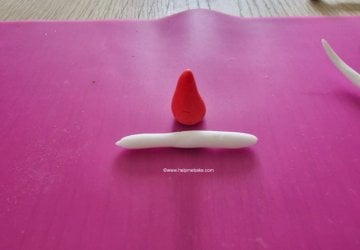
To add festive elements, I rolled a small cone of Saracino Red Modelling Paste and Regular White Icing to make a Santa Hat.
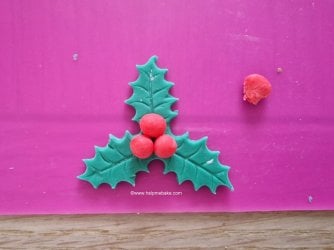
I then cut out some holly with my push cutters and rolled some berries. This was Emerald Green Renshaw Icing.
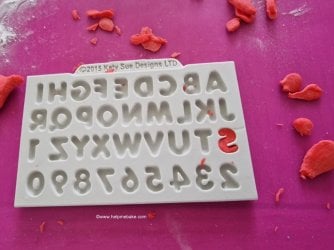
To make the Merry Christmas wording, I used my Katy Sue Alphabet mould and Saracino Red Modelling Paste to make the letters.
Once you put everything together, you'll end up with a Festive Highland Cow. You can see from this picture I indented the mouth using the piping tip.

I do hope you have a play about and make your own. They are great fun to do, and the kids will love them!
Enjoy!
Now I know that cows aren't typically Christmas related but having recently seen lots of things in stores and on the internet relating to Highland cows, I thought I would put my own twist on things and came up with the following. (Thanks Julie, for the inspiration!)

I will add bits of a tutorial to this, but at the minute, I just wanted to share her with you. I did umm and ahh about putting 'Moo' ry Christmas or Merry Christmoos but decided on the standard Merry Christmas instead.
I also gave Henrietta a light sprinkling of icing sugar on the top of her head to keep in with the Christmas/Snowy theme. I will add more to this post when I sort through my photos, but for now, you can just admire her as is.

Mini Tutorial
I covered the Terry's Chocolate Orange in Renshaw Dark Brown Icing.
I pre-dyed some Saracino White Modelling Paste with Sugarflair Ivory/Caramel Dye to create the ivory colour for the horns and nose. I then rolled some of the paste into a sausage so that I could shape it into some horns.

I used the rest to make the nose shape and indented it with the small end of a ball tool to create the nostrils. If you wish to create a mouth, use the end of a large piping nozzle to create the indent. (I did this later on when the cow was finished). (I think it looks better with a smiling mouth as it brings the whole thing to life).

I then made the eyes using Renshaw Jet Black Icing and rolling them into small balls. To make the balls the same size, roll one ball and then cut it in half. Each side will be equal giving you the same-sized eyes.

Once I'd shaped the horns by twisting the ends and using the side of my little finger to make the centre indent. I stuck them onto the chocolate orange, along with the eyes and the nose. Warning! Do not stick the nose on here; I will show you why further down. For this bit, just work out where your eyes need to be but don't stick the nose on yet!

You then need to start rolling strands of hair using the Dark Brown Icing, you want to slightly taper the edges. This will add movement to your cow when you stick the strands on, and it will look like the hair is flowing.

I started at the back and layered the pieces.

I did this all the way around the back until I reached the front. This is when I realised I had a problem with the nose.

Because the strands have to cover the face, the nose is now in the way of where they need to be placed. So I then had to carefully peel the nose off so that I could continue the flow of the strands.

I then continued to stick some strands on the front of the face.

When you are happy with the amount of strands and the chin area is covered, stick the nose back on and then start adding strands from where the horns are down the face.

To add festive elements, I rolled a small cone of Saracino Red Modelling Paste and Regular White Icing to make a Santa Hat.

I then cut out some holly with my push cutters and rolled some berries. This was Emerald Green Renshaw Icing.

To make the Merry Christmas wording, I used my Katy Sue Alphabet mould and Saracino Red Modelling Paste to make the letters.

Once you put everything together, you'll end up with a Festive Highland Cow. You can see from this picture I indented the mouth using the piping tip.

I do hope you have a play about and make your own. They are great fun to do, and the kids will love them!
Enjoy!


