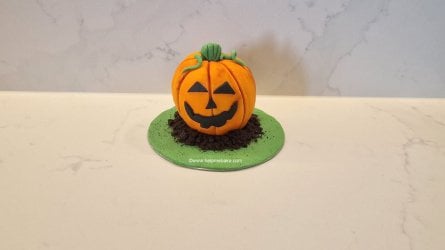
Welcome back, lovelies, to that eerily spooky time of year again. So with that in mind, I've crafted another Terry's chocolate orange, but this time, a Pumpkin for you to have a go at.
Not only are they quick and easy to do, but they are also a fangtastic thing to make with the kids. See what I did there! But the best bit is you don't have to have to be super skilled, as your pumpkins can be anywhere from super smooth to charmingly rustic. The choice is yours. All I want you to do is have fun making them.
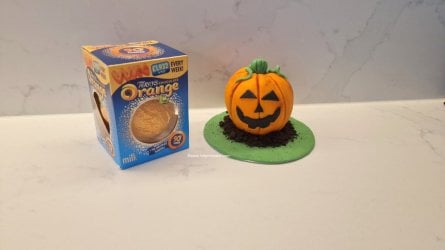
To make Terry's chocolate orange pumpkins, you'll need the following items. These are approximate weights, so you may have some icing left over.
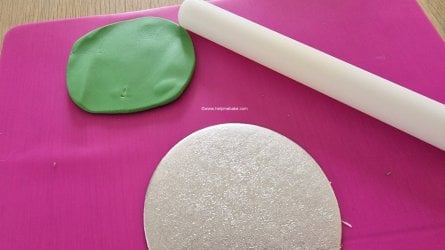
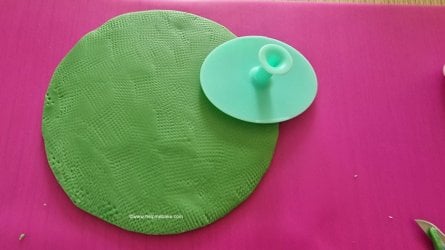
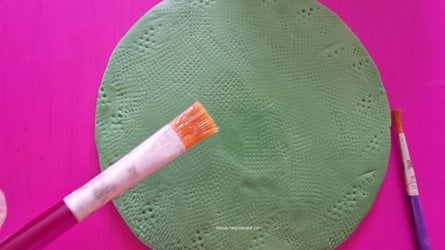
I then put a touch of piping gel on the centre of the board, placed the green oval shape over the top and rolled it out fully to ensure it covered the board. I then cut the excess off with a scalpel and ran my index over the edges to soften it and remove any scraggly pieces.
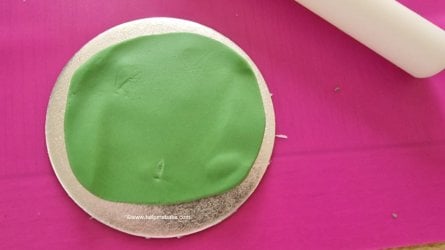
Once fully covered, I then gave the base a little texture using a silicone face scrub.
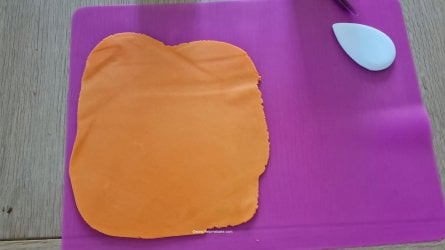
I then rolled out the tiger orange icing.
Now for the chocolate orange, as you can see, the orange has split into segments.
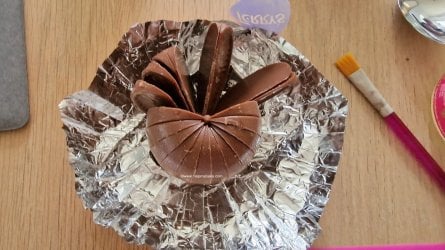
To stick the orange back together, I placed the chocolate orange in the centre of one hand to put all the segments back together and, with the other hand, placed a small piece of icing on the top to 'hold' the segments in place.
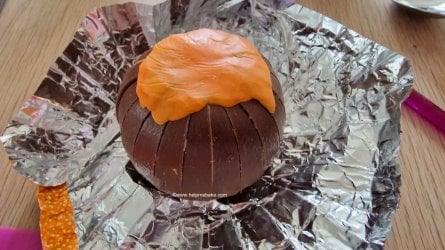
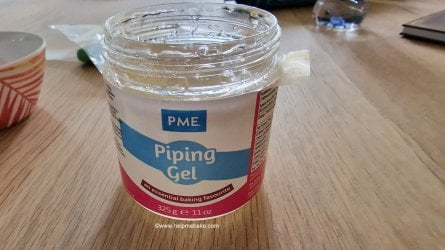
Now for the piping gel.
This was lightly painted over the chocolate orange.
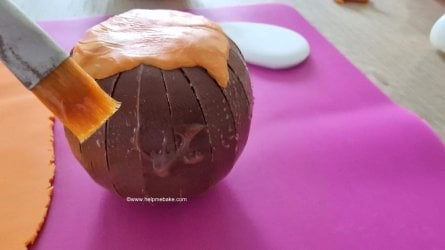
Ensure you lightly paint near the base of the chocolate orange to ensure the icing will stick to it.
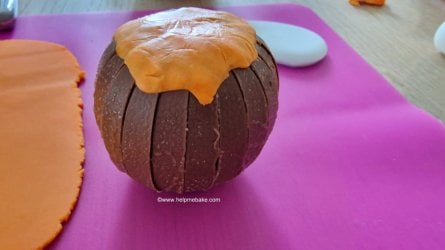
Now, use the pre-rolled orange icing and place it over the top of the chocolate orange.
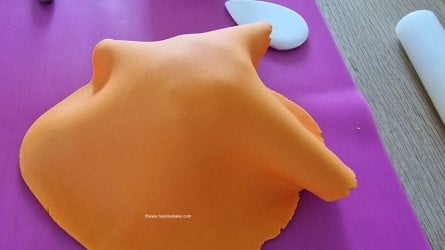
Smooth the icing with your hands, or smoother until it covers the chocolate orange.
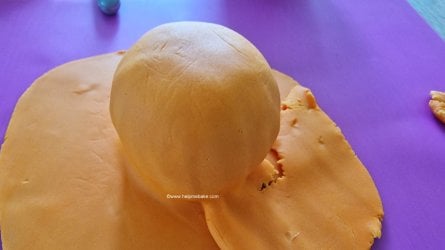
Then carefully cut/slice the excess icing off the bottom with a knife or scalpel, ensuring you leave about 1 cm excess so you can cover the bottom of the chocolate orange segments. Smooth the icing over the segments with your hands until they are all covered.
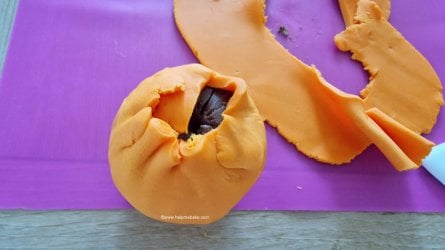
Then, turn the chocolate orange the correct way back onto your mat.
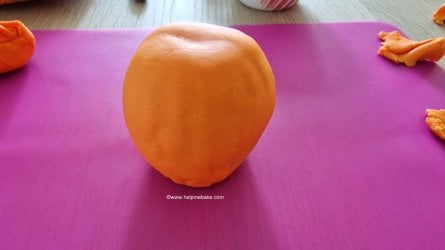
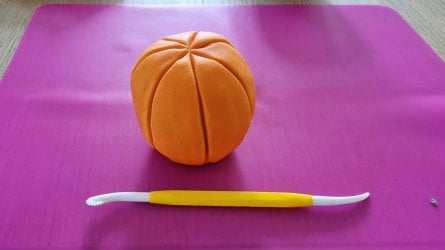
Now, take a Dresden tool and start to score the icing into segments.
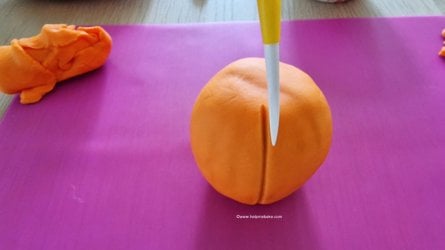
I scored seven lines down the icing.
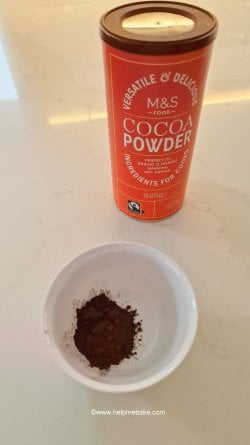
Now, take some brown lustre dust or cocoa powder.
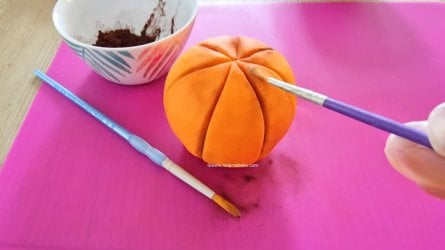
Using a small paintbrush, start to dust the lines with cocoa powder.
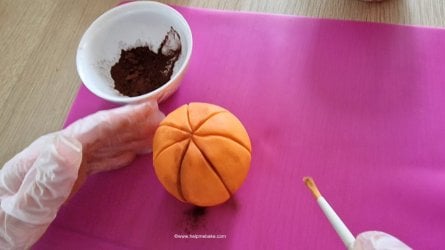
This gives shadow, definition and character to the pumpkin. I used different-sized brushes depending on the thickness of my scored lines.
To stick the chocolate orange pumpkin to the grass base, place a small amount of piping gel on the centre of the board.
Then place the pumpkin on top and indent a ball tool into the top.
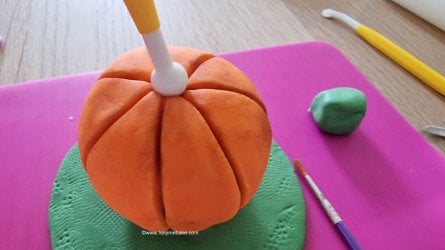
This leaves an indent for the stork.
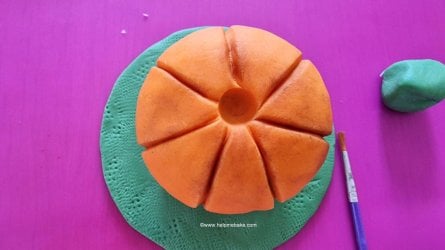
Now, take a small piece of Lincoln green icing.
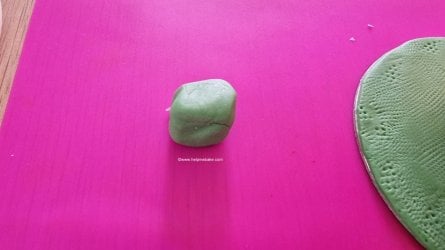
And form it in between your finger and thumb to make a triangular, rounded shape.
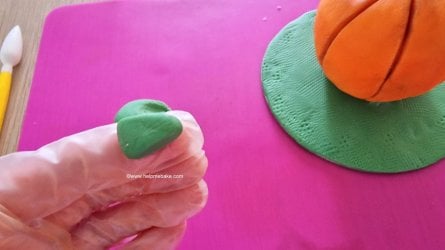
Place a little piping gel on the top, and then place the stork in the hole you just made. Press some grooves in the stork vertically for extra definition. (I did this at the end with a cocktail stick).
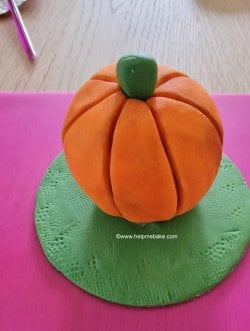
Then, take a little extra green icing and roll in your hands to make the vines.
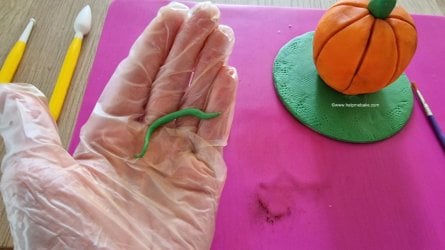
Place these on the top and use the edge of the Dresden tool to press them in the top near the stork. Either that or use a little glue to stick them in place.
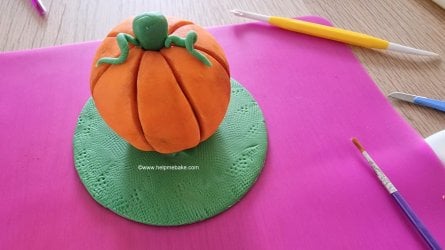
Now, take two Oreo biscuits.
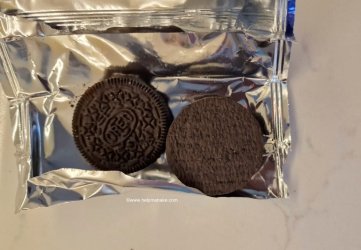
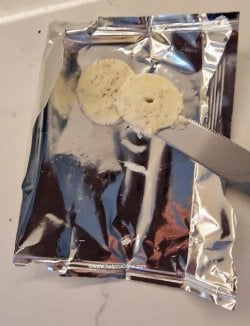
Twist them apart and carefully remove/scrape the cream using a knife.
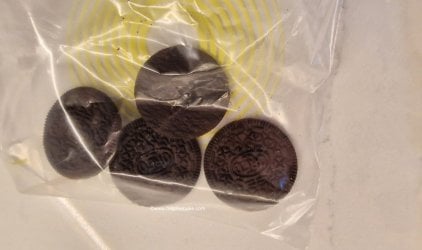
Place the Oreo biscuits in a plastic bag.
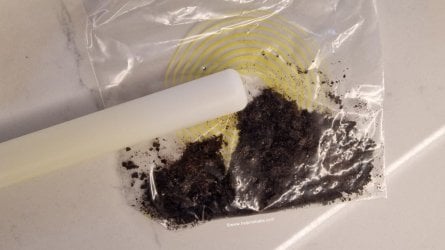
Bash with a rolling pin. Alternatively, place them in a bowl and lightly bash them that way like you would if you were using a pestle and mortar. Do this until they are crushed.
Use a little more piping gel around the base of the pumpkin.
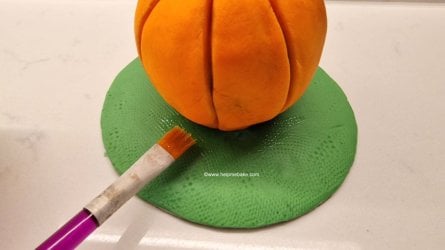
Sprinkle the Oreo biscuits around the base; this looks like mud.
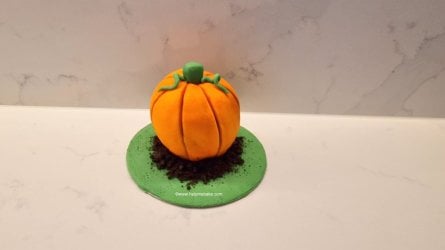
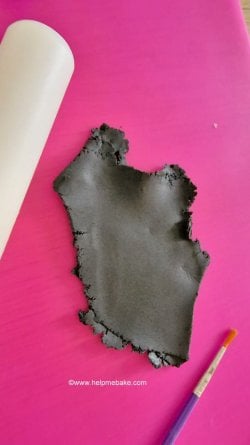
Now roll out a small piece of black icing.
Using a square cutter, cut a small square.
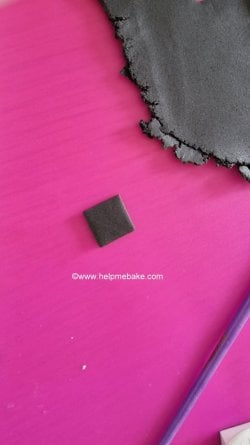
I then cut the square in half to create the triangular eye pieces. If you don't have a cutter, do it freehand. Then, using a small pastry cutter, cut a circle for the mouth.
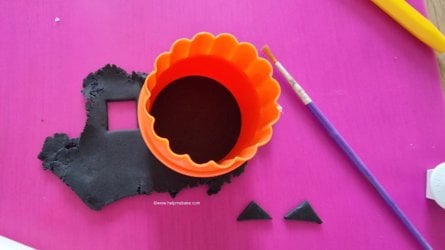
Re-insert the pastry cutter into the circle to create a crescent shape for the mouth.
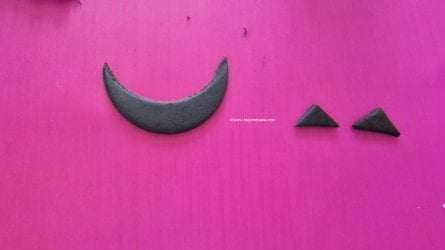
Using the square cutter, cut tiny pieces out of the mouth to create a wonky smile.
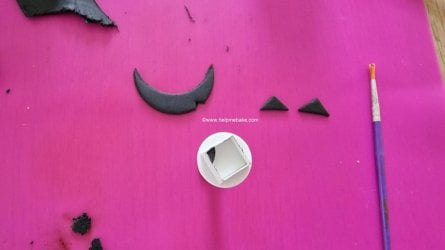
Once finished, these were then stuck to the pumpkin using small amounts of piping gel. I then decided to make a nose triangle to finish off the face.
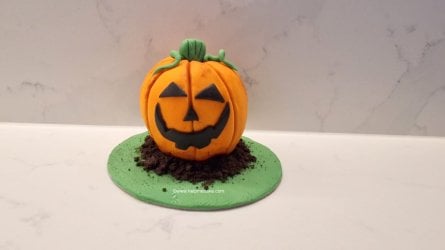
As the mouth was too high up near the eye sections, I trimmed it down slightly to balance out the face.
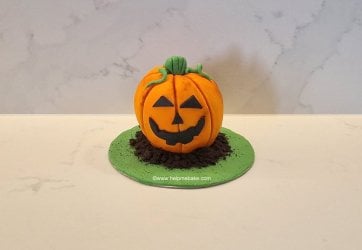
This is the final Pumpkin with a few added decorations for flair.
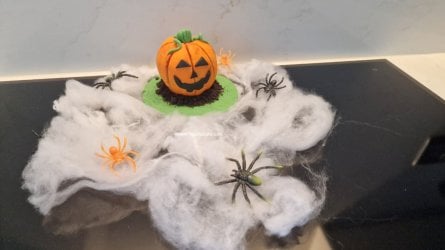
I do hope you like the Pumpkin and have fun making your own with their own personalities.
Enjoy!
Not only are they quick and easy to do, but they are also a fangtastic thing to make with the kids. See what I did there! But the best bit is you don't have to have to be super skilled, as your pumpkins can be anywhere from super smooth to charmingly rustic. The choice is yours. All I want you to do is have fun making them.

To make Terry's chocolate orange pumpkins, you'll need the following items. These are approximate weights, so you may have some icing left over.

Ingredients
- 1 x Terry's Chocolate Orange
- 65 Grams - Lincoln Green Icing - Base (Optional)
- 5 Grams - Lincoln Green Icing - Vines & Stork
- 150 Grams - Tiger Orange Icing - Pumpkin
- 10 Grams - Jet Black Icing - Face Pieces
- 2 x Oreo Biscuits (Optional)
- Cocoa Powder (Optional)
- Piping Gel
Equipment
- Dresden Tool or Toothpick
- Ball Tool or end of a Wooden Spoon
- Small Square Push Cutter (Optional)
- Small Rolling Pin
- Small Circle Pastry Cutter
- Thin Paintbrush for Dusting
- Paintbrush for Piping Gel
- 5-Inch Thin Cake Board
- Knife/Scalpel
- Silicone Mat
- Food Gloves (Optional)
- Small Plastic Bag (Optional)
- Small Bowl (Optional)
- Smoother (Optional)
- Silicone Face Massager (Optional)
Method
I rolled the Lincoln green icing into a flat oval shape.
I then put a touch of piping gel on the centre of the board, placed the green oval shape over the top and rolled it out fully to ensure it covered the board. I then cut the excess off with a scalpel and ran my index over the edges to soften it and remove any scraggly pieces.

Once fully covered, I then gave the base a little texture using a silicone face scrub.

I then rolled out the tiger orange icing.

Now for the chocolate orange, as you can see, the orange has split into segments.

To stick the orange back together, I placed the chocolate orange in the centre of one hand to put all the segments back together and, with the other hand, placed a small piece of icing on the top to 'hold' the segments in place.

Now for the piping gel.

This was lightly painted over the chocolate orange.

Ensure you lightly paint near the base of the chocolate orange to ensure the icing will stick to it.

Now, use the pre-rolled orange icing and place it over the top of the chocolate orange.

Smooth the icing with your hands, or smoother until it covers the chocolate orange.

Then carefully cut/slice the excess icing off the bottom with a knife or scalpel, ensuring you leave about 1 cm excess so you can cover the bottom of the chocolate orange segments. Smooth the icing over the segments with your hands until they are all covered.

Then, turn the chocolate orange the correct way back onto your mat.

Now, take a Dresden tool and start to score the icing into segments.

I scored seven lines down the icing.

Now, take some brown lustre dust or cocoa powder.

Using a small paintbrush, start to dust the lines with cocoa powder.

This gives shadow, definition and character to the pumpkin. I used different-sized brushes depending on the thickness of my scored lines.

To stick the chocolate orange pumpkin to the grass base, place a small amount of piping gel on the centre of the board.

Then place the pumpkin on top and indent a ball tool into the top.

This leaves an indent for the stork.

Now, take a small piece of Lincoln green icing.

And form it in between your finger and thumb to make a triangular, rounded shape.

Place a little piping gel on the top, and then place the stork in the hole you just made. Press some grooves in the stork vertically for extra definition. (I did this at the end with a cocktail stick).

Then, take a little extra green icing and roll in your hands to make the vines.

Place these on the top and use the edge of the Dresden tool to press them in the top near the stork. Either that or use a little glue to stick them in place.

Now, take two Oreo biscuits.

Twist them apart and carefully remove/scrape the cream using a knife.

Place the Oreo biscuits in a plastic bag.

Bash with a rolling pin. Alternatively, place them in a bowl and lightly bash them that way like you would if you were using a pestle and mortar. Do this until they are crushed.

Use a little more piping gel around the base of the pumpkin.

Sprinkle the Oreo biscuits around the base; this looks like mud.

Now roll out a small piece of black icing.

Using a square cutter, cut a small square.

I then cut the square in half to create the triangular eye pieces. If you don't have a cutter, do it freehand. Then, using a small pastry cutter, cut a circle for the mouth.

Re-insert the pastry cutter into the circle to create a crescent shape for the mouth.

Using the square cutter, cut tiny pieces out of the mouth to create a wonky smile.

Once finished, these were then stuck to the pumpkin using small amounts of piping gel. I then decided to make a nose triangle to finish off the face.

As the mouth was too high up near the eye sections, I trimmed it down slightly to balance out the face.

This is the final Pumpkin with a few added decorations for flair.

I do hope you like the Pumpkin and have fun making your own with their own personalities.
Enjoy!
