As we are fast approaching Halloween, I thought it only fair to put together some easy pumpkin cupcake toppers for you to have a go at with the kids. They are made up of basic shapes, and they can be as plain or intricate as you'd like them to be.
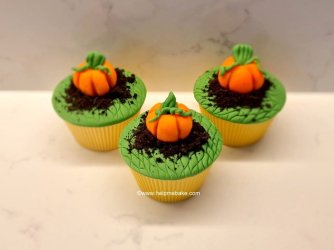
They taste yummy, look bright and will go down well at any Halloween party.
To make the Halloween Pumpkin Cupcake Toppers you will need the following:
1. To start with, take a few Oreos out of the packet.
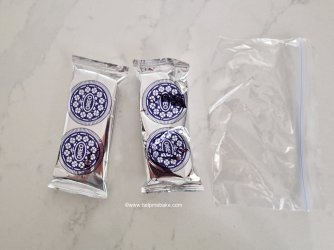
2. Split them in two.
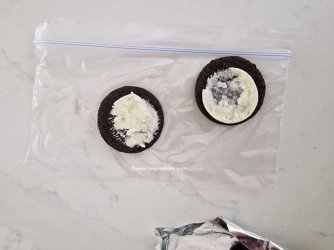
3. Scrape the cream out of the centre, place to one side or eat the filling.
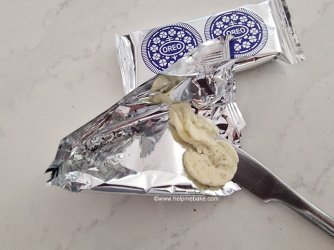
4. Place the biscuit part of the Oreo in a small food bag, and bash with the edge of the handle of the knife or a small rolling pin.
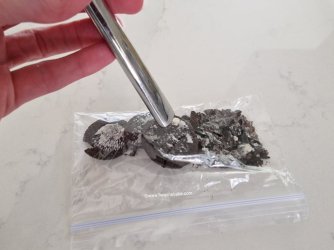
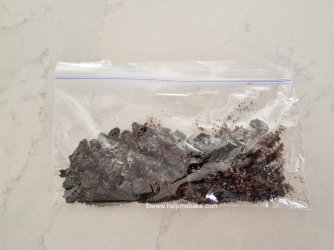
5. The Oreos need to be crushed into small pieces. Once done, place them to one side.
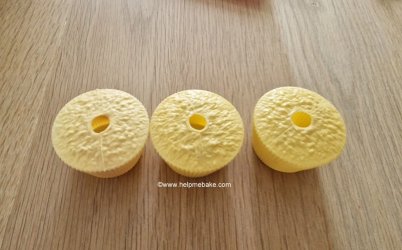
6. Then take your cupcakes, or in my case, my cupcake dummies and measure a circle cutter against the top of the cupcake. This so you know what size to cut your icing/fondant.
7. Now roll out some green fondant on a lightly dusted mat.
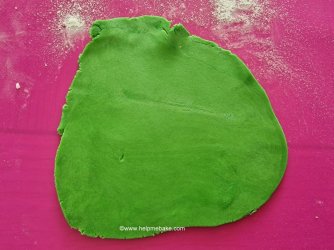
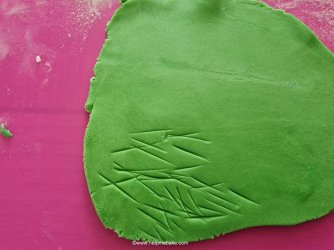
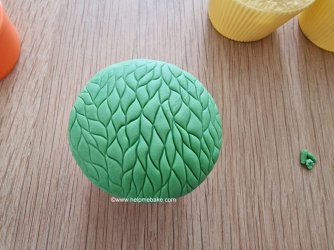
8. To make grass indentations, score it with the edge of the Dresden tool.
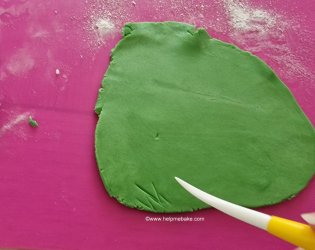
9. The more you score it, the more it looks like grass strands.
10. If, like me, you have an embosser, then you can use that instead.
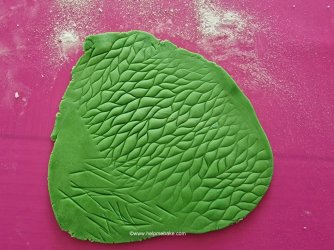
11. Once you have scored or embossed the icing/fondant, cut it with your circle cutter.
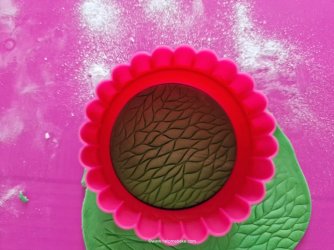
12. Stick the icing fondant to your cupcake using either jam/buttercream. I use a little water when using the cupcake dummies.
13. Now take a blob of orange icing/fondant.
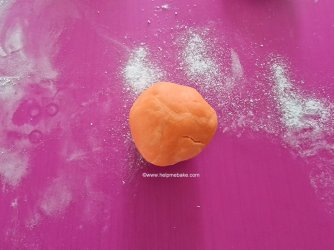
14. Size it against your cupcake.
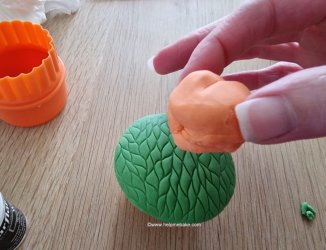
15. I found this to be a touch too big, so I removed a little.
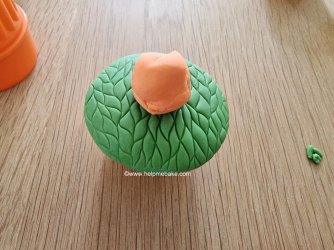
16. Once you are happy with the size, roll it into a ball. It doesn't matter if it has lines or creases in it, as this will add definition to your pumpkin. Again size it against your cupcake.
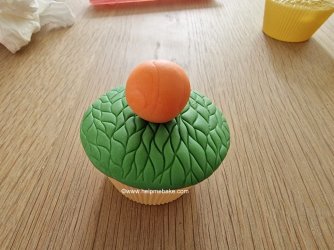
17. Remove the orange ball and indent it with a ball tool.
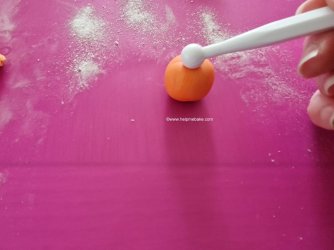
18. Not too deep but enough to make an indentation in the top.
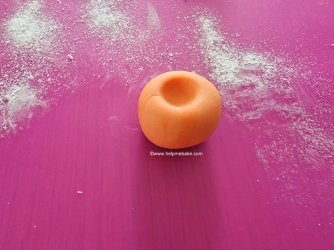
19. Now you need the Dresden tool.
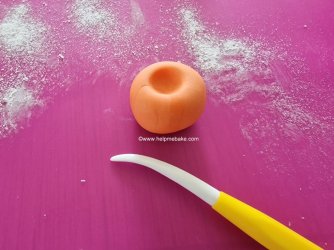
20. Pick the pumpkin up and score lines around the exterior.
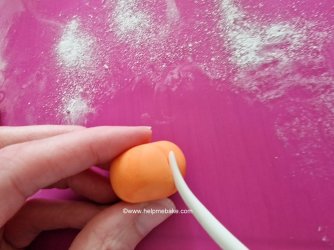
21. Space the grooves out evenly along the edge.
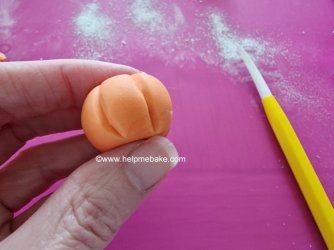
22. Then go back over them and make them a little wider.
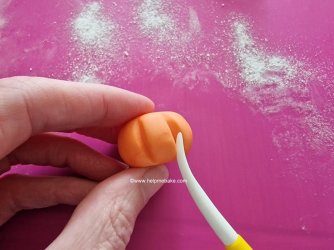
23. You will now need a little cocoa powder.
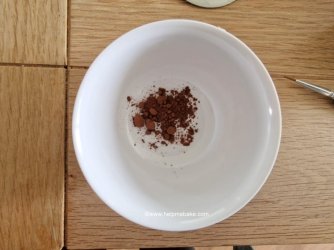
24. Lightly brush this into the grooves you created on the exterior of the pumpkin. This dirties the pumpkin slightly and adds definition and shadowing to the grooves
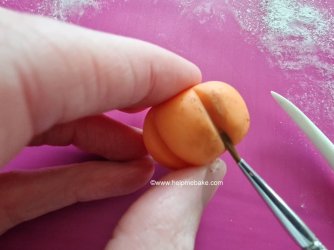
25. Then, stick the pumpkin on the cupcake with a little edible glue or water.
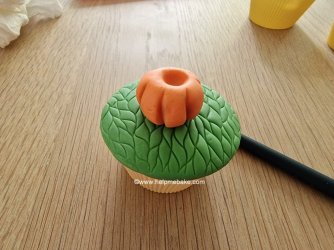
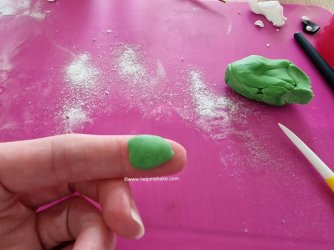
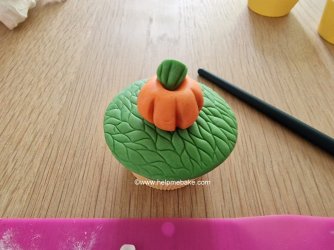
26. Now take a small piece of green icing/fondant and make a triangular shape with it in between your fingers.
27. Then make some indents in it with the Dresden tool.
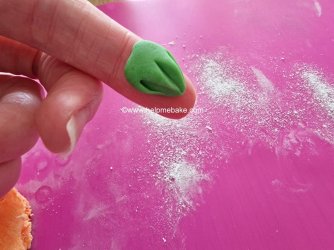
28. Stick this to the top of the pumpkin.
29. Then take another small piece of green icing/fondant and make a small worm/thin sausage shape with it.
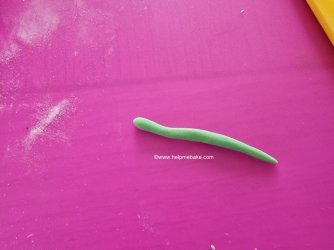
30. Twist the icing/fondant between your fingers to make it into a vine.
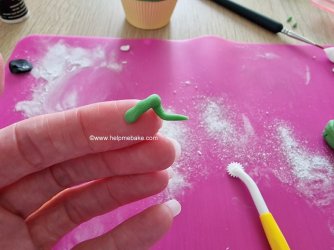
31. Stick these to the pumpkin using a little water or edible glue.
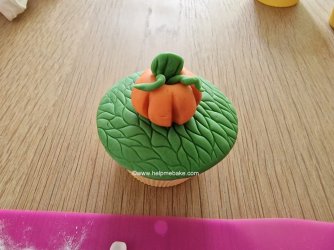
32. Then lightly apply a little water/edible glue around the base of the pumpkin on the grass area.
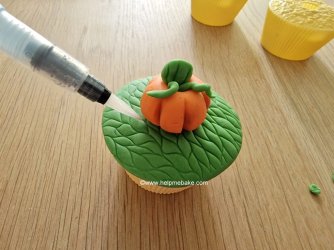
33. You will now need your crushed Oreos that we made before.
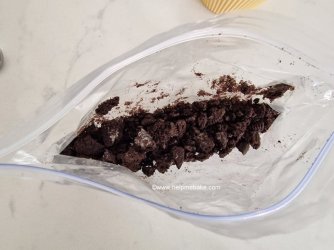
34. Take a small teaspoon and lightly cover around the edge of the pumpkin.
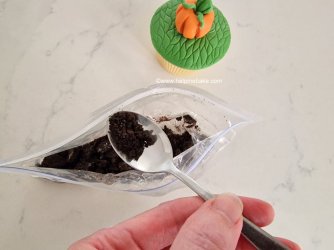
35. The Oreos are used to represent the dirt/soil.
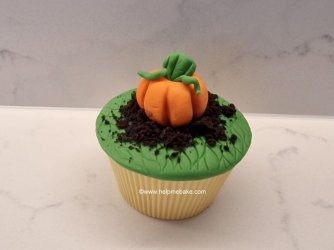
And there you have a quick and easy pumpkin topper for Halloween.

They taste yummy, look bright and will go down well at any Halloween party.
To make the Halloween Pumpkin Cupcake Toppers you will need the following:
Ingredients/Equipment
- Batch of Cupcakes
- Jam or Buttercream
- Oreos
- Green and Orange Icing/Fondant
- Icing Sugar for Dusting
- Silicone Mat
- Small Rolling Pin
- Dresden Tool
- Ball Tool
- Circle Cutter
- Edible Glue/Water Pen
- Cocoa Powder
- Thin Paintbrush
- Small Food Bag
- Teaspoon
- Knife
Method
1. To start with, take a few Oreos out of the packet.

2. Split them in two.

3. Scrape the cream out of the centre, place to one side or eat the filling.

4. Place the biscuit part of the Oreo in a small food bag, and bash with the edge of the handle of the knife or a small rolling pin.

5. The Oreos need to be crushed into small pieces. Once done, place them to one side.

6. Then take your cupcakes, or in my case, my cupcake dummies and measure a circle cutter against the top of the cupcake. This so you know what size to cut your icing/fondant.

7. Now roll out some green fondant on a lightly dusted mat.

8. To make grass indentations, score it with the edge of the Dresden tool.

9. The more you score it, the more it looks like grass strands.

10. If, like me, you have an embosser, then you can use that instead.

11. Once you have scored or embossed the icing/fondant, cut it with your circle cutter.

12. Stick the icing fondant to your cupcake using either jam/buttercream. I use a little water when using the cupcake dummies.

13. Now take a blob of orange icing/fondant.

14. Size it against your cupcake.

15. I found this to be a touch too big, so I removed a little.

16. Once you are happy with the size, roll it into a ball. It doesn't matter if it has lines or creases in it, as this will add definition to your pumpkin. Again size it against your cupcake.

17. Remove the orange ball and indent it with a ball tool.

18. Not too deep but enough to make an indentation in the top.

19. Now you need the Dresden tool.

20. Pick the pumpkin up and score lines around the exterior.

21. Space the grooves out evenly along the edge.

22. Then go back over them and make them a little wider.

23. You will now need a little cocoa powder.

24. Lightly brush this into the grooves you created on the exterior of the pumpkin. This dirties the pumpkin slightly and adds definition and shadowing to the grooves

25. Then, stick the pumpkin on the cupcake with a little edible glue or water.

26. Now take a small piece of green icing/fondant and make a triangular shape with it in between your fingers.

27. Then make some indents in it with the Dresden tool.

28. Stick this to the top of the pumpkin.

29. Then take another small piece of green icing/fondant and make a small worm/thin sausage shape with it.

30. Twist the icing/fondant between your fingers to make it into a vine.

31. Stick these to the pumpkin using a little water or edible glue.

32. Then lightly apply a little water/edible glue around the base of the pumpkin on the grass area.

33. You will now need your crushed Oreos that we made before.

34. Take a small teaspoon and lightly cover around the edge of the pumpkin.

35. The Oreos are used to represent the dirt/soil.

And there you have a quick and easy pumpkin topper for Halloween.
Last edited:
