Seeing as we're heading towards Christmas, I thought I'd make a start on some festive Reindeer Hot Chocolate cones to get you in the mood.
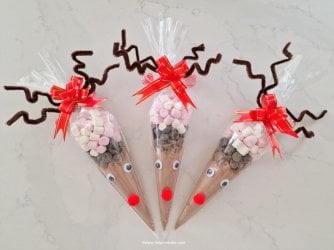
Great to make or receive, these bundles of goodness will make anyone smile. Add to that they don't take long to make but will show the recipient that you are in the Christmas spirit. Who could resist?
Below is a quick guide on how to make them, and even better, you can add your own ingredients and personalise them too.
Turn the cellophane cone upside down, so the hot chocolate mix starts pouring out of the sachet into the cone. Then slowly pull the sachet out of the cone allowing the hot chocolate mix to pour out slowly.
The reason being is if you pour the hot chocolate from the top of the bag, the fine powder will coat the inside of the cone and ruin the overall effect of the reindeer. Discard the hot chocolate sachet.
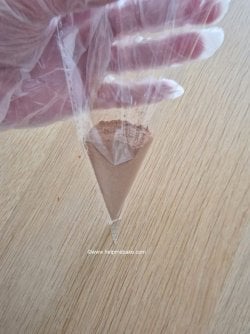
Now for the dark chocolate chips. (I use Callebaut Belgian Chocolate).
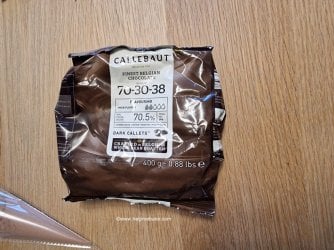
Take a handful and place them in the cone in one go. (If you sprinkle them in one by one, the chips will drop down through the chocolate mixture), whereas if you drop a small handful in one go, they spread across the bag and hold in place.
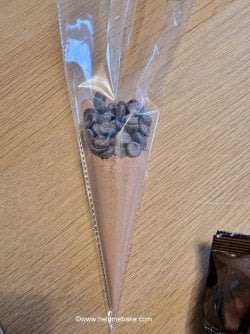
I then added some Marshmallows.
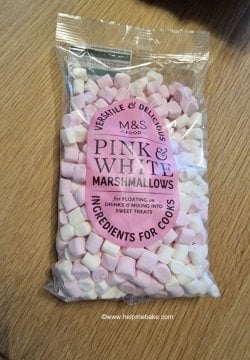
Again take a small handful or pour the marshmallows into the cone.
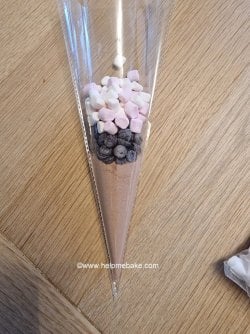
Now you can close/seal the top of the cone with a small band, or I chose to use a gold tie.
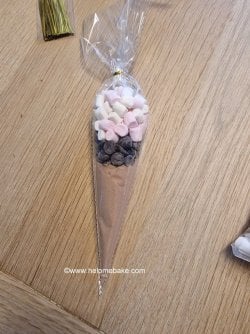
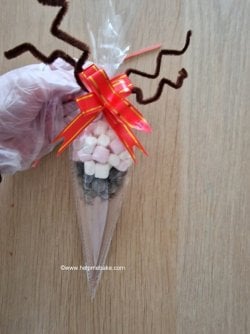
Once the top is secured, you can then wrap the brown pipe cleaners around the top of the cone.
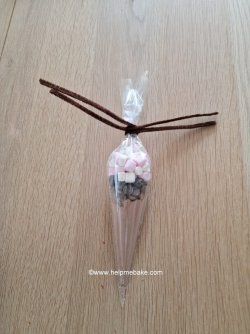
Bend them into shape to look like antlers.
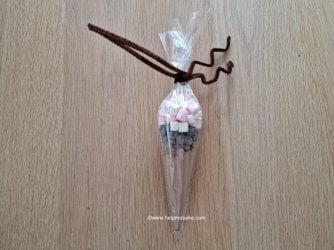
To make the cone a little more festive, I added a red pull bow.
I then stuck the eyes and nose on with a bit of glue.
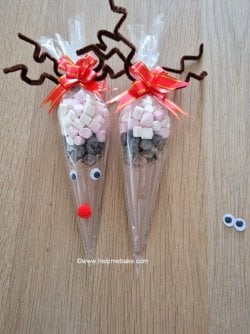
Now you can place the nose wherever you choose, but having placed the nose in the middle and at the end, as seen below, I think the nose looks better in the middle. When the nose is at the end of the cone, it gives me mouse vibes.
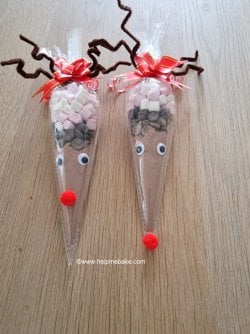
You can have your design however you like, but I settled on the nose being in the middle.
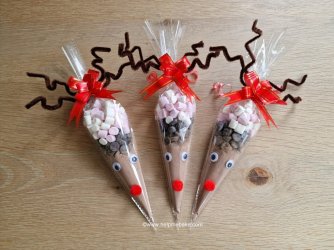
These are adorable gifts and very easy to make. I hope you have a go at making them and see how yours turn out.
Enjoy and Happy Making!

Great to make or receive, these bundles of goodness will make anyone smile. Add to that they don't take long to make but will show the recipient that you are in the Christmas spirit. Who could resist?
Below is a quick guide on how to make them, and even better, you can add your own ingredients and personalise them too.

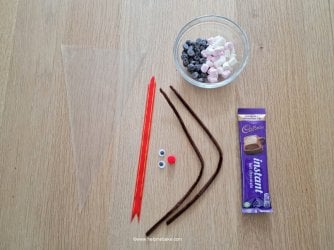
Ingredients/Equipment
- Cellophane Cone
- Red Pull Bow
- Googly Eyes
- Red Pom Poms
- Brown Pipe Cleaners
- Instant Hot Chocolate Mix
- Dark Chocolate Chips
- Small Marshmallows
- Scissors/Glue
- Food Safe Gloves (Optional)
- Gold Tie Seal (Optional)
Method
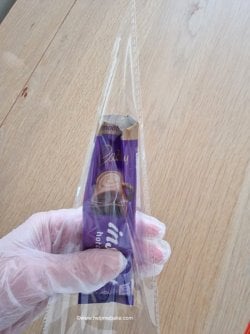
Open the hot chocolate mix sachet and then place the cellophane cone over the top of it. Push it up to as near the tip of the cone as possible. Like so...
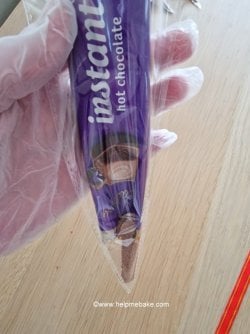
Turn the cellophane cone upside down, so the hot chocolate mix starts pouring out of the sachet into the cone. Then slowly pull the sachet out of the cone allowing the hot chocolate mix to pour out slowly.

The reason being is if you pour the hot chocolate from the top of the bag, the fine powder will coat the inside of the cone and ruin the overall effect of the reindeer. Discard the hot chocolate sachet.

Now for the dark chocolate chips. (I use Callebaut Belgian Chocolate).

Take a handful and place them in the cone in one go. (If you sprinkle them in one by one, the chips will drop down through the chocolate mixture), whereas if you drop a small handful in one go, they spread across the bag and hold in place.

I then added some Marshmallows.

Again take a small handful or pour the marshmallows into the cone.

Now you can close/seal the top of the cone with a small band, or I chose to use a gold tie.

Once the top is secured, you can then wrap the brown pipe cleaners around the top of the cone.

Bend them into shape to look like antlers.

To make the cone a little more festive, I added a red pull bow.

I then stuck the eyes and nose on with a bit of glue.

Now you can place the nose wherever you choose, but having placed the nose in the middle and at the end, as seen below, I think the nose looks better in the middle. When the nose is at the end of the cone, it gives me mouse vibes.

You can have your design however you like, but I settled on the nose being in the middle.

These are adorable gifts and very easy to make. I hope you have a go at making them and see how yours turn out.
Enjoy and Happy Making!
