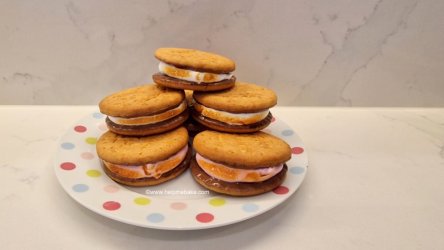
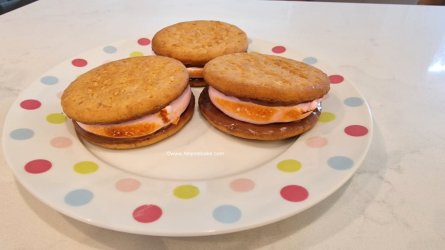
If you've ever wanted to whip up those ooey-gooey marshmallow treats that our American friends love so much, well, now you can.
Not only have I put together a quick and easy S'mores tutorial. But you can make a batch of them in a matter of minutes without the need for a bonfire! Having said that, if you are aiming for authenticity, then you can char them using a kitchen blow torch, although that bit's entirely optional.
(Please note that children should be supervised by an adult at all times whilst making these).
Ingredients/Equipment
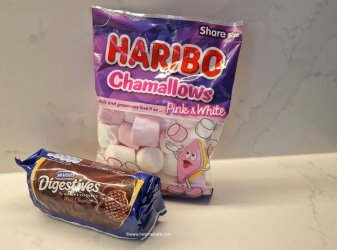
- Chocolate Digestive Biscuits
- Marshmallows
- Butter Knife/Skewer
- Small Plates
- Kitchen Blow Torch (Optional)
Method
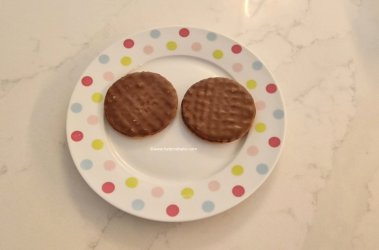
Remove the chocolate digestives from their packaging and place them on a small plate. You will need two biscuits per s'more.
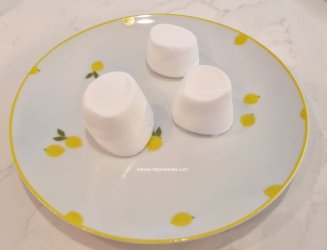
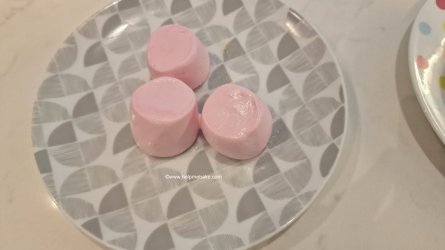
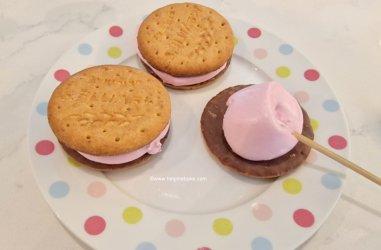
Then, take some marshmallows out of their packaging and place them on a separate plate. Place them in the microwave for approximately 15-20 seconds on full power. (Please note that they expand and increase in size when you do this). Then, remove them and place them on the side.
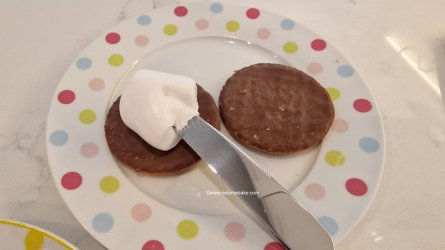
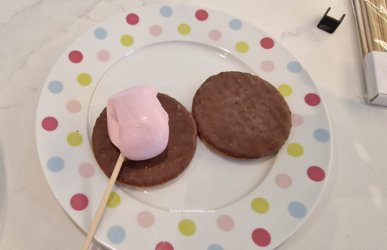
You can then use either a knife or skewer to transfer them onto the chocolate biscuits.
You can see by the pictures how gooey they are.
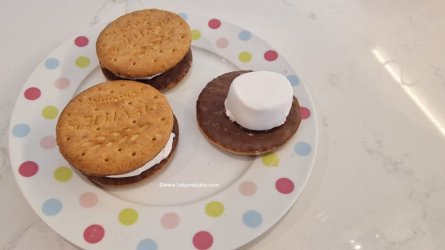
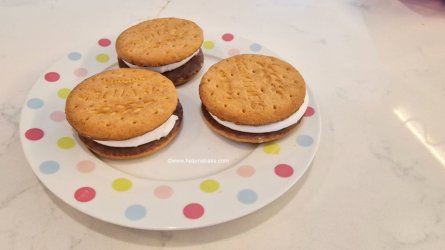
Once the marshmallow is on the chocolate, take the other chocolate biscuit and place it on top, sandwiching the marshmallow in between.
Repeat the process with your other melted marshmallows until you have the required amount,
This is where you can leave the s'mores or make them more authentic.
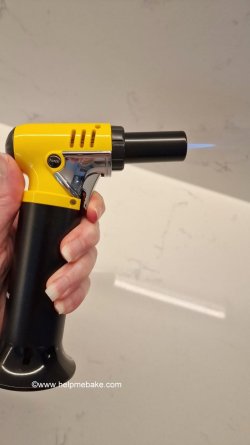
For authentic s'mores, take a kitchen blow torch.
Place it on a short flame and very carefully toast the edges of your marshmallow.
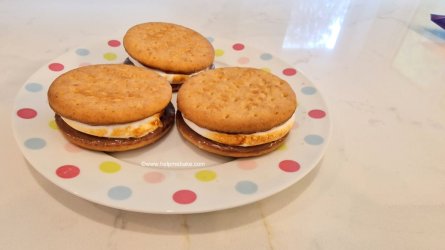
This gives them that charred, authentic look.
And there you have it, beautifully toasted s'mores.
Troubleshooting
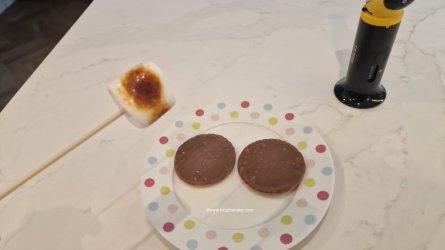
Now, even though I have lovely-looking s'mores above, and they are very easy to make, if you don't melt the marshmallow properly, you'll end up with the following issues...
...when s'mores go bad!
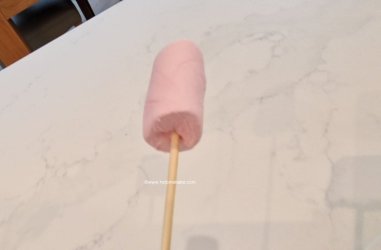
I tried torching the marshmallows first attached to a skewer. This only torched the exterior of the marshmallow.
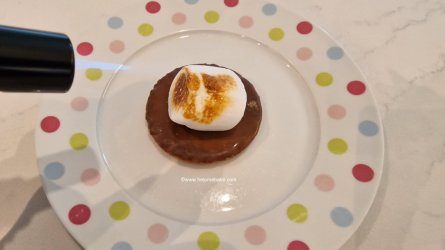
I then tried torching the marshmallow directly on the biscuit.
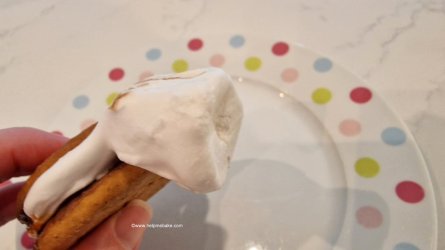
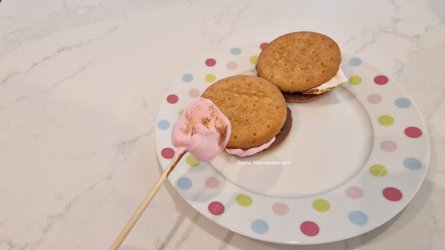
Unfortunately, it didn't soften the middle, and I ended up with leftover marshmallow hanging out the sides of the biscuit.
I then tried flattening the marshmallow.
This didn't work either, as when I sandwiched it between the biscuits, I still had some left on the skewer.
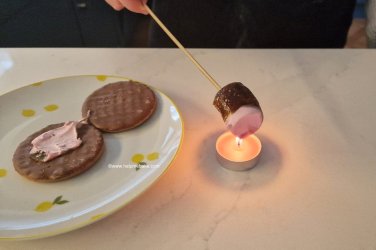
We then used the tea lights method, which was something my daughter had learned how to do at Guides.
You can see by the above picture this just charred the exterior and had to be re-heated to try and soften further.
So, having seen these pics and the things not to do, you'll now be able to make a lovely batch like the ones at the top of the tutorial.
I hope you have a lot of fun making them.
Enjoy!
Last edited:

