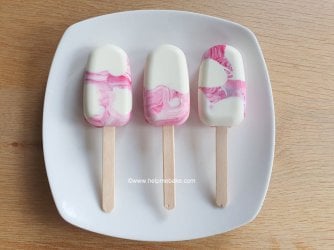
Cakesicles are the new trendy sweet treat that seem to be doing the rounds at the minute. Great for Weddings, Baby Showers, Mother's Day gifts, you name it Cakesicles fit the bill.
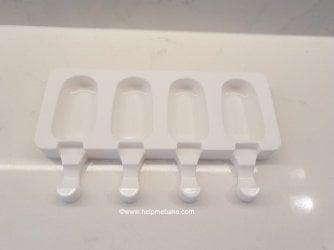
If you are doing a two-tone design like me, then spoon some of the white candy melts into the mould first like so. Leave gaps/spaces in the mould for your other colours. Ensure that you push the lollipop stick through the base hole so that you make a hole where the stick needs to be, and then remove the stick. Place the mould in the fridge for about ten minutes until set.
When the first coat has set, you can move on to the dyes.
If using dyes, melt some additional melts and add a few drops of dye to the mix.
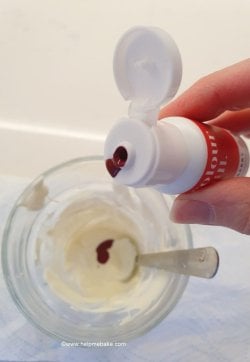
Stir the dye in until you get the colour or marble texture you want. If you want a marble texture, don't stir very much.
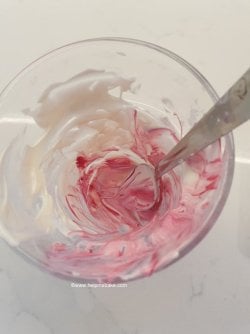
Then, scoop some of the dyed mixture into the gaps and up the sides using a small spoon.
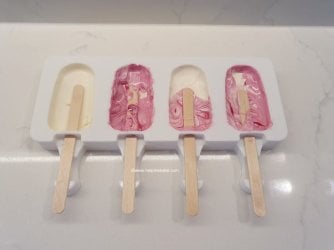
Insert the lollipop stick through the opening of the mould about halfway up. Then, place back in the fridge/freezer for around ten minutes to allow the second coat to set.
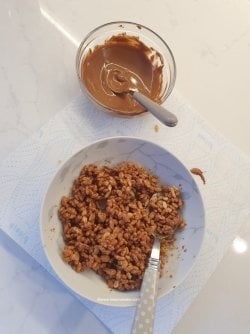
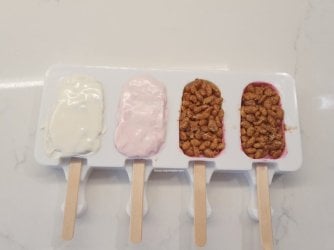
Now for your filling. Mix your ingredients in a bowl until they stick together. I used chocolate and krispie treats.
Once set, remove the mould from the fridge/freezer again. If you're happy with the candy melt coating in the mould, then move on. If you think it may be a little thin, repeat the above stages until all the mould is covered and thick enough to hold a filling.
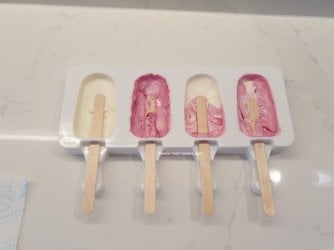
When you are happy with the thickness, you can then put the filling in.
Lightly push your filling into the mould; ensure you leave around a 2 mm gap from the top of the rim to enable you to coat the back of the Cakesicle evenly without it overflowing...
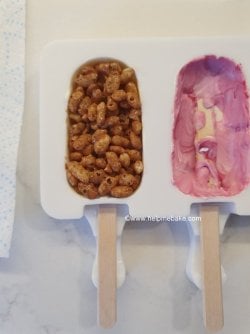
Fill all the moulds with your filling and then place them back in the fridge/freezer for around 10 minutes while you prep the next batch of chocolate/ melts.
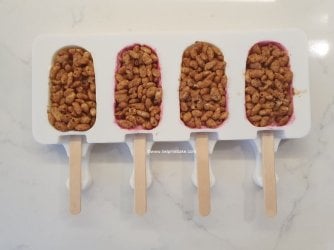
Melt some more chocolate or melts to cover the back of the Cakesicle.
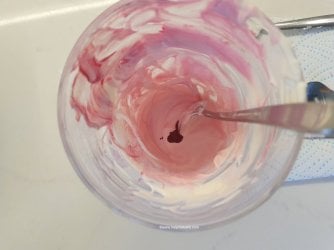
Scoop the candy melts onto the mould with a spoon, cover the filling fully.
Once fully covered, scrape the excess off with an offset palette knife. (I forgot to take a picture of that bit! Lol!) That will give you a straighter edge.
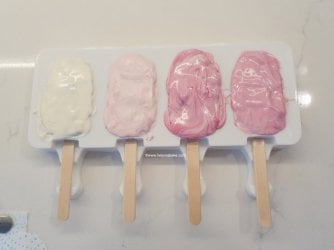
Place back in the fridge/freezer for around 15 minutes to fully set.
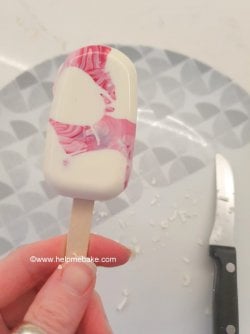
Carefully remove from the fridge/freezer, and then carefully hold the stick and peel the mould away.
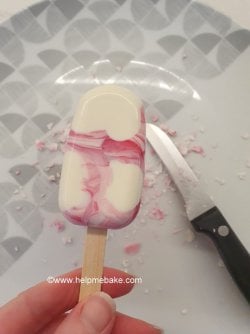
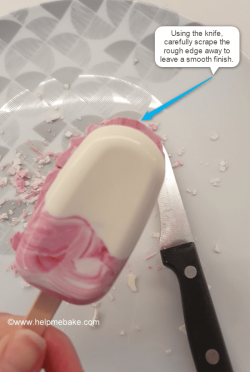
Scrape off any excess chocolate that has set around the edges with a sharp knife.
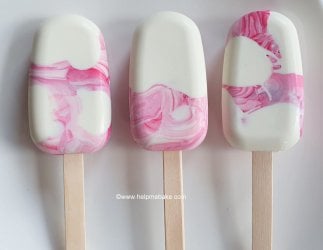
Decorate as required.
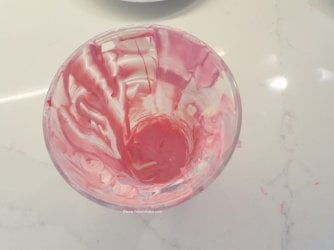
Take your bowl/glass with the Candy Melt/Button residue.
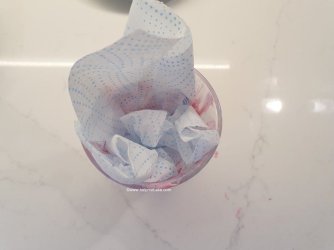
Get some kitchen roll and remove the excess Candy Melts/Buttons.
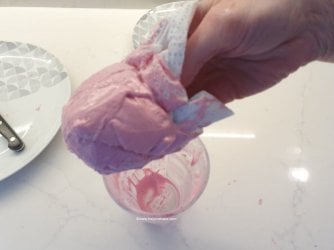
Wipe out any extras from the bowl or glass, and ensure you never rinse any down the sink.
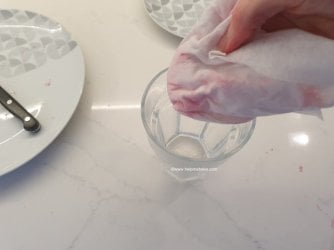
If you rinse the bowl/glass with hot, soapy water and rinse down your sink, the candy melts/buttons may set in the pipe and clog your sink/drains. Therefore, to ensure this doesn't happen, wipe the excess with a kitchen towel/roll first before washing.
Thank you...
I hope you have enjoyed the tutorial and will have a go yourself.
Enjoy and happy creating!

What's a Cakesicle? (I hear you ask!)
They're a new take on the original cake pop! Not only do they look cute, but they're also filled with yummy fillings, too; they're actually a bigger version of a cake pop made in a popsicle mould; merge the two together, and voila, you have a Cakesicle.What can you put inside a Cakesicle?
There are numerous fillings you can put in the centre of a Cakesicle such as,- Cake Pop Filling - Crumbled Cake/Cupcakes & Buttercream
- Cookies and Cream - Oreo Biscuits & Cream Cheese
- Cheesecake Filling
- Krispie Treats - Either Covered in Chocolate or Marshmallows


How do you make Cakesicles?
They are relatively easy to make; all you'll need are the following:Equipment
- Lollipop/Popsicle Mould

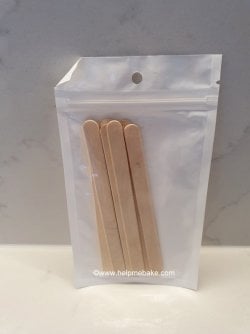
- Lollipop Sticks

- Sharp Knife

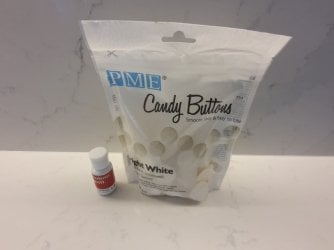
- Candy Buttons
- Raspberry Colour Mill Dye (Optional)
Ingredients
- Candy Buttons/ Melts or Chocolate - Around 250 Grams / 284 Grams Depending on Bag or Chocolate Bar Size
- Filling of your choice - If using cupcakes, you'll probably need around three or four, depending on your mould size, of around 75 grams of buttercream.
- Dyes - Optional - I used Colour Mill Dyes, which are oil-based, you can use other concentrated food dyes, but these will need to be used in conjunction with vegetable oil, so the buttons/chocolate doesn't seize.
Method
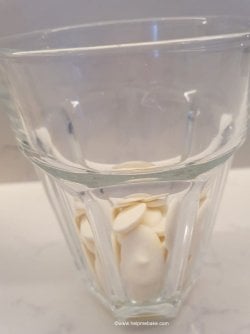
Melt some of the chocolate/candy melts into a bowl/microwaveable dish.
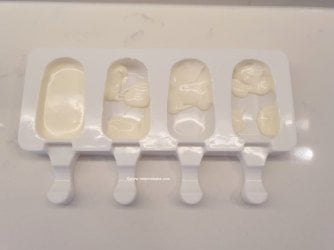
If you are doing a two-tone design like me, then spoon some of the white candy melts into the mould first like so. Leave gaps/spaces in the mould for your other colours. Ensure that you push the lollipop stick through the base hole so that you make a hole where the stick needs to be, and then remove the stick. Place the mould in the fridge for about ten minutes until set.

When the first coat has set, you can move on to the dyes.
If using dyes, melt some additional melts and add a few drops of dye to the mix.

Stir the dye in until you get the colour or marble texture you want. If you want a marble texture, don't stir very much.

Then, scoop some of the dyed mixture into the gaps and up the sides using a small spoon.

Insert the lollipop stick through the opening of the mould about halfway up. Then, place back in the fridge/freezer for around ten minutes to allow the second coat to set.
Now for your filling. Mix your ingredients in a bowl until they stick together. I used chocolate and krispie treats.

Once set, remove the mould from the fridge/freezer again. If you're happy with the candy melt coating in the mould, then move on. If you think it may be a little thin, repeat the above stages until all the mould is covered and thick enough to hold a filling.

When you are happy with the thickness, you can then put the filling in.
Lightly push your filling into the mould; ensure you leave around a 2 mm gap from the top of the rim to enable you to coat the back of the Cakesicle evenly without it overflowing...

Fill all the moulds with your filling and then place them back in the fridge/freezer for around 10 minutes while you prep the next batch of chocolate/ melts.

Melt some more chocolate or melts to cover the back of the Cakesicle.

Scoop the candy melts onto the mould with a spoon, cover the filling fully.

Once fully covered, scrape the excess off with an offset palette knife. (I forgot to take a picture of that bit! Lol!) That will give you a straighter edge.

Place back in the fridge/freezer for around 15 minutes to fully set.
Carefully remove from the fridge/freezer, and then carefully hold the stick and peel the mould away.
Scrape off any excess chocolate that has set around the edges with a sharp knife.

Decorate as required.
- Drizzle with Candy Buttons/Melts
- Then add Sprinkles
- Crushed up Fillings
- Chocolate Stamps or
- Fondant Decorations

Very Important Note about Candy Melts/Buttons:
When you have finished with your Candy Melts, please do the following!
Take your bowl/glass with the Candy Melt/Button residue.

Get some kitchen roll and remove the excess Candy Melts/Buttons.

Wipe out any extras from the bowl or glass, and ensure you never rinse any down the sink.

If you rinse the bowl/glass with hot, soapy water and rinse down your sink, the candy melts/buttons may set in the pipe and clog your sink/drains. Therefore, to ensure this doesn't happen, wipe the excess with a kitchen towel/roll first before washing.
Thank you...
I hope you have enjoyed the tutorial and will have a go yourself.
Enjoy and happy creating!
