
Hi lovelies, with the Christmas festivities just around the corner, I’ve come up with two super easy ways to make these adorable Christmas Pudding toppers—perfect for a bit of festive fun! (I did actually make this tutorial a year ago when doing the demo at the BSG, but for some reason never got around to posting it! Anyway...)
The first method is wonderfully versatile as you can use it to top cupcakes, or simply switch to larger cutters to create a charming 2D design that’ll add a delightful touch to any Christmas cake.
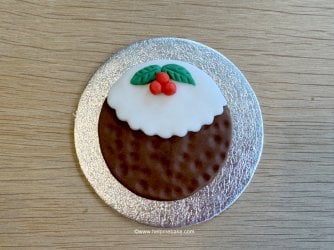
Alternatively, if you're looking for a fun activity with the kids on a wet and windy day, you can skip some of the beginning steps and easily make the decorations on chocolate biscuits instead. Nom nom.
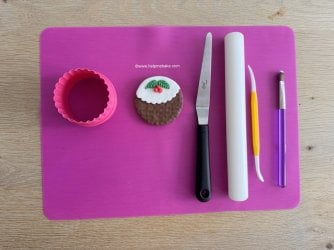
Either way, have fun, get creative and enjoy!
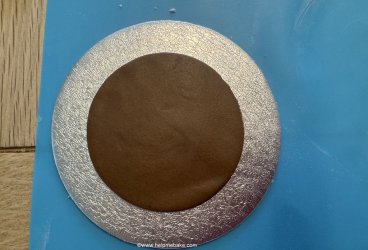
1 Roll out the brown icing to about 3mm thickness on your silicone mat, then using a circle cutter (the same size as your cupcakes), cut a circle into the brown icing and discard the excess. (I placed a brown icing circle on a cake board for illustration purposes only).
2 Take the ball tool or if you haven't got one, use your knuckle and indent the brown circle to make the pudding look more life-like.
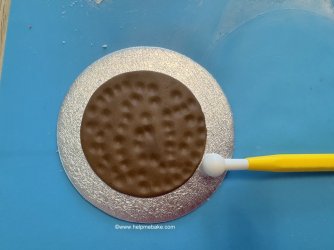
Once you are happy with the indentations, you would then place a little buttecream or jam on the top of your cupcake and then lay the brown icing on the top lightly smoothing the icing with your finger over the edges of the cupcake so that it sticks to the top.
Tip: To add more definition to the pudding, you could lightly dust the indents with black lustre dust to create shadowing and colour.
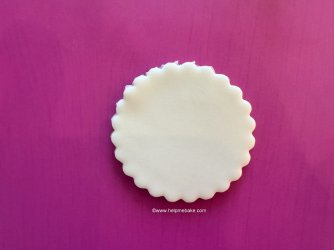
3 Now roll out the white icing and, using the fluted edge of your circle cutter, cut the same-sized circle you did for the brown circle.
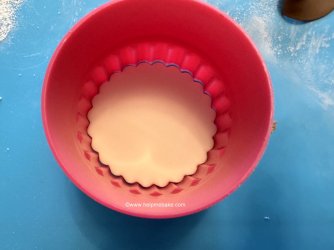
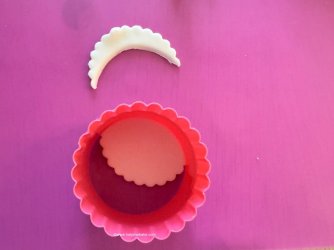
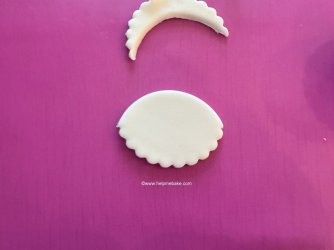
4 Then flip the circle cutter over and, using the straighter edge, cut off about a third of the top of the white icing like so.
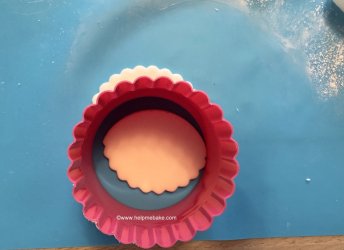
Remove the excess. If you are happy with the size of the 'white icing' for your pudding, you can remove it from the cutter. If not, repeat the step and remove a little more.
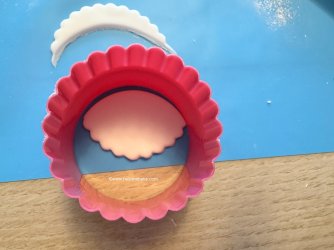
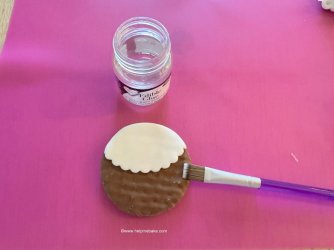
6 Once you're happy with the white icing size, you can stick the white icing to the brown icing using a little water or edible glue.
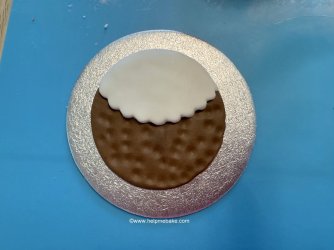
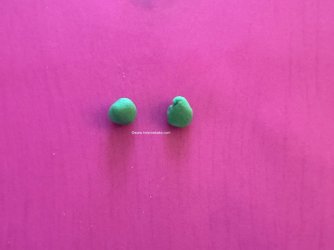
7 Now take some green icing and roll two small balls.
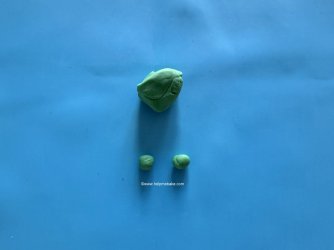
8 I place the ball on my index finger.
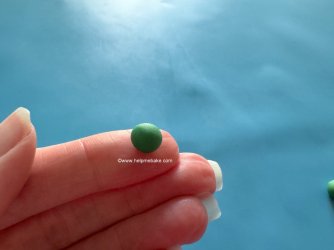
9 I then use my thumb to flatten the ball.
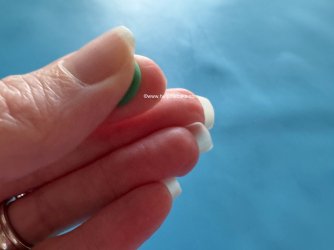
10 I then use my other finger and thumb to point the end of the icing.
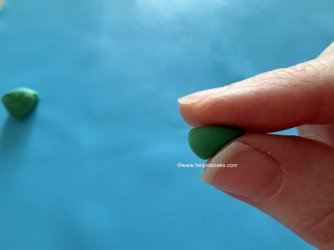
11 I then flatten the icing a little more.
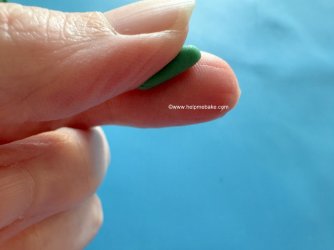
12 I then squeeze the pointy end a little more until I'm happy with the shape.
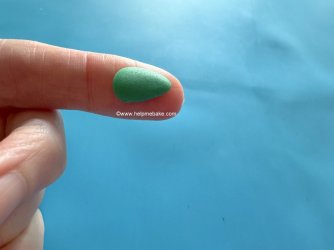
13 Once happy, I then take the Dresden tool.
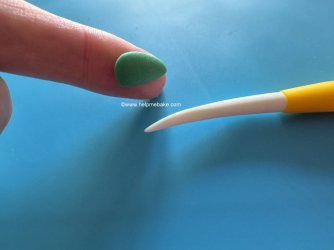
14 And indent it into the centre of the icing.
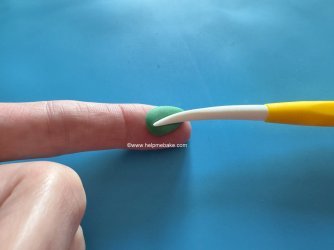
15 Like so.
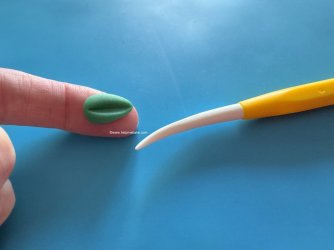
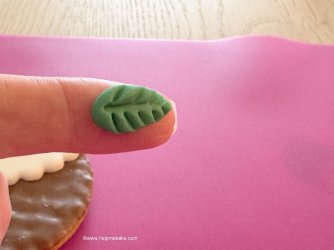
16 I then score the icing above the centre line to represent leaf veins.
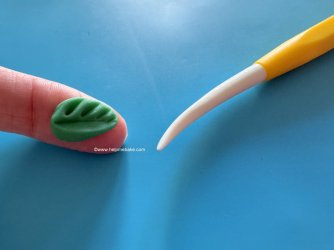
17 I then repeat the process on the bottom, indenting the icing on either side of the 'centre line'.
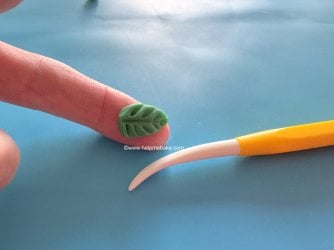
18 Place to one side.
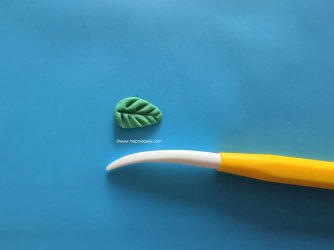
19 Repeat the process and make a second leaf.
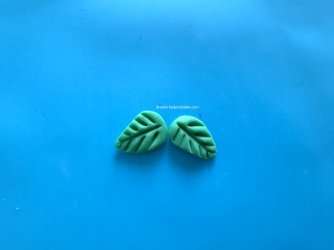
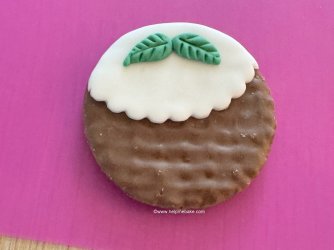
20 These can now be stuck to the white icing using water or edible glue.
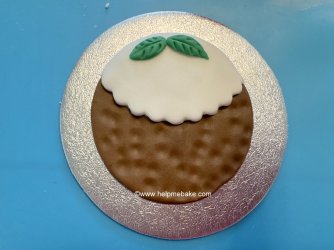
21 Now for the berries, roll a small piece of icing into a very small sausage shape.
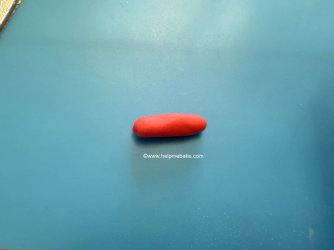
22 Cut the icing into 3 pieces of the same size.
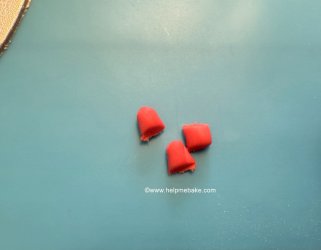
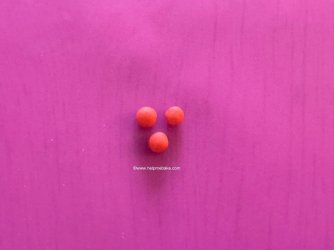
23 Roll them into small balls and then stick them to the white icing using a little water or edible glue.
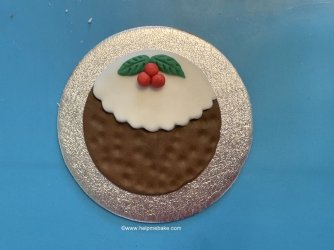
Here's another quick and easy way to make these toppers on to biscuits.
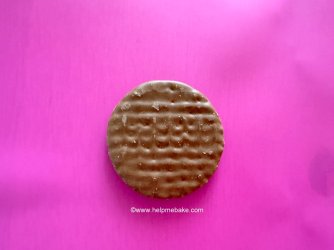
1 Take a pack of Chocolate Digestive Biscuits.

2 Take a biscuit from the packet and place it on a silicone mat.
3 Take a circle pastry cutter.
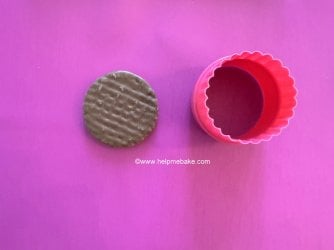
4 Measure/size it against your biscuit.
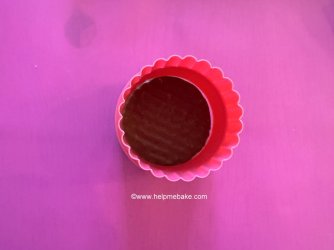
5 Then follow Step 3 onwards above to recreate the Christmas Pudding effect on the chocolate biscuits. Just rember to use edible glue to stick the white icing to the biscuit and not water.

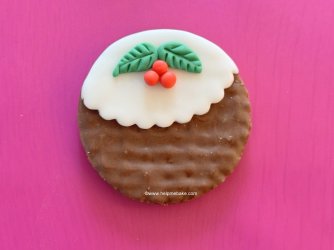
And there you have it two ways of making Easy Christmas Pudding Toppers.
The first method is wonderfully versatile as you can use it to top cupcakes, or simply switch to larger cutters to create a charming 2D design that’ll add a delightful touch to any Christmas cake.
Alternatively, if you're looking for a fun activity with the kids on a wet and windy day, you can skip some of the beginning steps and easily make the decorations on chocolate biscuits instead. Nom nom.
Either way, have fun, get creative and enjoy!
Equipment:
- Circle Cutters (With Fluted Edges if Possible)
- Small Rolling Pin
- Silicone Mat
- Palette Knife
- Small Paintbrush
- Dresden Tool or Cocktail Stick
- Ball Tool or Use your Knuckle
- Edible Glue
- Food Gloves - (Required if making them for gifts/other people).
Icing Fondant/Ingredients:
- Renshaw Brown Icing - 250 Grams
- Renshaw Poppy Red Icing - 25 Grams
- Renshaw Emerald Green Icing - 50 Grams
- Store Bought White Icing - 150 Grams
- Buttercream/Jam
- Batch of ready made Cupcakes
Biscuits/Cookies:
- Chocolate Digestives
Note:
You will notice in this tutorial I haven't used food gloves. That's because the Puddings are for illustration purposes only. If you make them as gifts or to sell them, you must use food gloves for hygiene purposes. However, if they are a project for you and the kids, then use your hands and fingers to your heart's content.
Method 1:
1 Roll out the brown icing to about 3mm thickness on your silicone mat, then using a circle cutter (the same size as your cupcakes), cut a circle into the brown icing and discard the excess. (I placed a brown icing circle on a cake board for illustration purposes only).2 Take the ball tool or if you haven't got one, use your knuckle and indent the brown circle to make the pudding look more life-like.
Once you are happy with the indentations, you would then place a little buttecream or jam on the top of your cupcake and then lay the brown icing on the top lightly smoothing the icing with your finger over the edges of the cupcake so that it sticks to the top.
Tip: To add more definition to the pudding, you could lightly dust the indents with black lustre dust to create shadowing and colour.
3 Now roll out the white icing and, using the fluted edge of your circle cutter, cut the same-sized circle you did for the brown circle.
4 Then flip the circle cutter over and, using the straighter edge, cut off about a third of the top of the white icing like so.
Remove the excess. If you are happy with the size of the 'white icing' for your pudding, you can remove it from the cutter. If not, repeat the step and remove a little more.
6 Once you're happy with the white icing size, you can stick the white icing to the brown icing using a little water or edible glue.
7 Now take some green icing and roll two small balls.
8 I place the ball on my index finger.
9 I then use my thumb to flatten the ball.
10 I then use my other finger and thumb to point the end of the icing.
11 I then flatten the icing a little more.
12 I then squeeze the pointy end a little more until I'm happy with the shape.
13 Once happy, I then take the Dresden tool.
14 And indent it into the centre of the icing.
15 Like so.
16 I then score the icing above the centre line to represent leaf veins.
17 I then repeat the process on the bottom, indenting the icing on either side of the 'centre line'.
18 Place to one side.
19 Repeat the process and make a second leaf.
20 These can now be stuck to the white icing using water or edible glue.
21 Now for the berries, roll a small piece of icing into a very small sausage shape.
22 Cut the icing into 3 pieces of the same size.
23 Roll them into small balls and then stick them to the white icing using a little water or edible glue.
Method 2:
Here's another quick and easy way to make these toppers on to biscuits.
1 Take a pack of Chocolate Digestive Biscuits.
2 Take a biscuit from the packet and place it on a silicone mat.
3 Take a circle pastry cutter.
4 Measure/size it against your biscuit.
5 Then follow Step 3 onwards above to recreate the Christmas Pudding effect on the chocolate biscuits. Just rember to use edible glue to stick the white icing to the biscuit and not water.
And there you have it two ways of making Easy Christmas Pudding Toppers.

