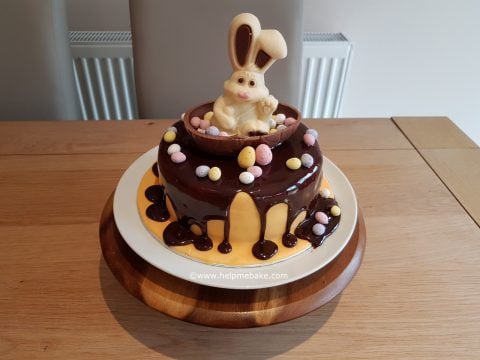
Hi guys, I hope you are having an eggcellent day and have been on many an Easter egg hunt to find your scrumptious treasure. I, on the other hand, have made this delightful Sailing bunny on his wonderful Easter Egg boat.
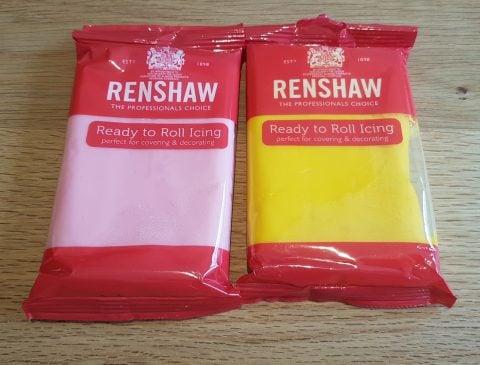
The cake is a chocolate sponge filled and covered with Chocolate Fudge Icing. The original icing idea was to do a marble effect of both the pink and yellow icing, however when I mixed them together with the yellow fully absorbed the pink, and I was left with the golden colour that you can see on the cake.
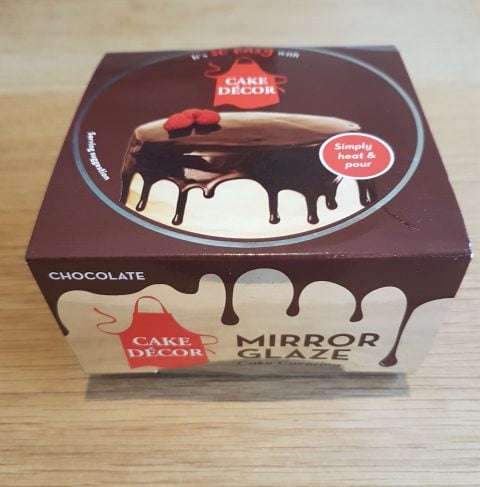
Once I covered the cake, I then set about microwaving the mirror glaze. I have wanted to try this for a while now and thought it might look good as a dripped glaze on my cake. I followed the instructions which is to remove the plastic pot from the packaging, remove the lid and then place in an 800w microwave for 30 seconds and then a further 30 seconds. The first 30 seconds softens the glaze, so I stirred it but still found big clumps in it, so I put it back in again and cooked it for another 30 seconds. This time it had fully melted and was ready to pour.
Because the glaze is very hot, I stirred it to cool it and then poured it into a jug so I could distribute the chocolate over my cake where required. I continued to stir some more to release as much heat as I could and then began to pour over the edges of my cake. The glaze has a fabulous sheen to it and began to drip easily. My only mistake was to add more glaze to allow the glaze to run down. What I should have done was let it drip slowly so that I got better drip marks. If you let gravity take its course, it will drip slowly and give you a more more desired effect. Remember less is more and go slow because the glaze continues to drip after you have stopped pouring!
Whilst the glaze was still sticky I then stuck my hollowed out Easter Egg to the top which broke, I applied a second one and then sat the Thorntons Rabbit in the Easter Egg boat along with the Mini mini eggs. The second egg also snapped, but I stuck it with the glaze and used two larger mini eggs to shield the crack.
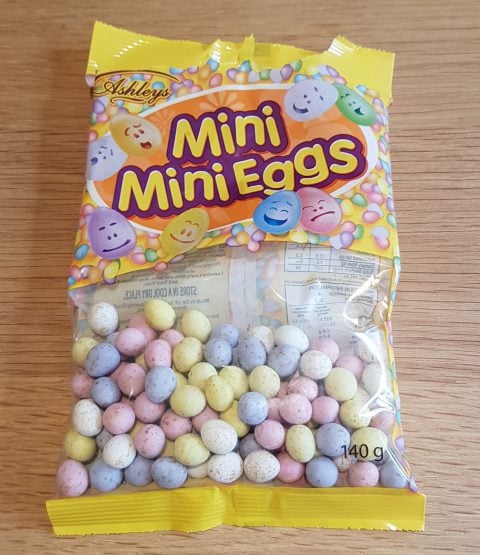
I then placed the Mini mini eggs in the chocolate river and dropped a few over the edges.
After leaving the cake to fully dry, this is what it looks like today.
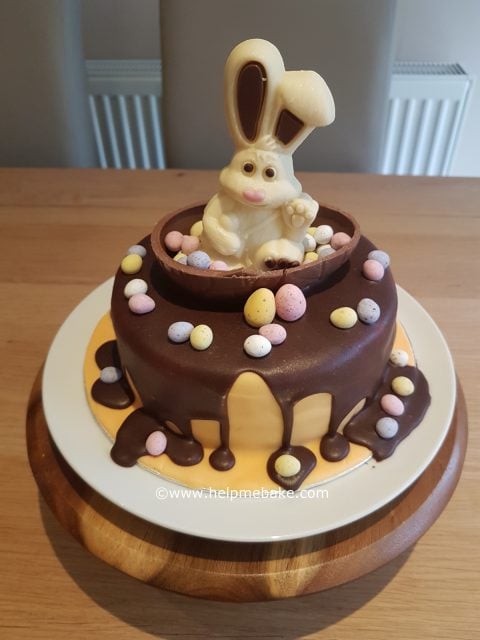
Each time I do some form of drip cake, I am learning more about the pour and drip, so it's all good practice. Next time I may look to use some candy melts for a splash of colour.

The cake is a chocolate sponge filled and covered with Chocolate Fudge Icing. The original icing idea was to do a marble effect of both the pink and yellow icing, however when I mixed them together with the yellow fully absorbed the pink, and I was left with the golden colour that you can see on the cake.

Once I covered the cake, I then set about microwaving the mirror glaze. I have wanted to try this for a while now and thought it might look good as a dripped glaze on my cake. I followed the instructions which is to remove the plastic pot from the packaging, remove the lid and then place in an 800w microwave for 30 seconds and then a further 30 seconds. The first 30 seconds softens the glaze, so I stirred it but still found big clumps in it, so I put it back in again and cooked it for another 30 seconds. This time it had fully melted and was ready to pour.

Because the glaze is very hot, I stirred it to cool it and then poured it into a jug so I could distribute the chocolate over my cake where required. I continued to stir some more to release as much heat as I could and then began to pour over the edges of my cake. The glaze has a fabulous sheen to it and began to drip easily. My only mistake was to add more glaze to allow the glaze to run down. What I should have done was let it drip slowly so that I got better drip marks. If you let gravity take its course, it will drip slowly and give you a more more desired effect. Remember less is more and go slow because the glaze continues to drip after you have stopped pouring!
Whilst the glaze was still sticky I then stuck my hollowed out Easter Egg to the top which broke, I applied a second one and then sat the Thorntons Rabbit in the Easter Egg boat along with the Mini mini eggs. The second egg also snapped, but I stuck it with the glaze and used two larger mini eggs to shield the crack.

I then placed the Mini mini eggs in the chocolate river and dropped a few over the edges.
After leaving the cake to fully dry, this is what it looks like today.

Each time I do some form of drip cake, I am learning more about the pour and drip, so it's all good practice. Next time I may look to use some candy melts for a splash of colour.
