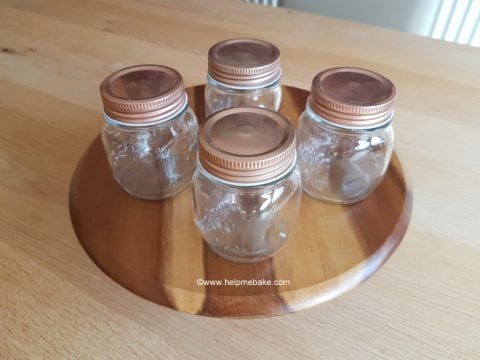
If you are going to try your hand at making your own preserves, then it's essential to know that you will need to sterilise the jars you intend to use first. This prevents anything spoiling the jam and eradicates any bacteria or bugs that are lurking in there that you cannot see. I have put together this mini tutorial and some tips to help you with this process.
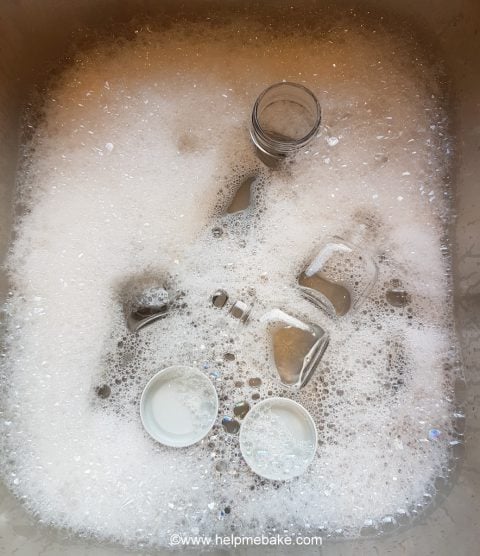
2. Once washed, rinse with clean water and then drain them on either a clean tea towel or dry kitchen roll.
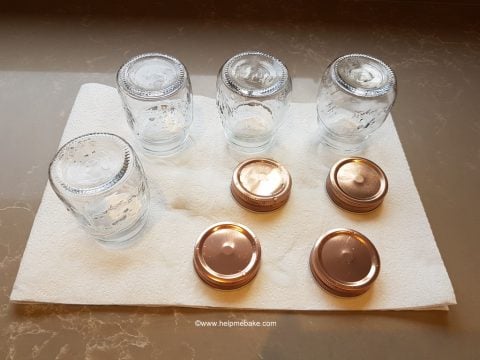
3. After the excess water has dripped off the jars and lids, place them all facing upwards onto a baking tray and put them in the preheated oven.
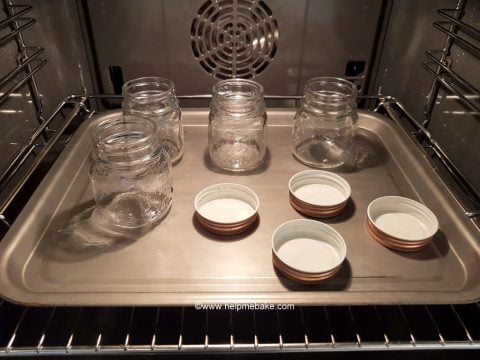
4. Bake in the oven for approximately 10-15 minutes. This allows the water to evaporate and will sterilise your jars ready for potting and canning.
5. When the jars and lids have finished baking, switch the oven off and leave them inside, allowing them to cool slightly.
6. These are now ready to be filled.
Please see below a list of helpful advice relating to the potting/canning process which may come in handy for you.
These are what wax circles look like.
I hope this has been of help to you, so Good luck and happy jamming!

Preheat your oven to one of the following temperatures: -
- Conventional Oven - 180°C
- Fan Assisted Oven - 160°C - 170°C
- Gas Mark 3
- 320F
If using Kilner Jars, then please read the Warning below.
- Do not place rubber seals from Kilner jars into the oven as they can melt or crack. Please remove the seal from the jars and boil them in a pan of water for approximately three to five minutes just before potting and dry thoroughly.
Method
1. Unscrew your lids from your jars and then wash them all in hot soapy water.
2. Once washed, rinse with clean water and then drain them on either a clean tea towel or dry kitchen roll.

3. After the excess water has dripped off the jars and lids, place them all facing upwards onto a baking tray and put them in the preheated oven.

4. Bake in the oven for approximately 10-15 minutes. This allows the water to evaporate and will sterilise your jars ready for potting and canning.
5. When the jars and lids have finished baking, switch the oven off and leave them inside, allowing them to cool slightly.
6. These are now ready to be filled.
Please see below a list of helpful advice relating to the potting/canning process which may come in handy for you.
Warning:
- Do not pot straight into cold jars because they may crack.
Potting Jam Tips:
- Ensure that the jars are cleaned and baked just before your preserves have finished boiling, that way you can pot straight into the hot jars.
- Use a funnel to help pour the jam into the jar without it getting on the sides.
- If you have wax circles place these on top of the jam as soon as the jar has been filled (whilst still hot) as this creates a seal, then place the lid tightly on the top.
- If using cling film (saran wrap)/elastic bands and material covers to cover the jam, allow it to cool fully first before applying the clingfilm (saran wrap) otherwise you will end up with condensation and bacteria build-up.
- Buy some Jar seal label strips to place on your jars if you intend to sell them at fayre's that way you can ensure that nobody tampers with the jar and you have a fresh seal.
Wax Circles

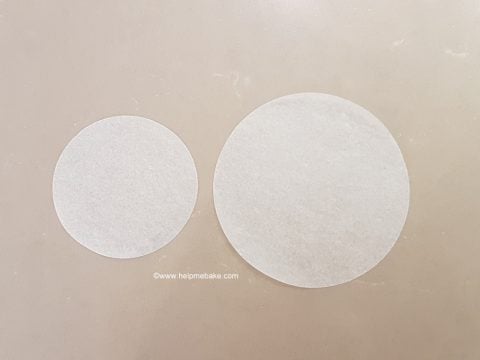
These are what wax circles look like.
I hope this has been of help to you, so Good luck and happy jamming!
Last edited:
