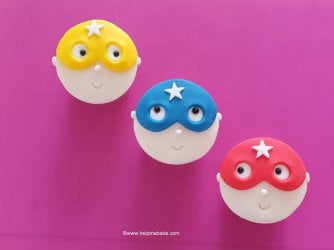
Continuing with my easy cupcake toppers, I thought you might like to have a go at these superhero ones. You can make them in any colour to suit your theme, keep them to one colour to suit your budget, or have a multitude of colours to give you a wow factor. You could even add some glitter if you fancy a bit of sparkle! Whatever you decide, I'm sure they'll go down a treat.
So here's how to make them.
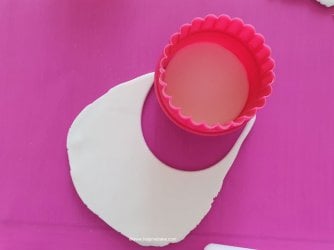
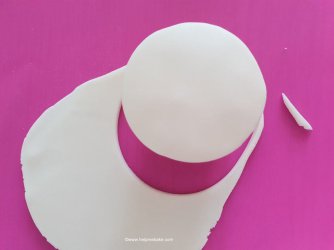
1 Roll out your flesh coloured icing fondant, and then using your pastry cutter, cut a circle the same size as your cupcake.
2 Stick the topper to the cupcake using either jam or buttercream. I used water because I'm using a cupcake dummy.
3 Next, roll out some red icing fondant (or colour of your choice) and cut a partial heart shape into it. (We do not need a full heart as we will be cutting the shape again).
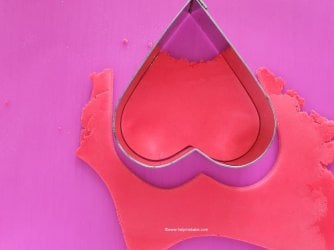
4 Using the pastry cutter you used for the flesh coloured icing, cut a round edge on the icing fondant.
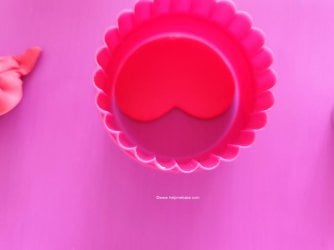
5 Like so.
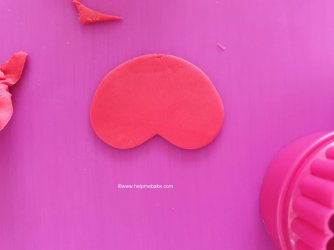
6 Measure this against your cupcake topper to see if it's the correct size. This one is too large as it covers more than half the face.
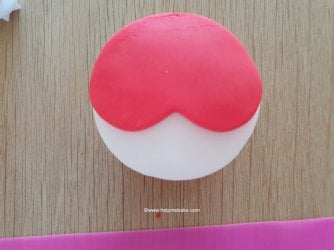
7 So I had to recut it again with the pastry cutter.
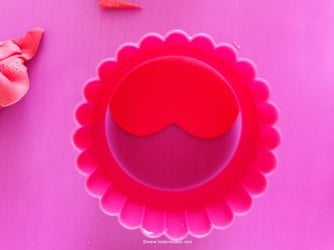
8 This got rid of a little of the excess.
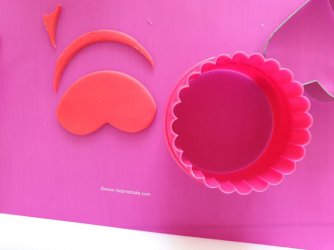
9 I then remeasured against the topper, and I was happy with the sizing.
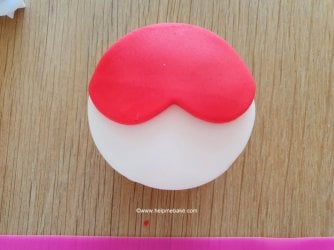
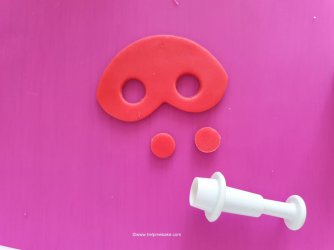
10 Next, take a circle cutter.
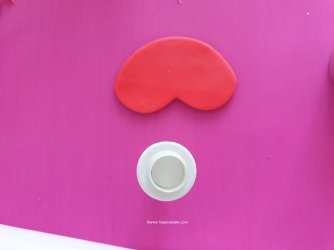
11 Cut out two circles.
12 Then roll out some white icing fondant and cut out two squares.
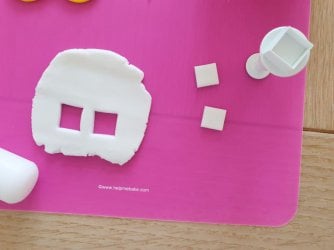
13 We will be using these under the cut-out mask for the whites of the eyes.
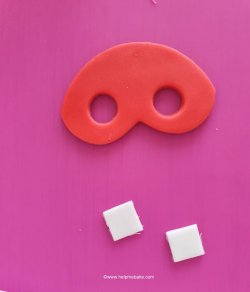
14 Place the squares on your cupcake topper roughly in the eye area.
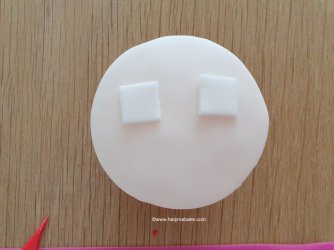
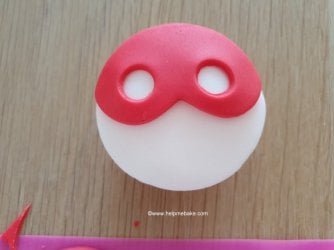
15 Place the mask on top. This should cover the squares. The reason I cut squares is so that they would be slightly larger than the cut-out circles and ensure that the under-eye portion of the mask was fully covered. It also lifts it slightly. You can then lightly wet the underneath rim of the mask with water and stick it in place.
16 I then rolled a flesh coloured ball for the nose.
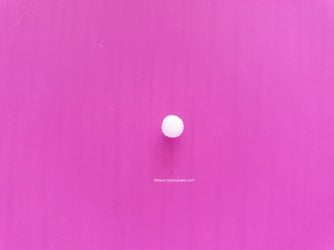
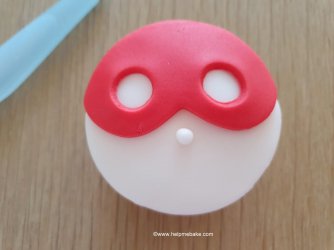
17 Stick this on the face using a little water or edible glue.
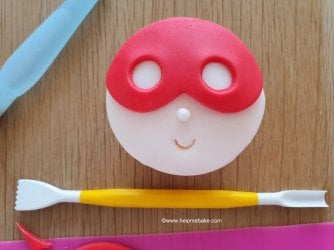
18 You now need a scallop tool, straw or piping nozzle.
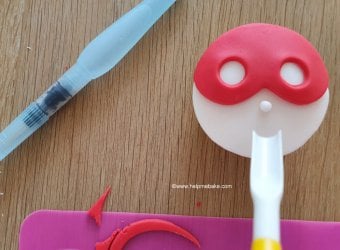
19 Use this to lightly indent into the icing fondant to make a smile.
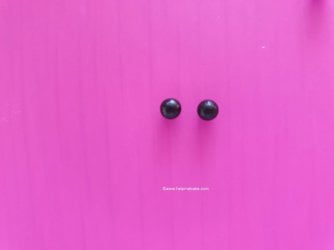
20 You now need some black pearls for the pupils of the eyes. (If you do not have any you could always use small balls of black icing fondant instead).
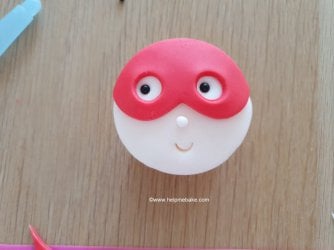
21 Lightly push these into the white fondant in the eye section of the mask. I always place the pupils looking sidewards or up or down. This is because it gives the topper some character and stops it from looking startled if you put them in the centre.
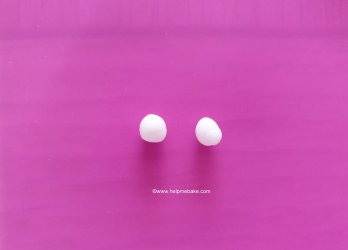
22 Then roll two small flesh coloured balls for the ears and stick them on with a bit of water.
23 Go back to the white icing and cut out a star.

24 The icing was too thick, so I re-rolled it and cut a thinner star with my push cutter.
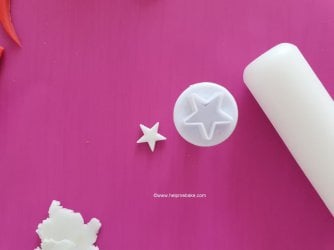
25 Stick this to the mask with a bit of water.
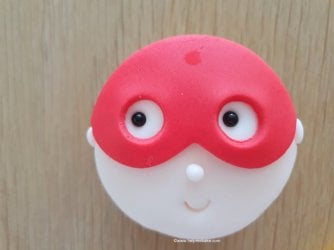
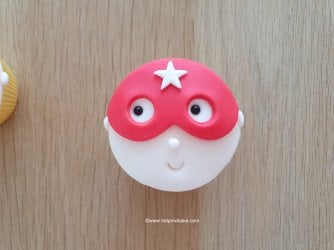
And there you have it, your very own superhero.
I do hope you have some fun making these.
Enjoy!
So here's how to make them.

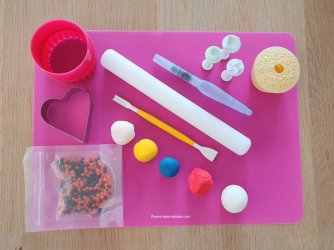
Equipment/Icing

- Silicone Mat
- Small Rolling Pin
- Water Pen or Paintbrush and Water
- Medium Sized Heart Cutter
- Cupcake Sized Pastry Cutter
- Small Circle Cutter
- Small Square Cutter
- Small Star Cutter
- Scallop Tool/Straw or Piping Nozzle
- Black Pearls/Dragees or Use Black Icing Fondant
- White Icing Fondant
- Flesh Coloured Icing Fondant- I dyed white icing fondant with paprika sugarflair dye to give me a light skin tone.
- Superhero Mask Colour of your choice, I used Yellow, Poppy Red and Atlantic Blue Renshaw Icing.
Method
1 Roll out your flesh coloured icing fondant, and then using your pastry cutter, cut a circle the same size as your cupcake.

2 Stick the topper to the cupcake using either jam or buttercream. I used water because I'm using a cupcake dummy.

3 Next, roll out some red icing fondant (or colour of your choice) and cut a partial heart shape into it. (We do not need a full heart as we will be cutting the shape again).

4 Using the pastry cutter you used for the flesh coloured icing, cut a round edge on the icing fondant.

5 Like so.

6 Measure this against your cupcake topper to see if it's the correct size. This one is too large as it covers more than half the face.

7 So I had to recut it again with the pastry cutter.

8 This got rid of a little of the excess.

9 I then remeasured against the topper, and I was happy with the sizing.

10 Next, take a circle cutter.

11 Cut out two circles.

12 Then roll out some white icing fondant and cut out two squares.

13 We will be using these under the cut-out mask for the whites of the eyes.

14 Place the squares on your cupcake topper roughly in the eye area.

15 Place the mask on top. This should cover the squares. The reason I cut squares is so that they would be slightly larger than the cut-out circles and ensure that the under-eye portion of the mask was fully covered. It also lifts it slightly. You can then lightly wet the underneath rim of the mask with water and stick it in place.

16 I then rolled a flesh coloured ball for the nose.

17 Stick this on the face using a little water or edible glue.

18 You now need a scallop tool, straw or piping nozzle.

19 Use this to lightly indent into the icing fondant to make a smile.

20 You now need some black pearls for the pupils of the eyes. (If you do not have any you could always use small balls of black icing fondant instead).

21 Lightly push these into the white fondant in the eye section of the mask. I always place the pupils looking sidewards or up or down. This is because it gives the topper some character and stops it from looking startled if you put them in the centre.

22 Then roll two small flesh coloured balls for the ears and stick them on with a bit of water.

23 Go back to the white icing and cut out a star.

24 The icing was too thick, so I re-rolled it and cut a thinner star with my push cutter.

25 Stick this to the mask with a bit of water.

And there you have it, your very own superhero.

I do hope you have some fun making these.
Enjoy!
Last edited:
