Here is a step by step guide on how to make edible butterflies in flight mode using push cutters and icing/fondant/sugarpaste.
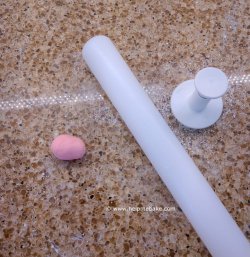
1. Roll out your icing fondant onto a lightly dusted work surface.
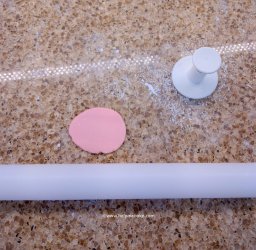
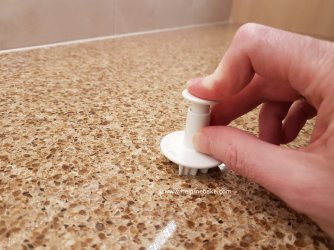
2. Dust your butterfly cutter with icing sugar, hold your finger and thumb on the cutter as shown below and then push the cutter into your icing fondant. Move the cutter from side to side on the work surface to ensure that you score the edges of the icing fondant on the cutter and that your butterfly shape has been cut properly. You are currently only cutting the outer shape of the butterfly.
Tip - If your butterfly has rough edges, then run the tip of your finger over the edge of the cutter to smooth off the edges.
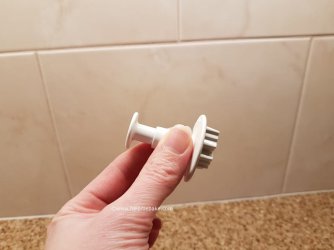
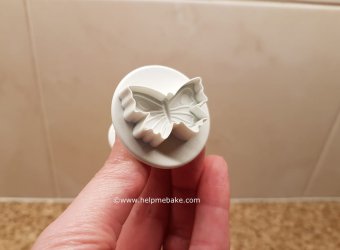
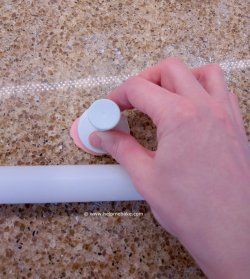
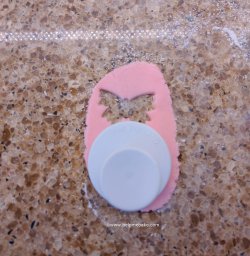
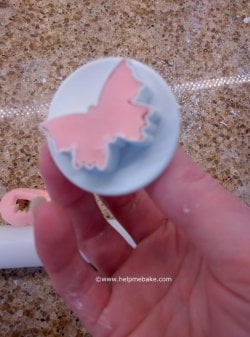
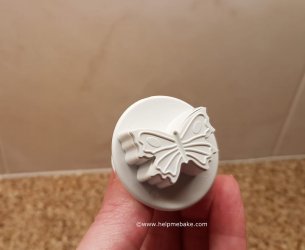
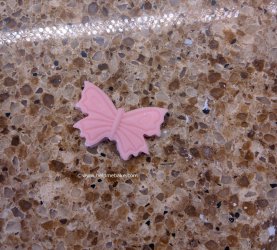
3. To imprint the butterfly design, place the cutter back down on the work surface and push the circular end of the cutter downwards. This will push the pattern into your icing fondant. Next, lift the cutter up slightly away from the work surface and push again. The butterfly will drop out of the cutter.
How to make your butterflies dry in a flying position.....
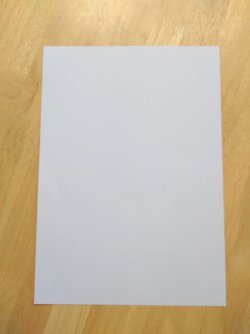
Take a piece of A4 paper and fold it in half on the longest side, as shown below.

Take one half of the paper and fold it in half towards you.
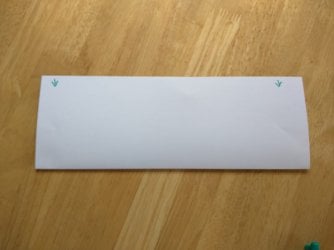
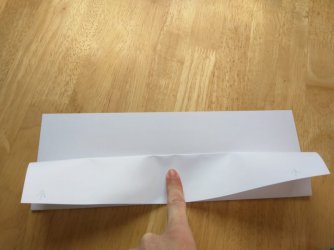
Flip the paper over and do the same on the other side.
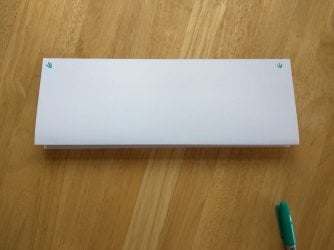
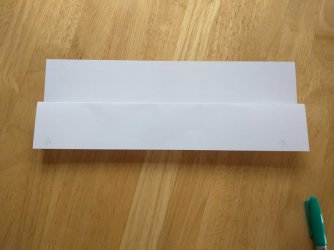
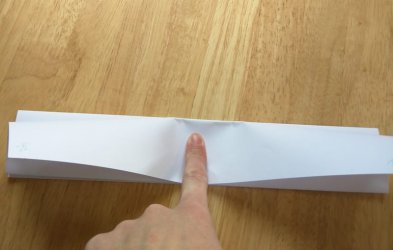
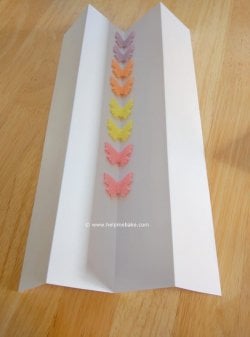
Your paper should now be in a concertina shape and look like this.
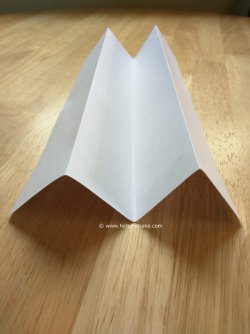
Now lightly dust the paper with icing sugar (confectioners) so that the butterflies do not stick.

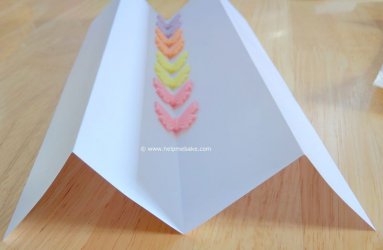
Place them carefully in the paper and allow them to dry on the work surface, be VERY careful when removing them, as if you squeeze the paper together, the butterflies may crack or split.
Remove them using a soft paintbrush and your fingertips. Place the butterfly on the cake or cupcakes as required and stick them with either water or edible glue if sticking to icing fondant. If you have a buttercream topping them, simply push the butterfly directly into the buttercream and position as required.
For the butterfly effect, please see the following:

1. Roll out your icing fondant onto a lightly dusted work surface.


2. Dust your butterfly cutter with icing sugar, hold your finger and thumb on the cutter as shown below and then push the cutter into your icing fondant. Move the cutter from side to side on the work surface to ensure that you score the edges of the icing fondant on the cutter and that your butterfly shape has been cut properly. You are currently only cutting the outer shape of the butterfly.
Tip - If your butterfly has rough edges, then run the tip of your finger over the edge of the cutter to smooth off the edges.


3. To imprint the butterfly design, place the cutter back down on the work surface and push the circular end of the cutter downwards. This will push the pattern into your icing fondant. Next, lift the cutter up slightly away from the work surface and push again. The butterfly will drop out of the cutter.


How to make your butterflies dry in a flying position.....
Take a piece of A4 paper and fold it in half on the longest side, as shown below.


Take one half of the paper and fold it in half towards you.


Flip the paper over and do the same on the other side.


Your paper should now be in a concertina shape and look like this.

Now lightly dust the paper with icing sugar (confectioners) so that the butterflies do not stick.


Place them carefully in the paper and allow them to dry on the work surface, be VERY careful when removing them, as if you squeeze the paper together, the butterflies may crack or split.
Remove them using a soft paintbrush and your fingertips. Place the butterfly on the cake or cupcakes as required and stick them with either water or edible glue if sticking to icing fondant. If you have a buttercream topping them, simply push the butterfly directly into the buttercream and position as required.
For the butterfly effect, please see the following:
