If you're looking for elegant ways to spruce up your cupcakes, then why not try your hand at these chocolate stamp toppers. The fun thing about them is they're quick to make, you can have different designs, and you can either leave them as they are or decorate them with sprays, colour or lustre if you wish to.
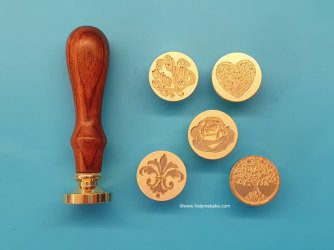
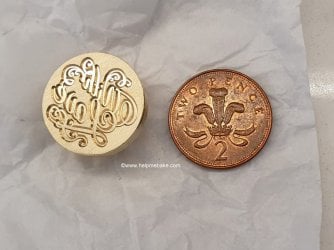
The size of each stamp is approximately 2.5 cm in diameter, which is similar to that of a two pence piece. Now I did this in two ways; I explain both methods to show the results of each.
So first off was the stamp in the bowl of ice.
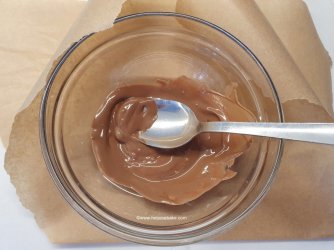
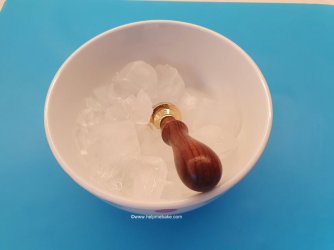
To begin with, I melted some chocolate in a bowl and placed the wax seal stamp in a bowl of ice to keep it as cold as possible.
This was great in theory as when the cold stamp hit the warmed chocolate; it would instantly set, well, yes and no.
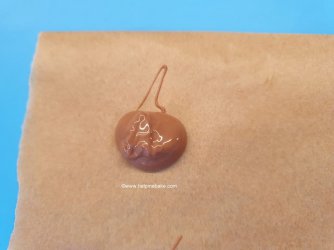
I then scooped a small amount of chocolate from my bowl and placed it onto the baking parchment.
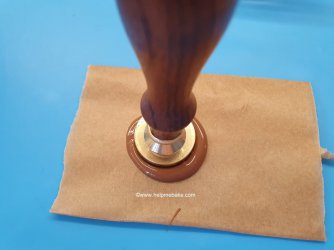
I then removed the piece of ice that had stuck to the end of the stamp and pushed it into the chocolate.
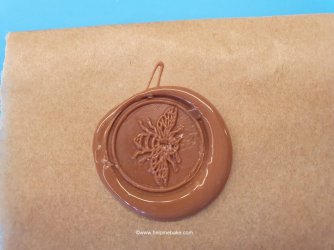
After removing the stamp, I noticed that it did set it, but it also had slight droplets of water that reacted with my chocolate causing sugar bloom. I'll come back to this in a minute. You can see from the picture the chocolate on the inner circle is slightly smudged. But for a first attempt, the bee looks okay.
So let's try again to see if we can get rid of those water particles.
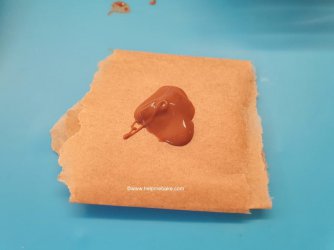
I scoop some more chocolate with a teaspoon.
I try the rose stamp this time.
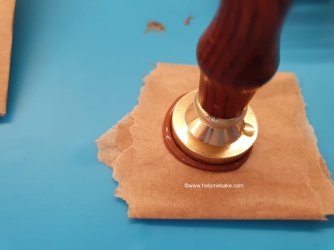
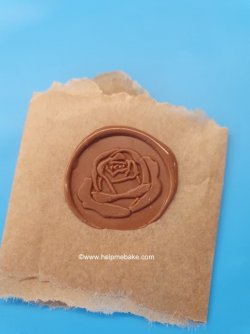
This one turned out fine, but I needed a little more chocolate to create a thicker outer edge.
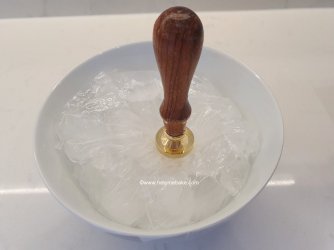
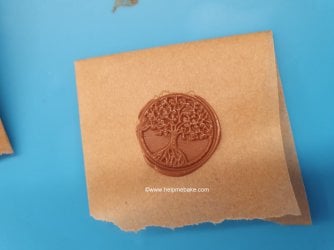
I try another stamp, using the tree of life this time. I continually put the stamp back into the ice when I'm not using it, but rather than sit it directly on the ice, I have now wrapped my ice in cling film/saran wrap and sat the stamp on top.
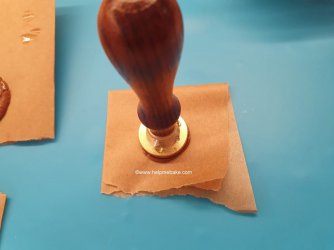
Again the pattern and stamp are working; I now just have to discern how much chocolate to use.
I play further using this method and try out all of the five stamps.
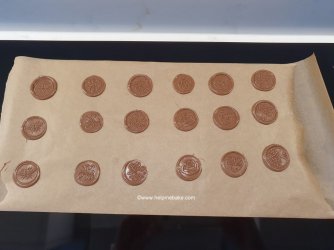
Once the chocolate had dried, that's when I discovered just how much of those water particles had infiltrated my chocolate, causing sugar bloom.
Sugar Bloom - This is when water reacts with the chocolate, breaks it down and then forms sugar crystals instead; this, in turn, creates the dusty edge you will see. (This may work for you if you were doing a piece that required a weathered look but not for what we were looking for.)
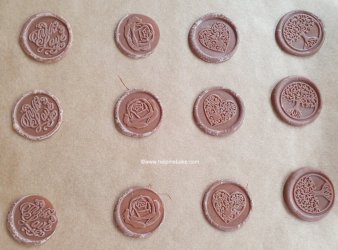
Sugar bloom doesn't ruin the chocolate, but it doesn't look great, so once they were dry, my daughter and I decided to cover them in silver, gold and pink lustre.
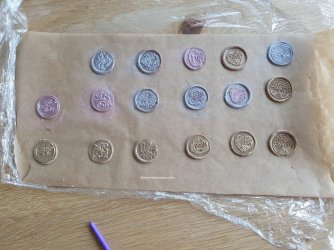
This covered up the ones that had reacted with the chocolate and gave us a different look for those that were okay.
I then came up with another option which was to place the wax stamper and attachments in a bag in the freezer. Thus allowing the stamps to be cold but wouldn't allow moisture to touch the stamp or the chocolate.
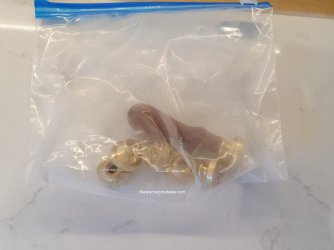
This time I melted chocolate in a piping bag in the microwave so that it was easier to get the chocolate exactly where and how much I wanted it.
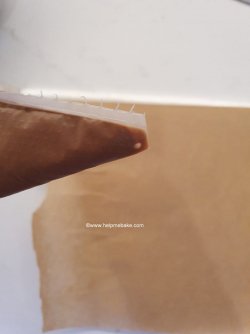
I snipped the edge of the piping bag and placed a small blob onto the parchment paper.
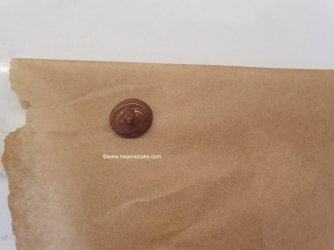
I then tried again, but this time wiped the stamp over with a piece of kitchen towel just to make sure there was no condensation.
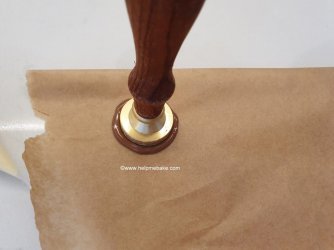
This method seemed to work much better and allowed me to do a few chocolate stamp decorations at a time.
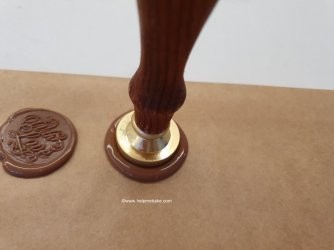
You can see from the pictures I have now started to work out how much chocolate to use, thus getting a thicker edge.
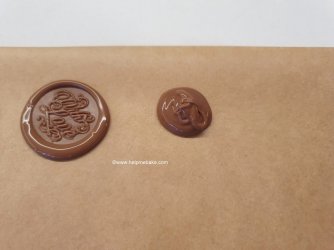
And there's no reaction with the chocolate this time.
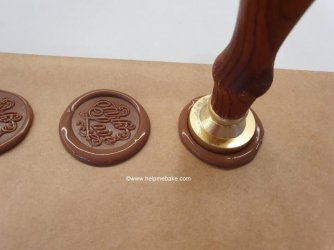
Once I'd done a few milk chocolate stamps, I then moved on to white chocolate.
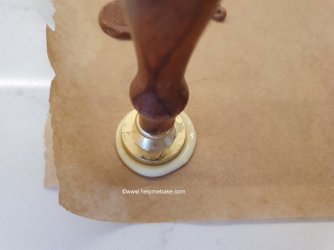
You can see that I slightly tore the first stamp.
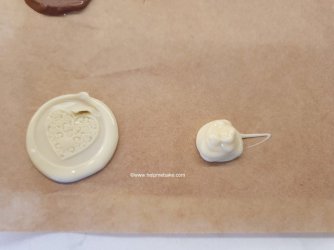
But once I got the hang of it, I produced much better chocolate stamp discs.
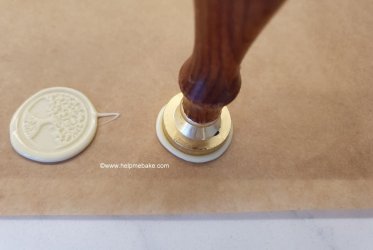
The tree of life is looking beautiful, and it took all of seconds to create. The great thing is the little excess chocolate that shows on the first stamp can be removed while drying or when fully set.
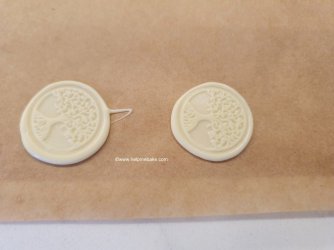
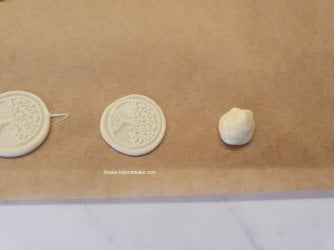
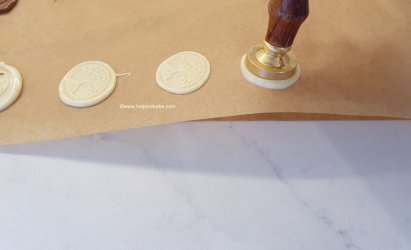
And there you have it, chocolate stamps.
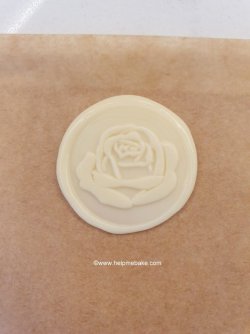
Quick and easy to make (once you get the hang of it), and a little something that will add a creative finish to your cupcakes or cakes.
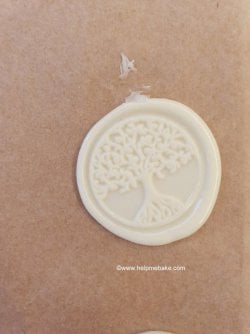
If you have a slimmer edge on one side like the one below, you can always slide that into the cake or cupcake topping so no one will notice.
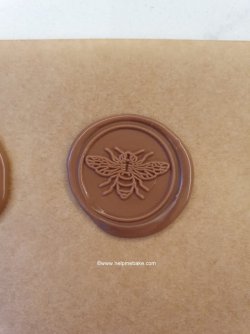
Where to buy the Wax Sealing Stamp from...

The size of each stamp is approximately 2.5 cm in diameter, which is similar to that of a two pence piece. Now I did this in two ways; I explain both methods to show the results of each.

So first off was the stamp in the bowl of ice.
Method 1
To begin with, I melted some chocolate in a bowl and placed the wax seal stamp in a bowl of ice to keep it as cold as possible.


This was great in theory as when the cold stamp hit the warmed chocolate; it would instantly set, well, yes and no.
I then scooped a small amount of chocolate from my bowl and placed it onto the baking parchment.

I then removed the piece of ice that had stuck to the end of the stamp and pushed it into the chocolate.

After removing the stamp, I noticed that it did set it, but it also had slight droplets of water that reacted with my chocolate causing sugar bloom. I'll come back to this in a minute. You can see from the picture the chocolate on the inner circle is slightly smudged. But for a first attempt, the bee looks okay.

So let's try again to see if we can get rid of those water particles.
I scoop some more chocolate with a teaspoon.

I try the rose stamp this time.

This one turned out fine, but I needed a little more chocolate to create a thicker outer edge.

I try another stamp, using the tree of life this time. I continually put the stamp back into the ice when I'm not using it, but rather than sit it directly on the ice, I have now wrapped my ice in cling film/saran wrap and sat the stamp on top.


Again the pattern and stamp are working; I now just have to discern how much chocolate to use.

I play further using this method and try out all of the five stamps.

Once the chocolate had dried, that's when I discovered just how much of those water particles had infiltrated my chocolate, causing sugar bloom.
Sugar Bloom - This is when water reacts with the chocolate, breaks it down and then forms sugar crystals instead; this, in turn, creates the dusty edge you will see. (This may work for you if you were doing a piece that required a weathered look but not for what we were looking for.)

Sugar bloom doesn't ruin the chocolate, but it doesn't look great, so once they were dry, my daughter and I decided to cover them in silver, gold and pink lustre.

This covered up the ones that had reacted with the chocolate and gave us a different look for those that were okay.
Method 2
I then came up with another option which was to place the wax stamper and attachments in a bag in the freezer. Thus allowing the stamps to be cold but wouldn't allow moisture to touch the stamp or the chocolate.

This time I melted chocolate in a piping bag in the microwave so that it was easier to get the chocolate exactly where and how much I wanted it.

I snipped the edge of the piping bag and placed a small blob onto the parchment paper.

I then tried again, but this time wiped the stamp over with a piece of kitchen towel just to make sure there was no condensation.

This method seemed to work much better and allowed me to do a few chocolate stamp decorations at a time.

You can see from the pictures I have now started to work out how much chocolate to use, thus getting a thicker edge.

And there's no reaction with the chocolate this time.

Once I'd done a few milk chocolate stamps, I then moved on to white chocolate.

You can see that I slightly tore the first stamp.

But once I got the hang of it, I produced much better chocolate stamp discs.

The tree of life is looking beautiful, and it took all of seconds to create. The great thing is the little excess chocolate that shows on the first stamp can be removed while drying or when fully set.


And there you have it, chocolate stamps.

Quick and easy to make (once you get the hang of it), and a little something that will add a creative finish to your cupcakes or cakes.

If you have a slimmer edge on one side like the one below, you can always slide that into the cake or cupcake topping so no one will notice.

Where to buy the Wax Sealing Stamp from...
Last edited:
