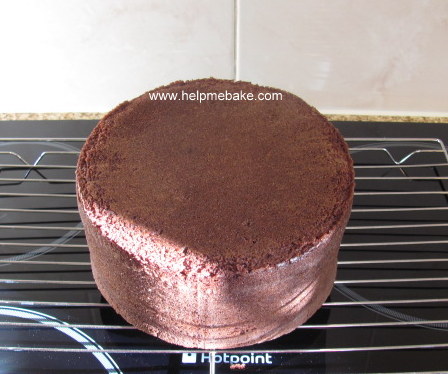
Here is a step by step tutorial showing you how to make a beautiful chocolate cake.
Preheat your oven to one of the following:
Fan assisted: 150°C
Regular oven: 170 - 180°C
Gas Mark: 1 - 2
Fahrenheit: 302
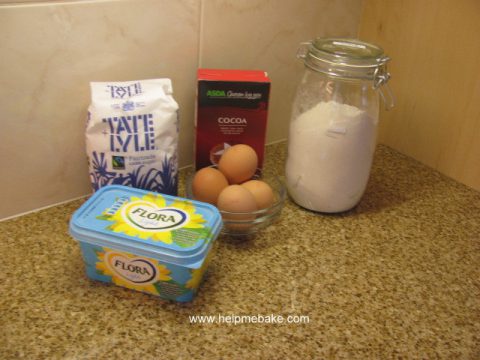
Ingredients:
200 grams or 7 oz of granulated sugar
200 grams or 7 oz unsalted butter or margarine
4 medium-sized eggs
175 grams or 6 oz self-raising flour
25 grams or 1 oz Cocoa powder.
I use a 6-inch tin that is 3 inches deep; however, this could be used to make a 7 or 8-inch cake with a smaller depth. If you use a wider and thinner tin reduce the baking time by around 15 minutes, as thinner cakes take less time to bake.
Method:
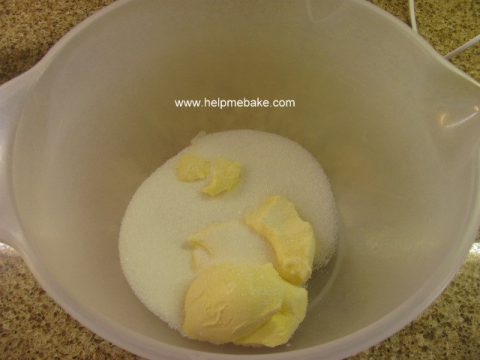
1. Weigh out your margarine or butter and sugar and place in a mixing bowl.
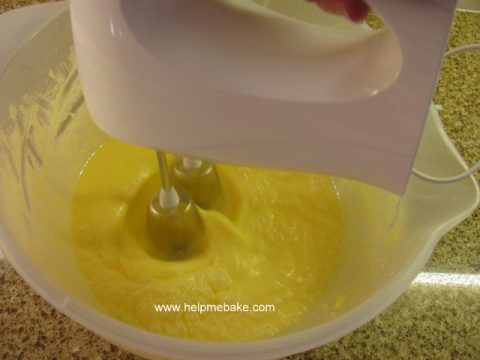
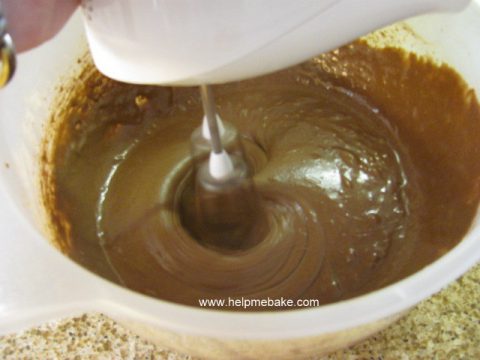
2. Mix them together using an electric whisk, then add your eggs into the mix one at a time, whisking after each one.
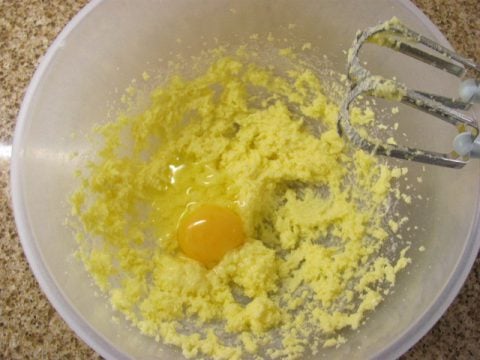
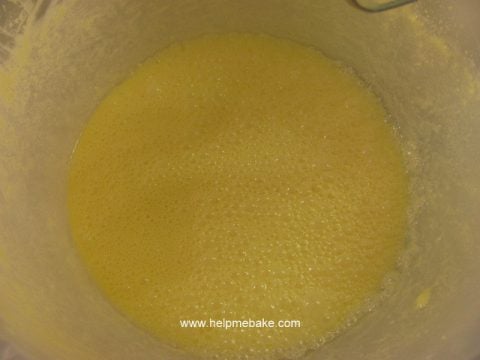
3. If using a 'light' margarine then your mixture will look like this, if you have used butter, it will be thicker in texture.
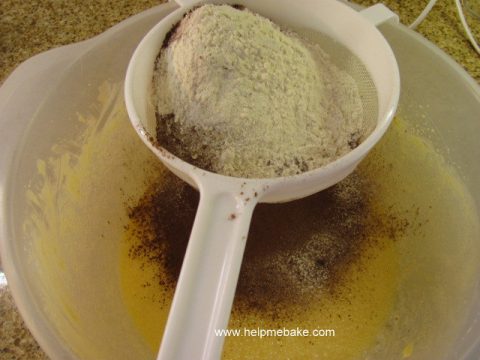
4. Now weigh out your flour and cocoa powder and sieve into the mixture.
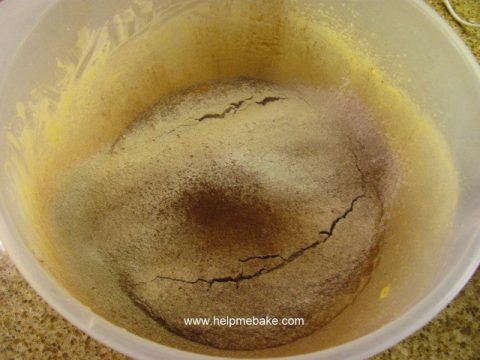
5. I would now fold the wet and dry ingredients together using a spatula just to help combine them a little. This is so that when you whisk the ingredients, they do not fire up onto you and your work surface.
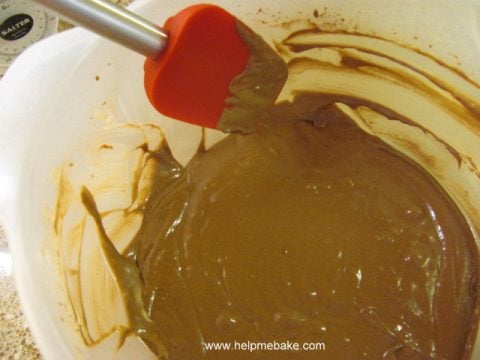
6. Whisk the ingredients together until fully combined, make sure you scrape down the sides of the bowl with a spatula and mix in. Now taste test the mixture by scooping a little out with a spoon, if the mixture tastes floury or bitty then whisk a little longer until all the ingredients have combined, if you recheck the mix again then ensure to use a new clean spoon, if it tastes smooth it can now be transferred to the tin.
7. You will now need some baking parchment and your tin. Take your tin and place it on a piece of baking parchment.
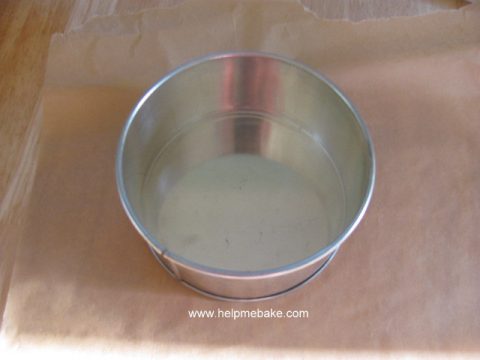
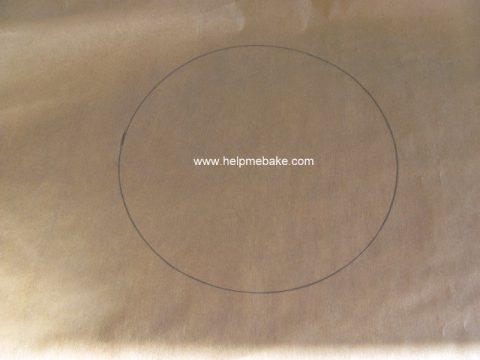
8. Draw around the base of the tin with a pen or pencil and then cut out the circle ensuring you cut off all the pencil marks on the baking sheet. If you do not, then the pencil marks can transfer onto the cake.
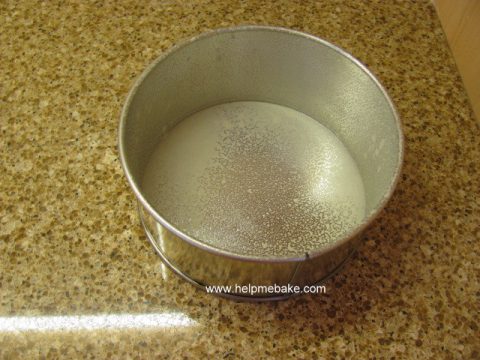
9. Now grease your tin using either butter or cake release. I use a Bake Easy spray.
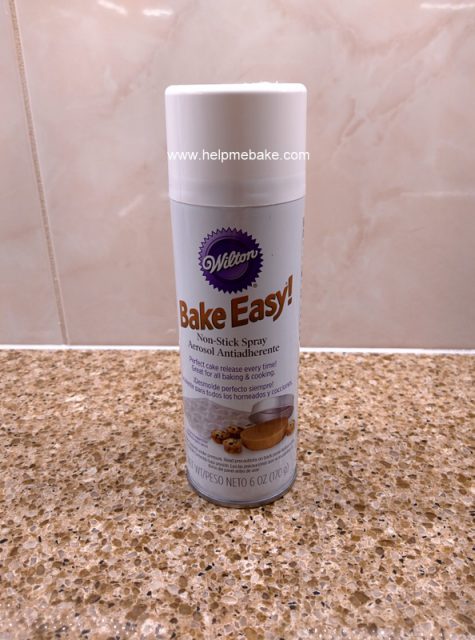
Spray the Bake Easy on the base and up all the sides of the tin; I spray the tin over my sink so that the spray does not go all over the kitchen sides.
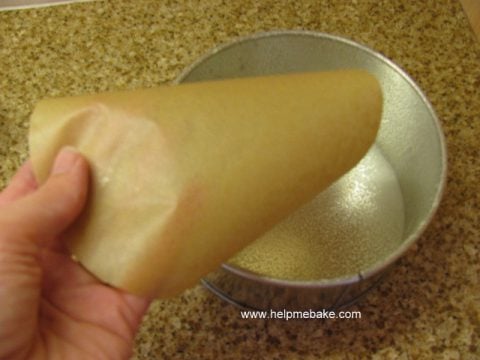
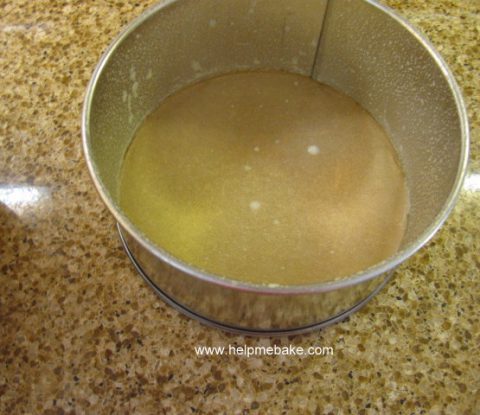
10. Now place the pre-cut baking parchment into the base of your tin pushing it around the edges and ensuring all the base is covered.
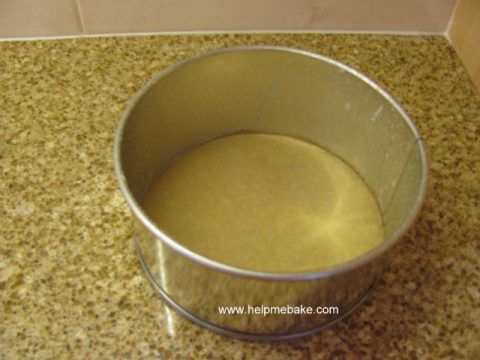
11. If you wish you may add a little more spray to the baking parchment.
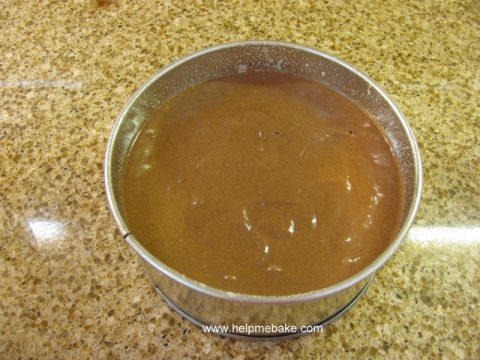
12. Now slowly pour your chocolate cake mixture into the tin.
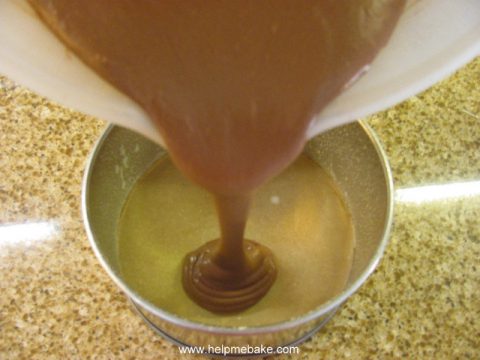
13. Fill the tin about ¾ full.
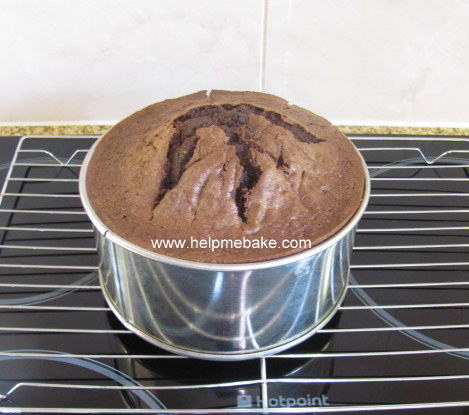
14. Place on the middle shelf of the oven and bake for approx 50-55 mins. You may wish to check your cake at around 45 mins depending on your oven. Check the cake by inserting a skewer into it. If the skewer comes out clean the cake is baked if there is still a gooey mixture attached to it, then the cake needs to be baked for a little longer. Repeat the skewer process in five-minute intervals until fully baked. Once baked remove from the oven and place the tin on a wire rack. Leave the cake in the tin for approx 10 minutes before removing so that it can shrink away from the edges and will remove from the cake tin easier.
15. Carefully tip the cake onto the wire rack, remove the baking parchment by slowly peeling it away from the cake, now leave to cool fully, you may wish to place the cake back upright after about 30 mins.
16. This cake can now be level, filled and covered with icing or simply filled with chocolate buttercream.
This cake was also used as the top tier of my Frozen Cake.
Preheat your oven to one of the following:
Fan assisted: 150°C
Regular oven: 170 - 180°C
Gas Mark: 1 - 2
Fahrenheit: 302
Ingredients:
200 grams or 7 oz of granulated sugar
200 grams or 7 oz unsalted butter or margarine
4 medium-sized eggs
175 grams or 6 oz self-raising flour
25 grams or 1 oz Cocoa powder.
I use a 6-inch tin that is 3 inches deep; however, this could be used to make a 7 or 8-inch cake with a smaller depth. If you use a wider and thinner tin reduce the baking time by around 15 minutes, as thinner cakes take less time to bake.
Method:
1. Weigh out your margarine or butter and sugar and place in a mixing bowl.
2. Mix them together using an electric whisk, then add your eggs into the mix one at a time, whisking after each one.
3. If using a 'light' margarine then your mixture will look like this, if you have used butter, it will be thicker in texture.
4. Now weigh out your flour and cocoa powder and sieve into the mixture.
5. I would now fold the wet and dry ingredients together using a spatula just to help combine them a little. This is so that when you whisk the ingredients, they do not fire up onto you and your work surface.
6. Whisk the ingredients together until fully combined, make sure you scrape down the sides of the bowl with a spatula and mix in. Now taste test the mixture by scooping a little out with a spoon, if the mixture tastes floury or bitty then whisk a little longer until all the ingredients have combined, if you recheck the mix again then ensure to use a new clean spoon, if it tastes smooth it can now be transferred to the tin.
7. You will now need some baking parchment and your tin. Take your tin and place it on a piece of baking parchment.
8. Draw around the base of the tin with a pen or pencil and then cut out the circle ensuring you cut off all the pencil marks on the baking sheet. If you do not, then the pencil marks can transfer onto the cake.
9. Now grease your tin using either butter or cake release. I use a Bake Easy spray.
Spray the Bake Easy on the base and up all the sides of the tin; I spray the tin over my sink so that the spray does not go all over the kitchen sides.
10. Now place the pre-cut baking parchment into the base of your tin pushing it around the edges and ensuring all the base is covered.
11. If you wish you may add a little more spray to the baking parchment.
12. Now slowly pour your chocolate cake mixture into the tin.
13. Fill the tin about ¾ full.
14. Place on the middle shelf of the oven and bake for approx 50-55 mins. You may wish to check your cake at around 45 mins depending on your oven. Check the cake by inserting a skewer into it. If the skewer comes out clean the cake is baked if there is still a gooey mixture attached to it, then the cake needs to be baked for a little longer. Repeat the skewer process in five-minute intervals until fully baked. Once baked remove from the oven and place the tin on a wire rack. Leave the cake in the tin for approx 10 minutes before removing so that it can shrink away from the edges and will remove from the cake tin easier.
15. Carefully tip the cake onto the wire rack, remove the baking parchment by slowly peeling it away from the cake, now leave to cool fully, you may wish to place the cake back upright after about 30 mins.
16. This cake can now be level, filled and covered with icing or simply filled with chocolate buttercream.
This cake was also used as the top tier of my Frozen Cake.
Last edited: