Here is a step by step tutorial on how to make Cheese and Chilli Scones.

Preheat your oven to one of the following:-
Fan Assisted 220°C
Conventional Oven 230-240°C
Gas Mark 7
Fahrenheit 425
Ingredients:
225 Grams or 8oz Self Raising Flour
Pinch Himalayan Pink Salt - Regular Salt is also fine.
1 Teaspoon Baking Powder
1 Teaspoon Mustard Powder
Sprinkle Cayenne Chilli Pepper
40 Grams or 1.5 oz Margarine - You may substitute with butter.
150 ml Milk - I used Semi-Skimmed
50 Grams or 1.8oz Finely Grated or Blended Cheese.
Method:
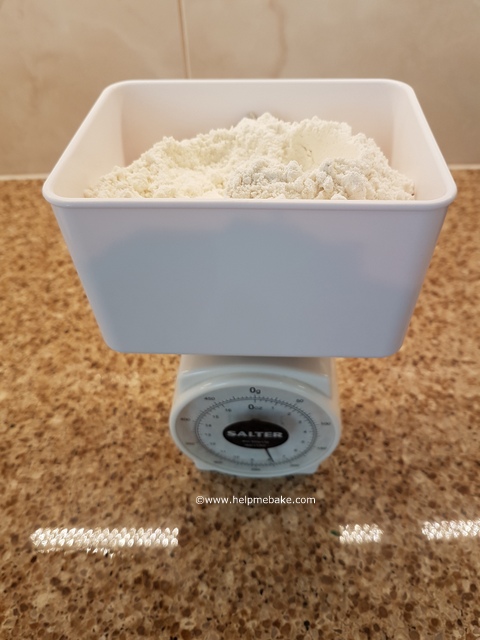
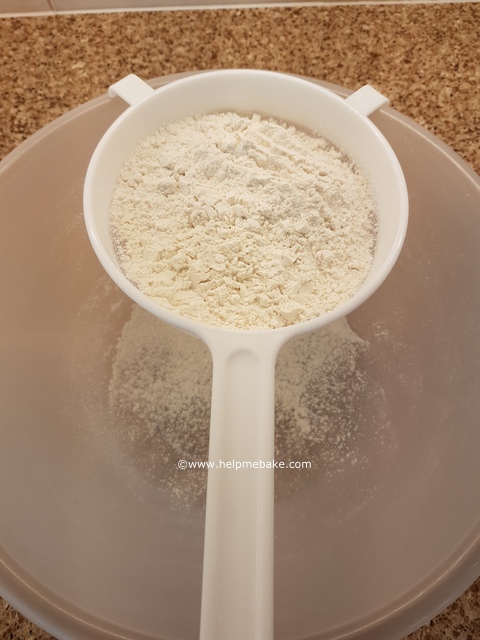
1. Weigh out the flour and sieve it into a mixing bowl.
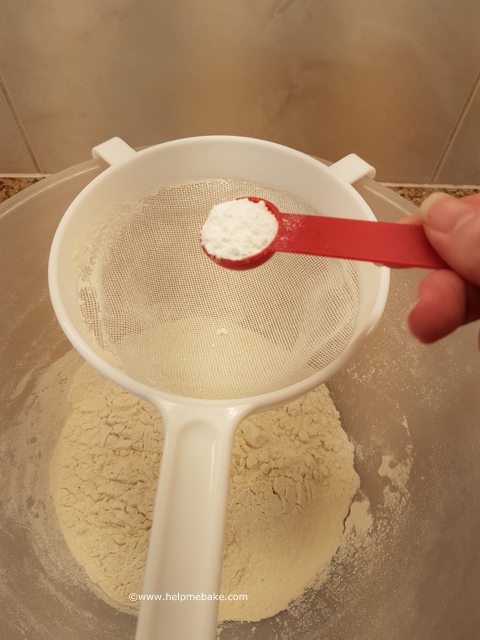
2. Measure out 1 teaspoon of baking powder and sieve into the bowl.
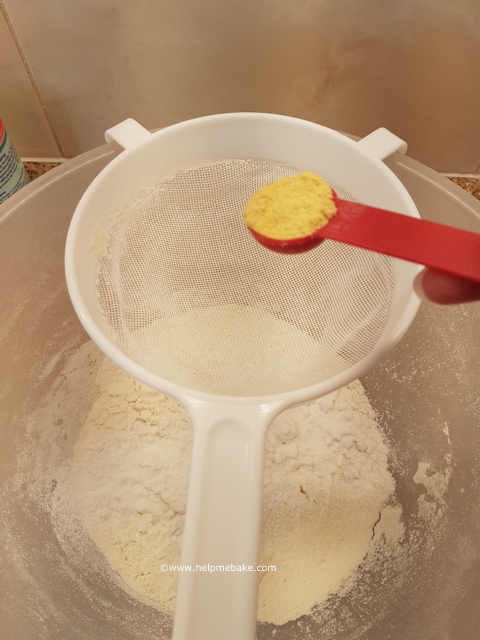
3. Measure out the mustard powder and sift that into the mixing bowl too.
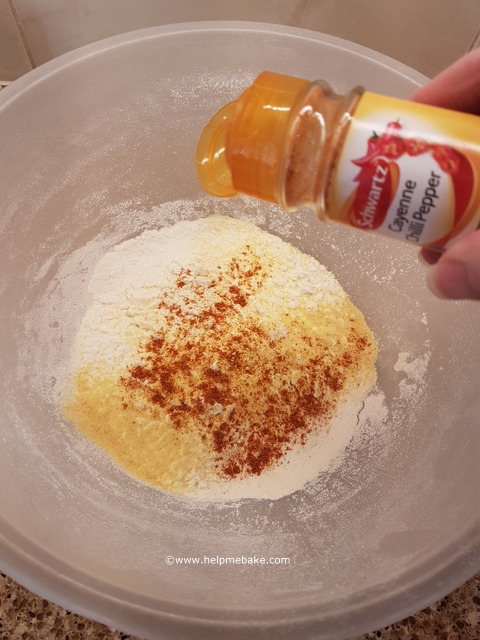
4. Now add a sprinkling of Cayenne Chilli Pepper. Add as much or as little as you like depending on how much 'kick' you want them to have.
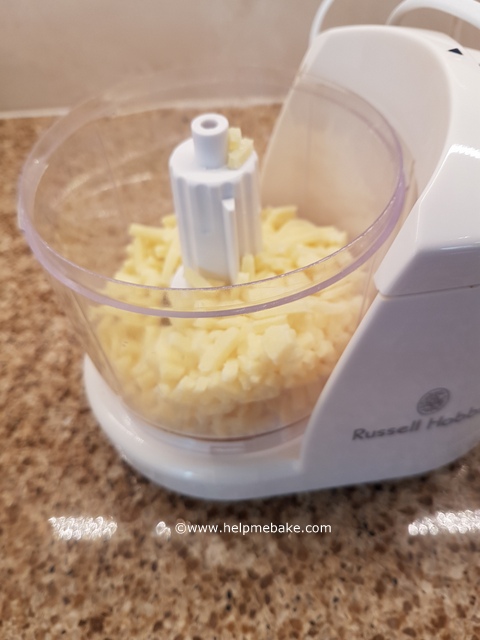
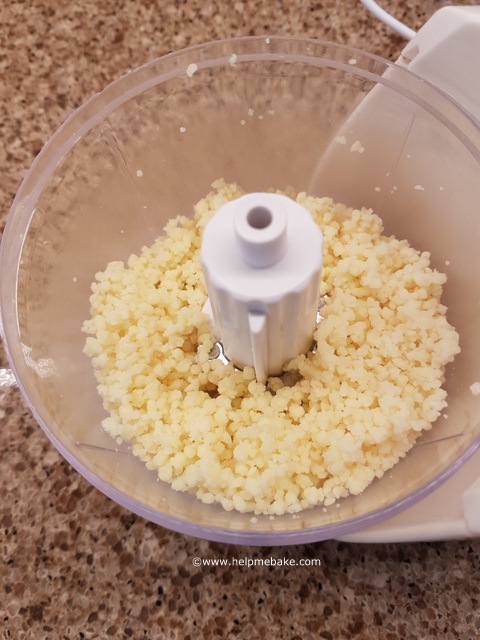
5. Now you need to grate the cheese and add it to your mix. I only had grated cheese so I ran it through my mini chopper to make the pieces smaller, you can just really finely grate the cheese or do the same as me.
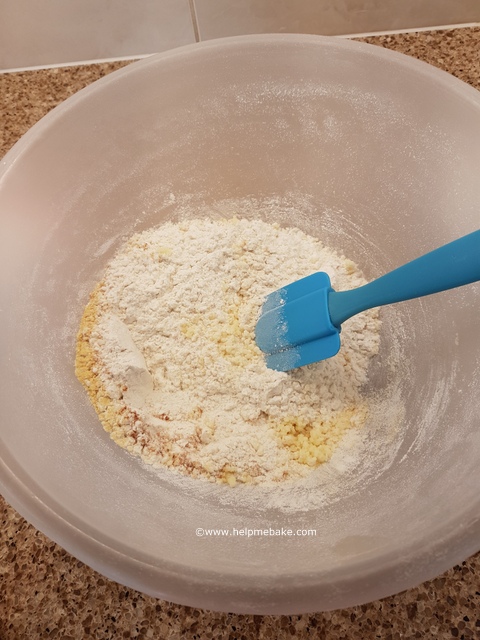
6. Stir all the dry ingredients together with a spatula.
7. Weigh out the butter and add to your dry mixture.
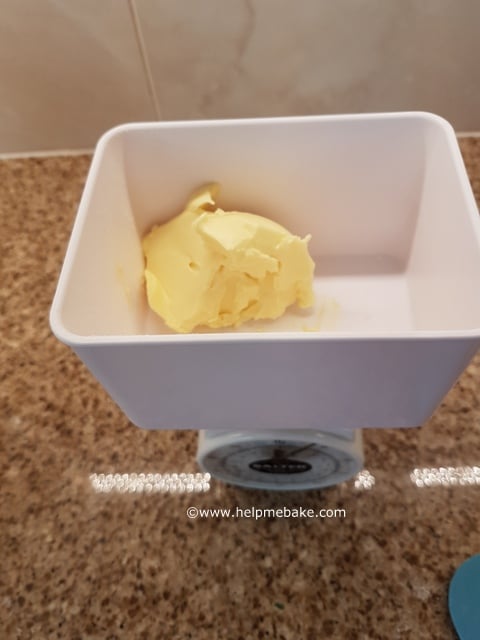
8. Rub the butter and your dry ingredients through your finger tips and make it into breadcrumbs consistency.
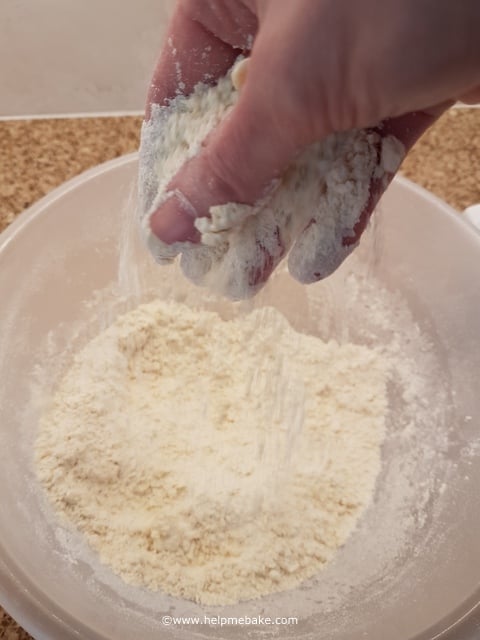
9. Once the mix resembles breadcrumbs add the milk in stages.
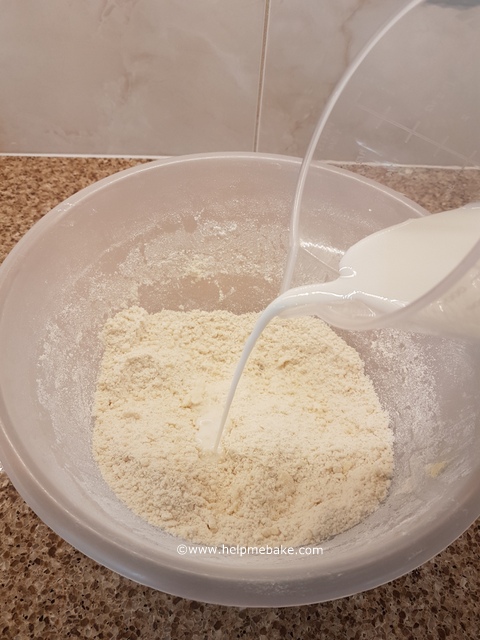
10. Combine the mixture together using the spatula, keep adding the milk in stages until it starts to bind together.
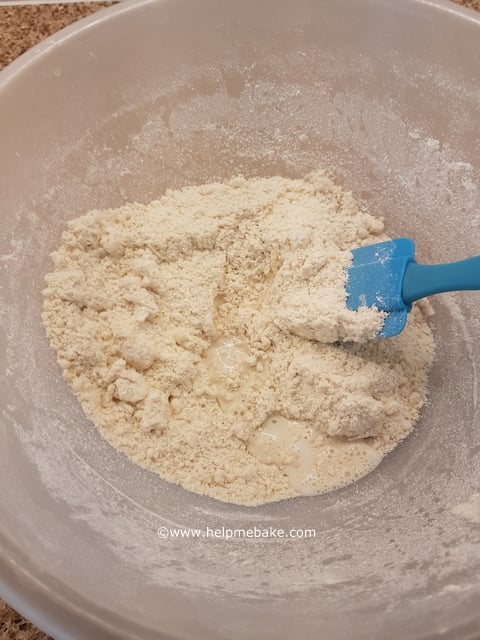
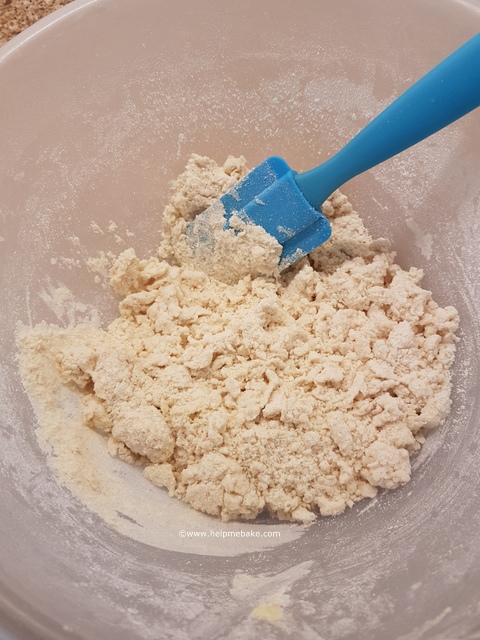
11. Once your scone mixture starts binding together more use your hand to knead it slightly and squash it together, keep adding the milk also.
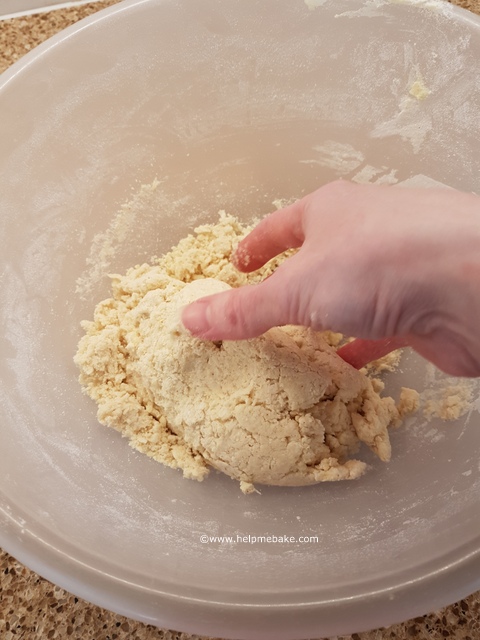
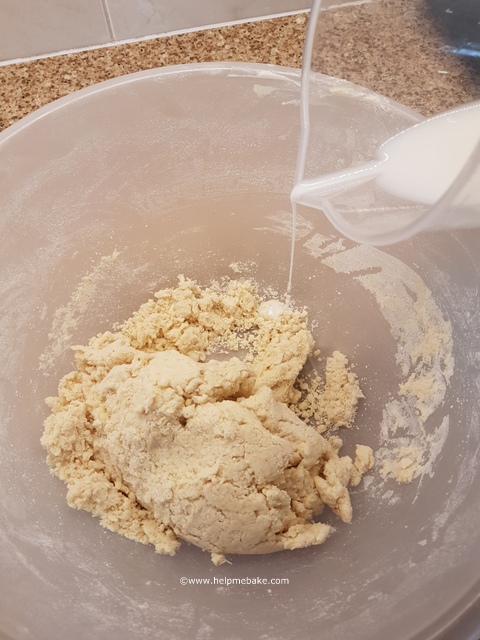
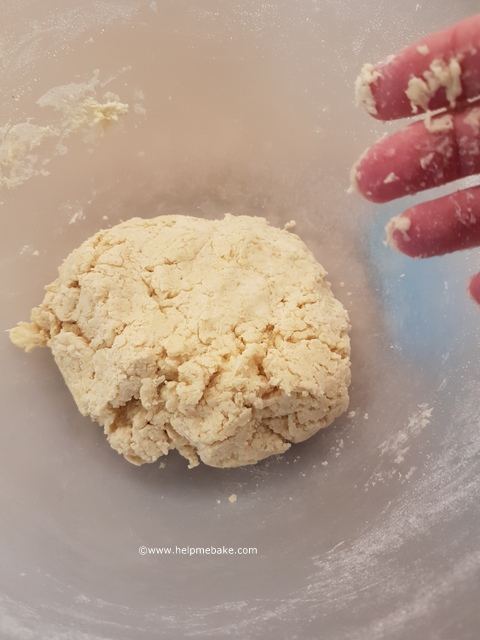
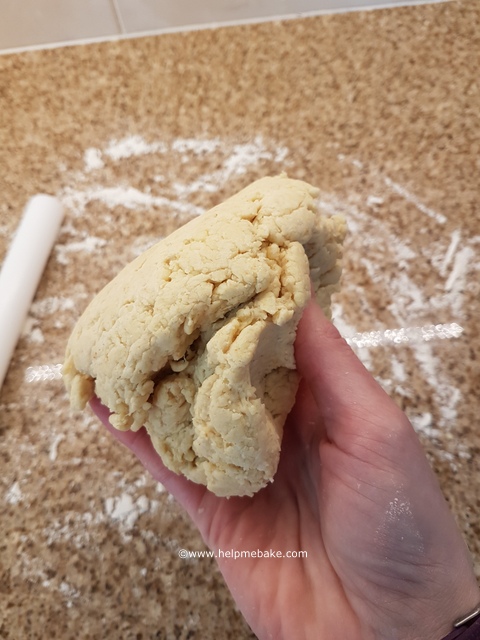
12. Once everything has bound together and looks like this stop adding the milk, you should still have a little milk leftover which we will use later for glaze.
13. Lightly dust a work surface with flour.
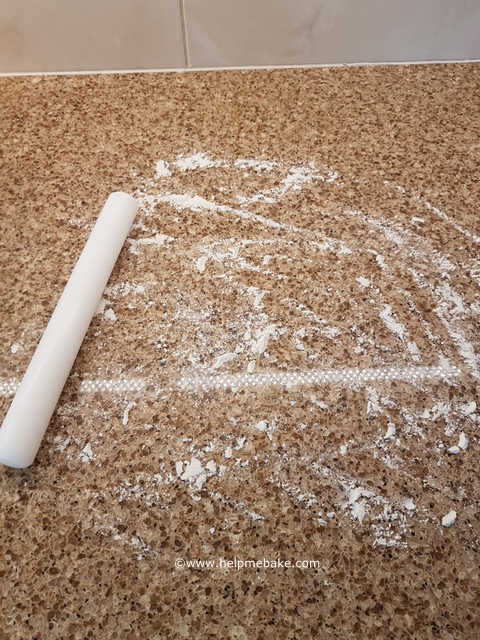
14. Pick up the scone mixture and place on the dusted work surface.
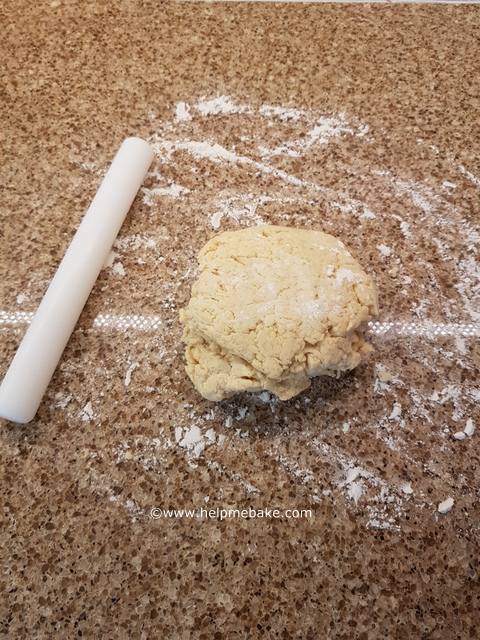
15. Lightly dust your rolling pin and start to roll the scone mixture out. Rotate the scone mixture every time you roll so that it doesn't stick to the work surface. Roll out to roughly about 1cm thick.
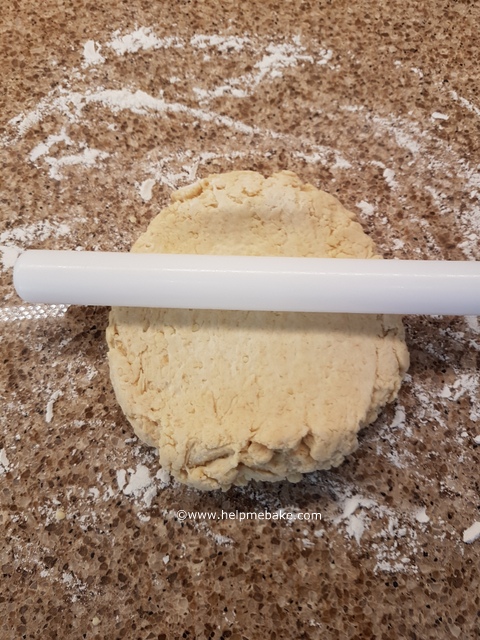
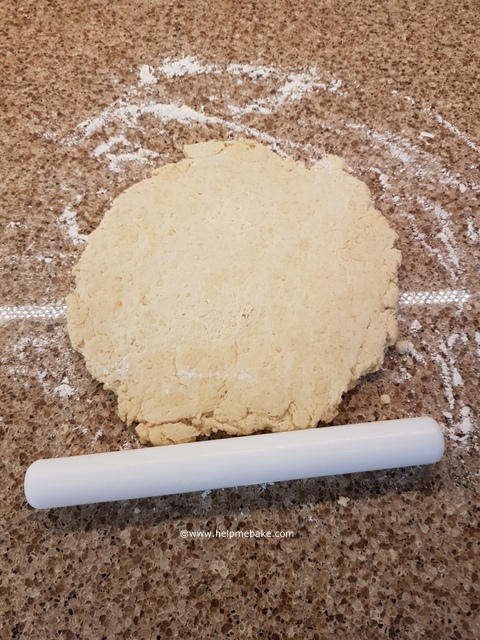
16. Take a cutter and cut out your scones.
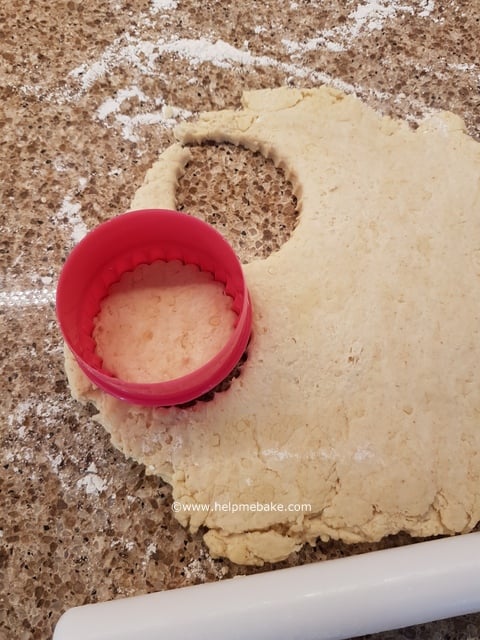
Keep cutting until you use all your mixture, take the spare pieces put them back in a ball and roll them out again to make more scones.
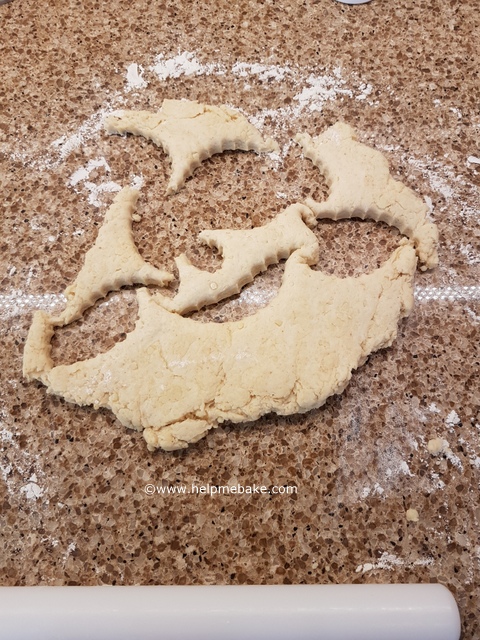
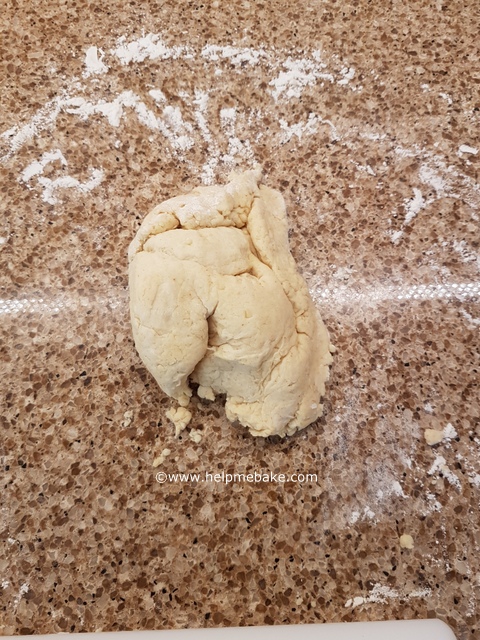
17. Place the scones on a greased baking tray. (I did get an additional 4 scones out of this mix.)
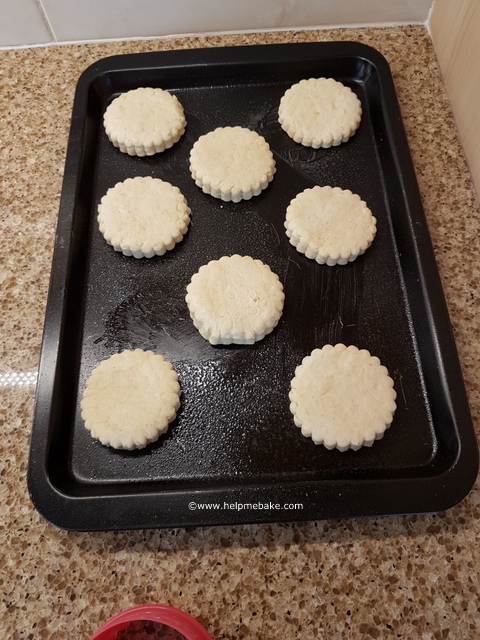
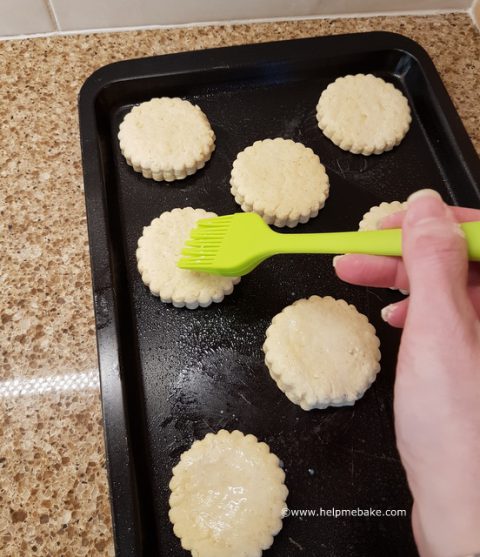
18. Now glaze the scones with the remaining milk you have, ensure that the milk stays in the middle of the scone and does not run down the side. (If the milk runs down the side it affects the rise of the scones).
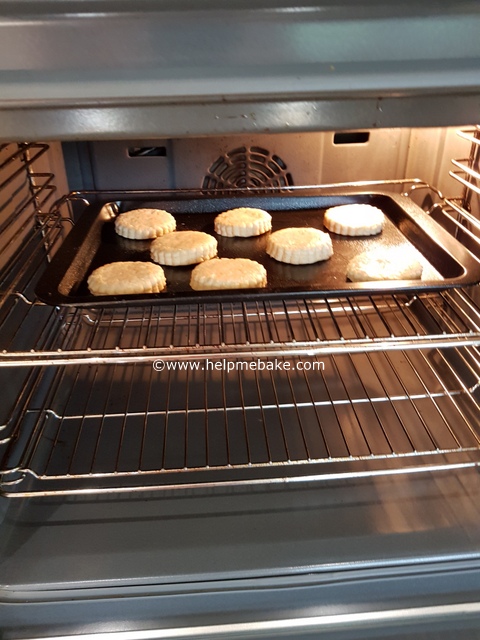
19. Place in the middle of the oven and bake for approx 9-10 mins.
20. Once baked remove from the oven and place them on a wire rack to cool.
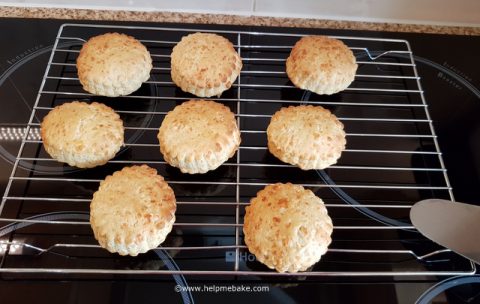
21. Once cool or whilst warm enjoy with friends, these are great for picnics or parties!


Preheat your oven to one of the following:-
Fan Assisted 220°C
Conventional Oven 230-240°C
Gas Mark 7
Fahrenheit 425
Ingredients:
225 Grams or 8oz Self Raising Flour
Pinch Himalayan Pink Salt - Regular Salt is also fine.
1 Teaspoon Baking Powder
1 Teaspoon Mustard Powder
Sprinkle Cayenne Chilli Pepper
40 Grams or 1.5 oz Margarine - You may substitute with butter.
150 ml Milk - I used Semi-Skimmed
50 Grams or 1.8oz Finely Grated or Blended Cheese.
Method:
1. Weigh out the flour and sieve it into a mixing bowl.


2. Measure out 1 teaspoon of baking powder and sieve into the bowl.

3. Measure out the mustard powder and sift that into the mixing bowl too.

4. Now add a sprinkling of Cayenne Chilli Pepper. Add as much or as little as you like depending on how much 'kick' you want them to have.

5. Now you need to grate the cheese and add it to your mix. I only had grated cheese so I ran it through my mini chopper to make the pieces smaller, you can just really finely grate the cheese or do the same as me.


6. Stir all the dry ingredients together with a spatula.

7. Weigh out the butter and add to your dry mixture.

8. Rub the butter and your dry ingredients through your finger tips and make it into breadcrumbs consistency.

9. Once the mix resembles breadcrumbs add the milk in stages.

10. Combine the mixture together using the spatula, keep adding the milk in stages until it starts to bind together.


11. Once your scone mixture starts binding together more use your hand to knead it slightly and squash it together, keep adding the milk also.


12. Once everything has bound together and looks like this stop adding the milk, you should still have a little milk leftover which we will use later for glaze.

13. Lightly dust a work surface with flour.

14. Pick up the scone mixture and place on the dusted work surface.


15. Lightly dust your rolling pin and start to roll the scone mixture out. Rotate the scone mixture every time you roll so that it doesn't stick to the work surface. Roll out to roughly about 1cm thick.


16. Take a cutter and cut out your scones.

Keep cutting until you use all your mixture, take the spare pieces put them back in a ball and roll them out again to make more scones.


17. Place the scones on a greased baking tray. (I did get an additional 4 scones out of this mix.)

18. Now glaze the scones with the remaining milk you have, ensure that the milk stays in the middle of the scone and does not run down the side. (If the milk runs down the side it affects the rise of the scones).

19. Place in the middle of the oven and bake for approx 9-10 mins.

20. Once baked remove from the oven and place them on a wire rack to cool.

21. Once cool or whilst warm enjoy with friends, these are great for picnics or parties!

Last edited:
