Here is my latest cake creation that I made for a dear friend of mine for her 50th birthday. If I'm entirely honest, I struggled a little bit coming up with a design for this one as my friend had given me free rein with it and I wasn't quite sure what kind of cake I was going to make.
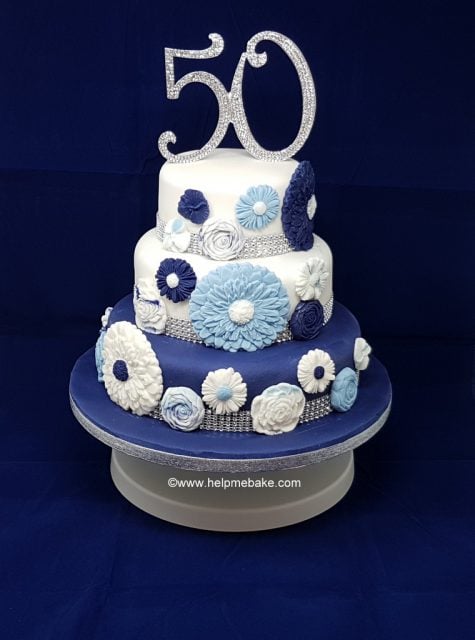
So after a few sleepless nights, a hunt through every colour known to man I decided that blue and white would be my colour of choice. Even though I had an idea, I still didn't have a vision, and this didn't come about until a discussion with our community members and a trip to my friend Jules' house with cake tins, some flowers and a few ideas to boot.
After chatting with everyone and listening/bouncing ideas, we finally came up with a 3 tier flower cake with hints of navy, some marbling and a lot of bling.
Now for the cake part:
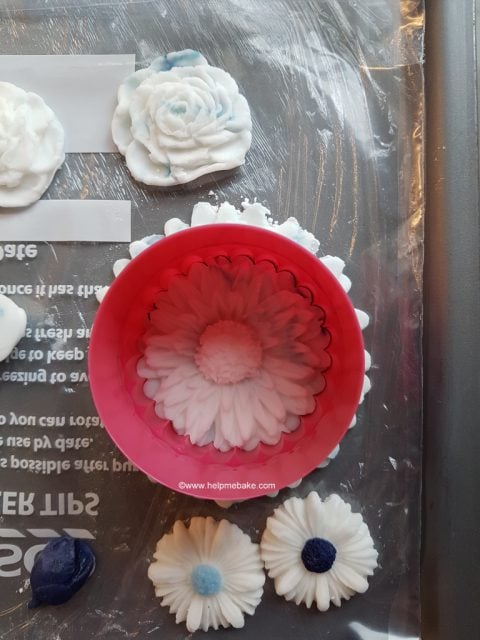
The first thing I had to make was the flowers, to do these I used a Karen Davies Buttercream Mould and some icing fondant.
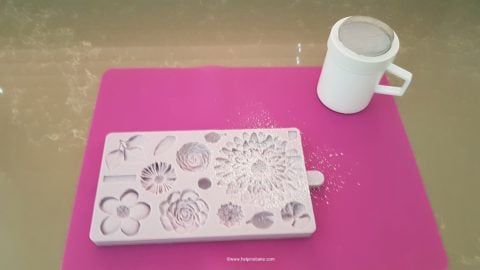
I lightly dusted the mould with icing sugar (or you could use cornflour/cornstarch) and then tapped out the excess.

I then pushed the icing fondant colours into the mould making sure I didn't go over the edges. (You can roll it with a rolling pin if necessary to smooth it out).
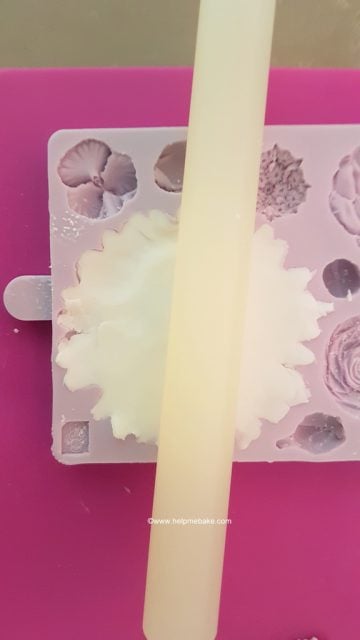
I removed any excess from the centre and around the edges and then peeled the flowers out carefully. You can see from this flower that I used too much blue in the centre so I re-did it using a smaller amount and it came out great. I then used a paintbrush to remove the rough edges of icing fondant from around the flower.
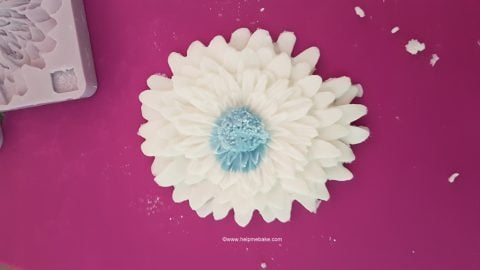
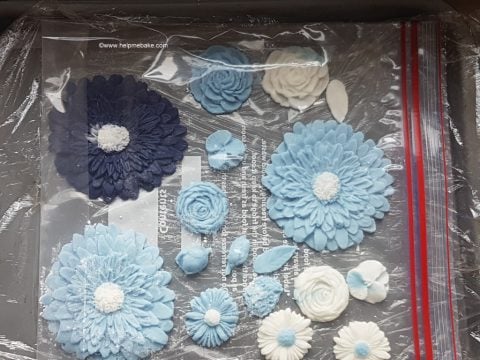
I then continued using different colours and variations until I had enough flowers for the cake.
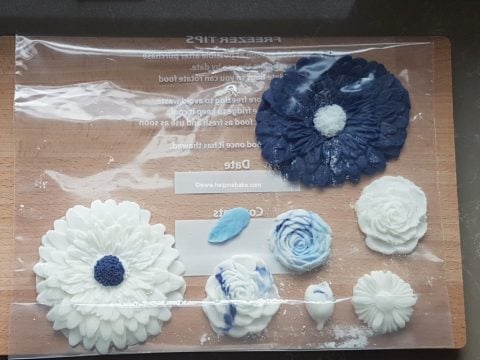
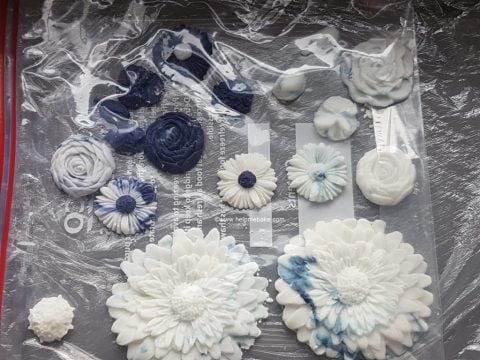
The blue colours I used were Baby Blue and Navy Renshaw's Icing.
Once they were done, I then turned my attention to the buttercream.
I wasn't sure how much buttercream I would need to fill the cakes, so I opted to make two batches just in case I didn't have enough with the first one. In the end, I used one and a quarter batches.
One batch is 250 grams of unsalted butter to 500 grams of icing sugar.
This was then stored in the fridge until required.
The next thing I made was the cakes; these were a 5, 7 and 9-inch, Madeira.
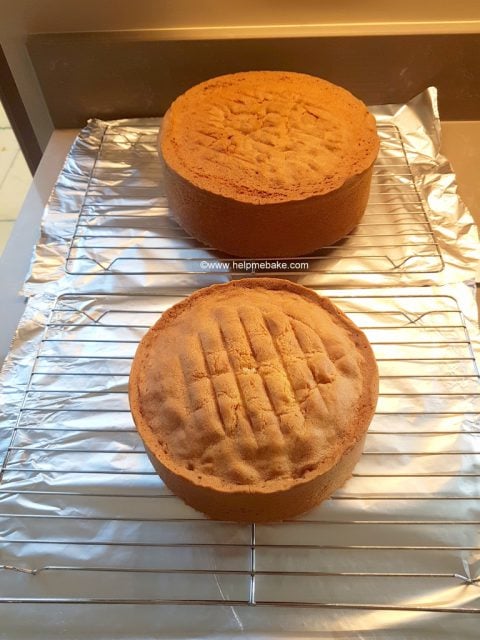
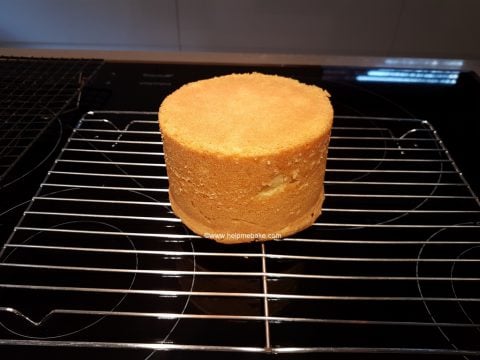
They were pre-made the day before decoration so that they could be baked, cooled and allowed to settle before erection.
Decoration Day:
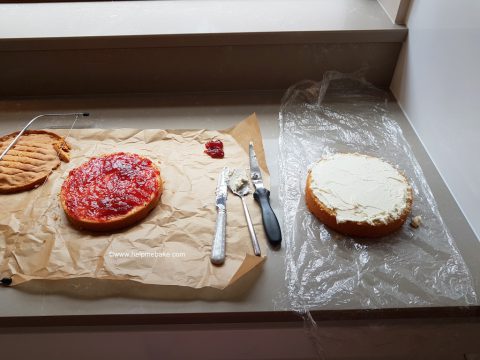
Each tier was levelled using a cake leveller and then filled with jam and buttercream. I started with the middle tier first because that was the one with the lowest height. Once I had levelled this one, I knew what height the other tiers needed to be so that they were equal to each other.
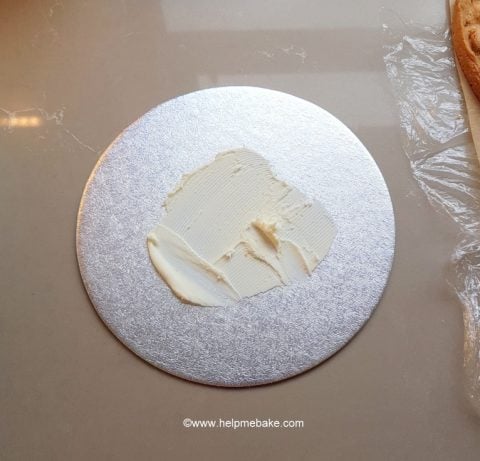
I pre-cleaned the cake board with alcohol and then placed a blob of buttercream onto it so that when I put the cake on it, it wouldn't slide.
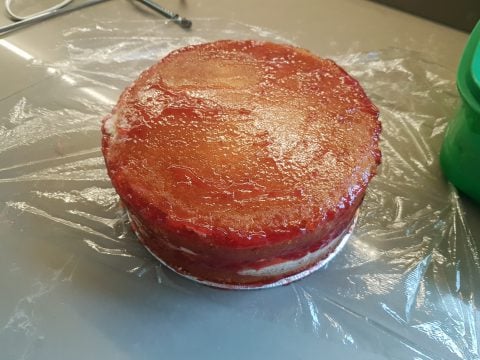
The cake was then placed on the board, and the exterior was covered in jam ready for the icing fondant.
The icing fondant was then rolled to size.

I then covered the tier with it.
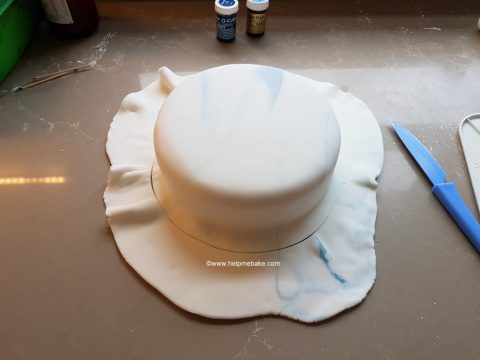
The excess icing was removed, and the cake was then placed to one side to allow the icing to firm up. I repeated this process with the top tier. However, with the base tier, I covered the board as well.
Now onto the dowels:
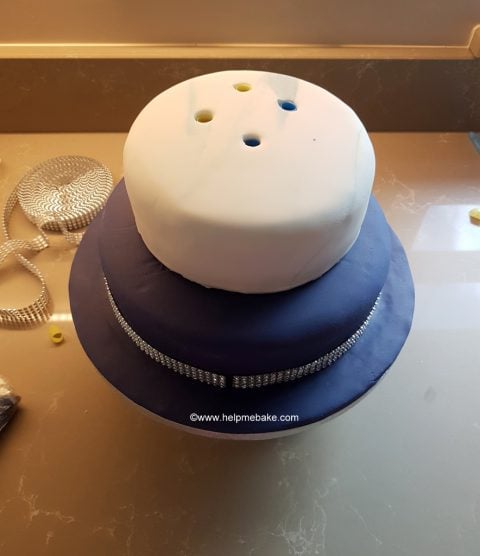
Due to the size and weight of the cake, I needed to use dowels to keep the structure of the cake and to stop it from caving in on itself. So I set about inserting my large straws into it to help support the above tiers.
I pushed the straws into the cake and then snipped them just below the icing so that I could push them in and they would sit properly. I inserted six pieces of straw into the base like so.
I then put some royal icing on the top so that the next tier/cake board would stick to it.
The next tier was placed on top (as shown below), dowelled and covered in royal icing, the top tier was then added.
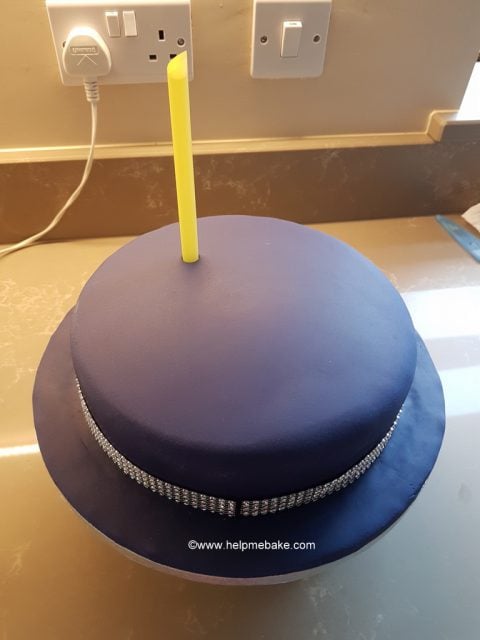
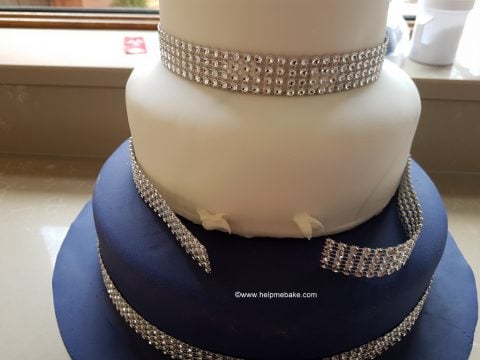
I then moved onto the ribbon. I measured it against the cake and then joined it at the front so that you wouldn't see the join at the back of the cake. I stuck this to the cake using royal icing.
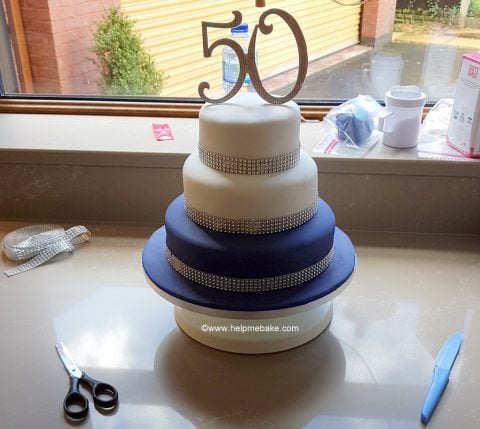
Once the ribbon was done, I then inserted the topper; this was thoroughly cleaned before insertion with neat alcohol. (The alcohol evaporates).
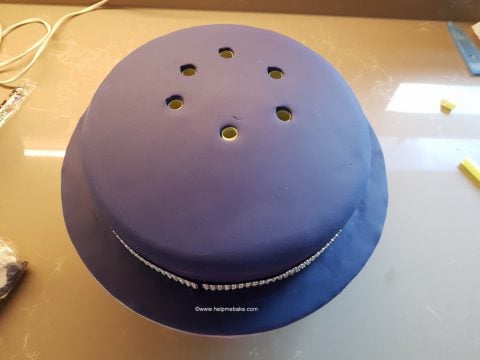
I then proceeded to attach the flowers using royal icing.
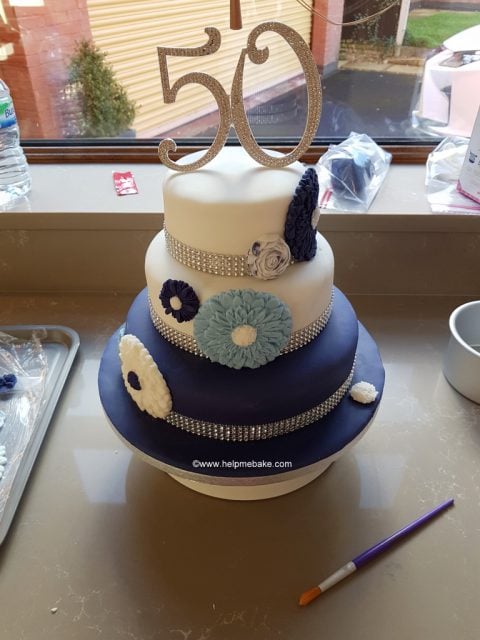
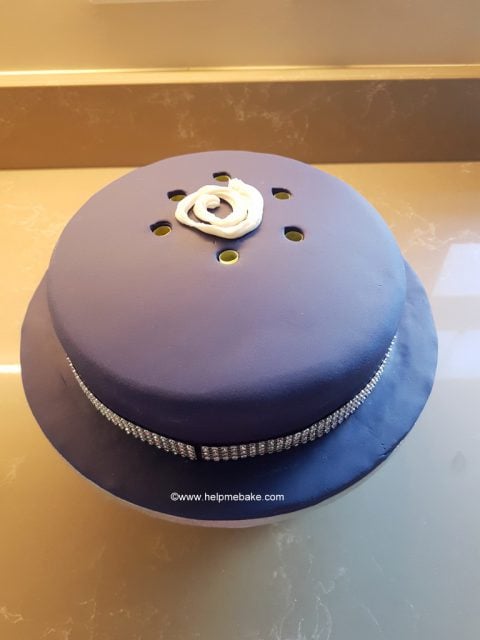
I trimmed a few of the flowers using pastry cutters; this also gave them a more rounded shape. I continued adding the flowers until the cake was complete.
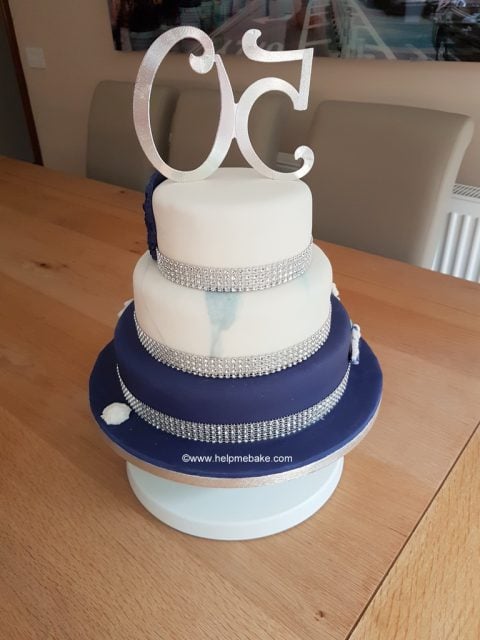
This was the back of the cake with just the ribbon showing.
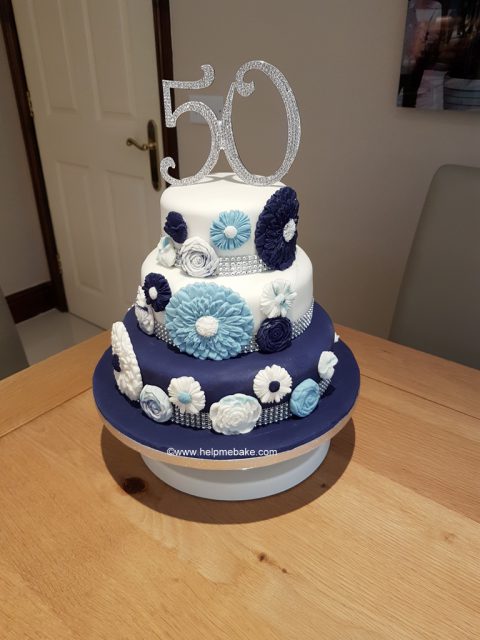
And this was the front of the cake when I'd finally finished.
I hope you have enjoyed the tutorial and it inspires you to make your own.
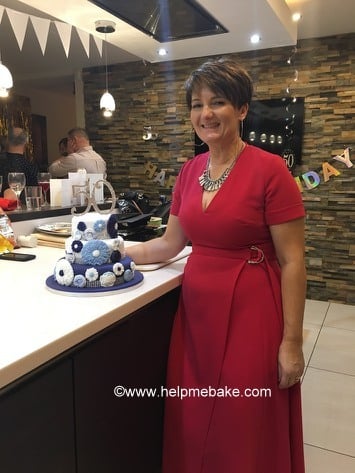
Here is my dear friend Gail with the finished article.
So after a few sleepless nights, a hunt through every colour known to man I decided that blue and white would be my colour of choice. Even though I had an idea, I still didn't have a vision, and this didn't come about until a discussion with our community members and a trip to my friend Jules' house with cake tins, some flowers and a few ideas to boot.
After chatting with everyone and listening/bouncing ideas, we finally came up with a 3 tier flower cake with hints of navy, some marbling and a lot of bling.
Now for the cake part:
The first thing I had to make was the flowers, to do these I used a Karen Davies Buttercream Mould and some icing fondant.
I lightly dusted the mould with icing sugar (or you could use cornflour/cornstarch) and then tapped out the excess.
I then pushed the icing fondant colours into the mould making sure I didn't go over the edges. (You can roll it with a rolling pin if necessary to smooth it out).
I removed any excess from the centre and around the edges and then peeled the flowers out carefully. You can see from this flower that I used too much blue in the centre so I re-did it using a smaller amount and it came out great. I then used a paintbrush to remove the rough edges of icing fondant from around the flower.
I then continued using different colours and variations until I had enough flowers for the cake.
The blue colours I used were Baby Blue and Navy Renshaw's Icing.
Once they were done, I then turned my attention to the buttercream.
I wasn't sure how much buttercream I would need to fill the cakes, so I opted to make two batches just in case I didn't have enough with the first one. In the end, I used one and a quarter batches.
One batch is 250 grams of unsalted butter to 500 grams of icing sugar.
This was then stored in the fridge until required.
The next thing I made was the cakes; these were a 5, 7 and 9-inch, Madeira.
They were pre-made the day before decoration so that they could be baked, cooled and allowed to settle before erection.
Decoration Day:
Each tier was levelled using a cake leveller and then filled with jam and buttercream. I started with the middle tier first because that was the one with the lowest height. Once I had levelled this one, I knew what height the other tiers needed to be so that they were equal to each other.
I pre-cleaned the cake board with alcohol and then placed a blob of buttercream onto it so that when I put the cake on it, it wouldn't slide.
The cake was then placed on the board, and the exterior was covered in jam ready for the icing fondant.
The icing fondant was then rolled to size.
I then covered the tier with it.
The excess icing was removed, and the cake was then placed to one side to allow the icing to firm up. I repeated this process with the top tier. However, with the base tier, I covered the board as well.
Now onto the dowels:
Due to the size and weight of the cake, I needed to use dowels to keep the structure of the cake and to stop it from caving in on itself. So I set about inserting my large straws into it to help support the above tiers.
I pushed the straws into the cake and then snipped them just below the icing so that I could push them in and they would sit properly. I inserted six pieces of straw into the base like so.
I then put some royal icing on the top so that the next tier/cake board would stick to it.
The next tier was placed on top (as shown below), dowelled and covered in royal icing, the top tier was then added.
I then moved onto the ribbon. I measured it against the cake and then joined it at the front so that you wouldn't see the join at the back of the cake. I stuck this to the cake using royal icing.
Once the ribbon was done, I then inserted the topper; this was thoroughly cleaned before insertion with neat alcohol. (The alcohol evaporates).
I then proceeded to attach the flowers using royal icing.
I trimmed a few of the flowers using pastry cutters; this also gave them a more rounded shape. I continued adding the flowers until the cake was complete.
This was the back of the cake with just the ribbon showing.
And this was the front of the cake when I'd finally finished.
I hope you have enjoyed the tutorial and it inspires you to make your own.
Here is my dear friend Gail with the finished article.
Last edited: